Customize checkout interfaces
Overview
Customize the out-of-the-box shopping cart templates offered by 2Checkout and create completely personalized designs of the interface your customers use during their purchase.
Saved template customizations have an immediate effect on the shopping cart design.
When clearing the cache/cookies of the current session, even if an interface template is assigned, it is possible that the default cart will load.
Availability
All 2Checkout accounts.
How to add a cart/checkout template
- Log into your Merchant Control Panel.
- Go to Setup → Interface templates.
- Scroll down to the Template Gallery and click Add to drafts on the template that you want to use.
Customize a cart/checkout template
- Identify the cart template you want to customize from those added to the Draft templates area.
- Click Edit.
- After implementing your changes, you can preview your new customized cart template.
Interface templates
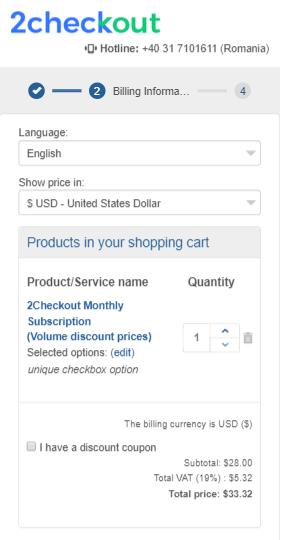
2Checkout provides a list of responsive templates meant for improving the customer experience during the checkout process.
The templates presented below are available in your Merchant Control Panel under Setup → Interface templates → Template Gallery.
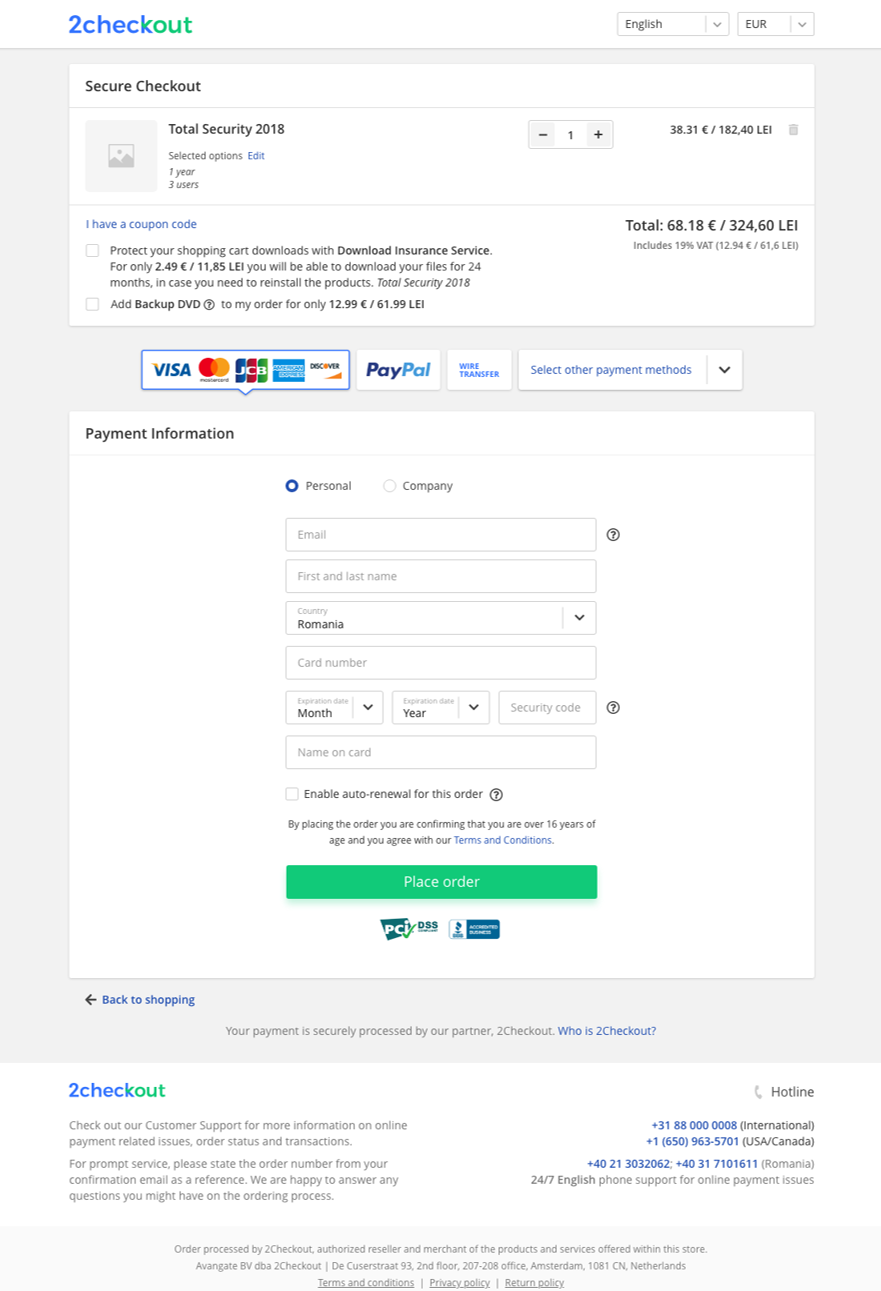
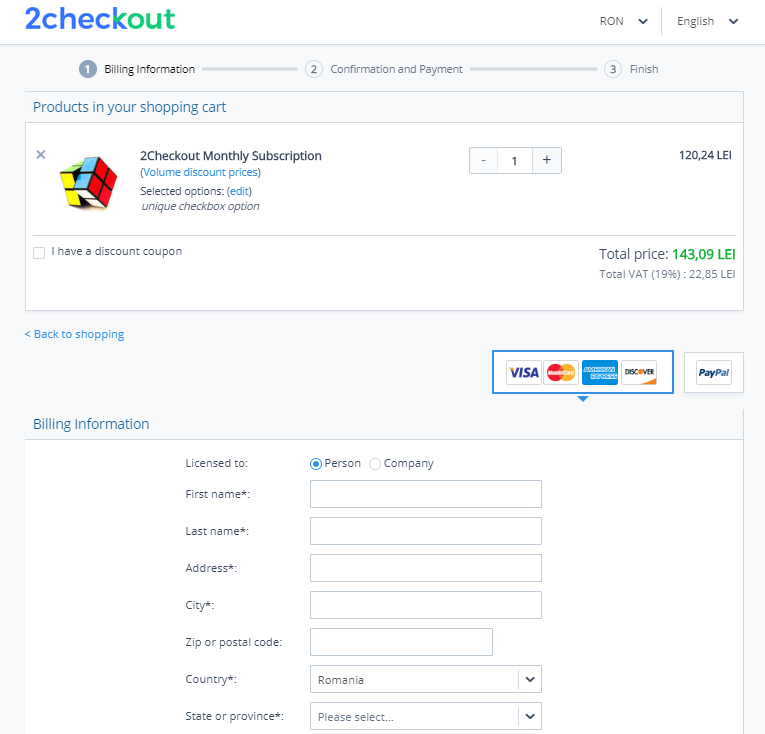
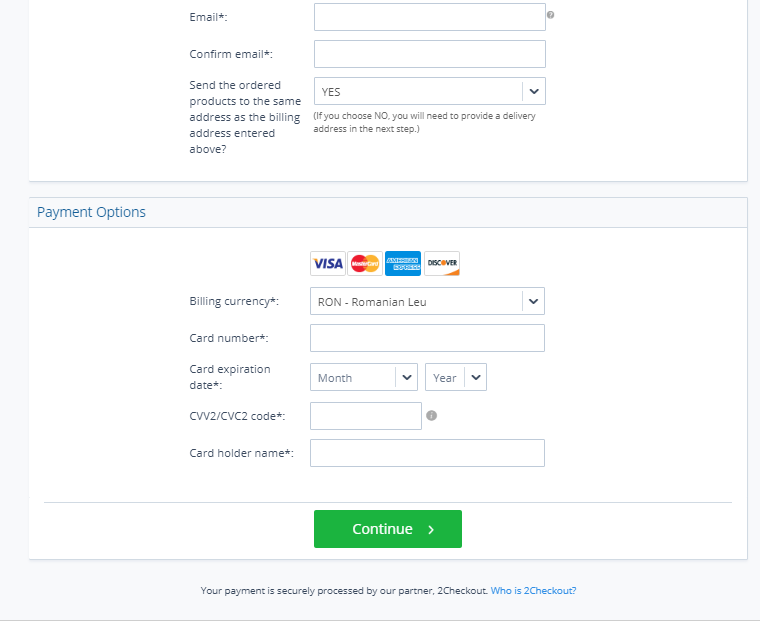
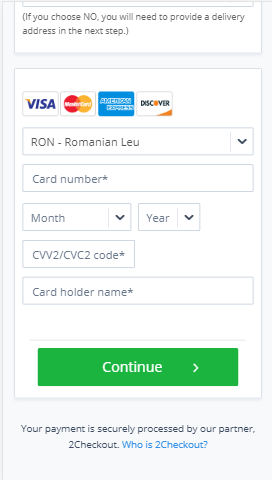
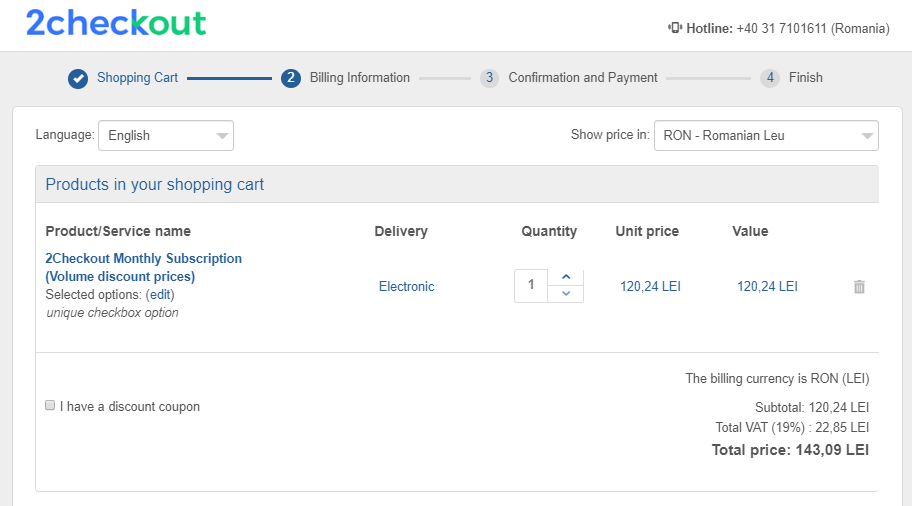
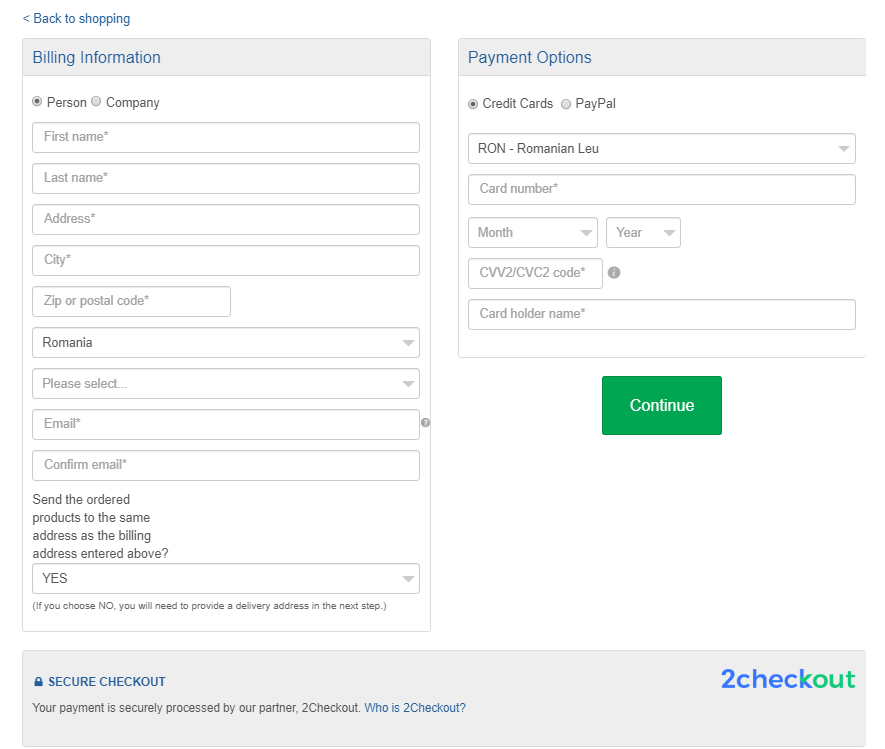
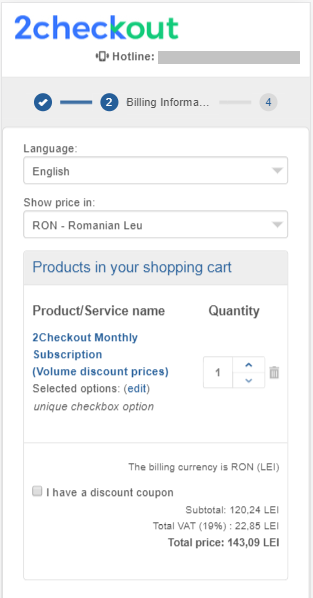
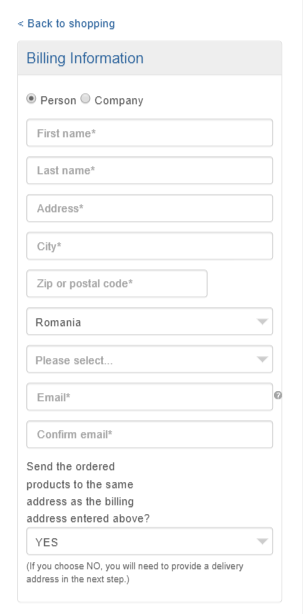
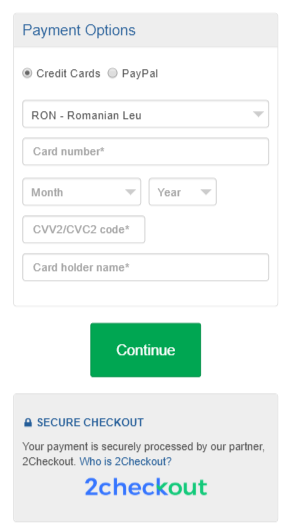
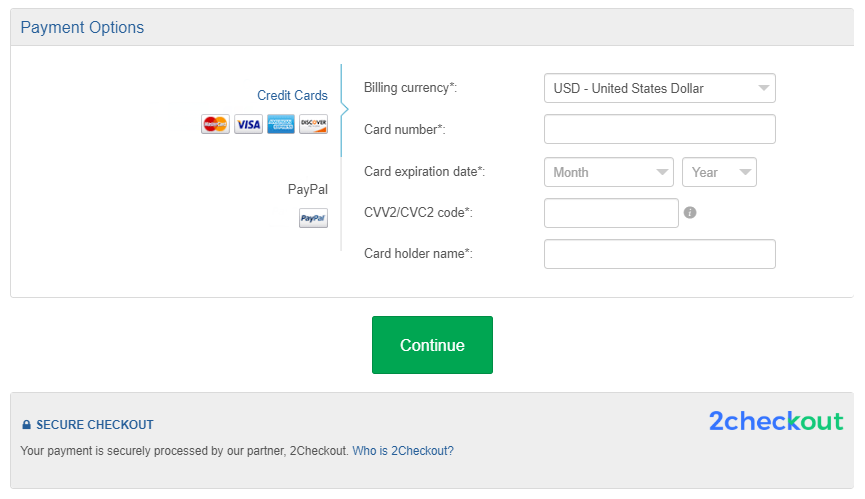
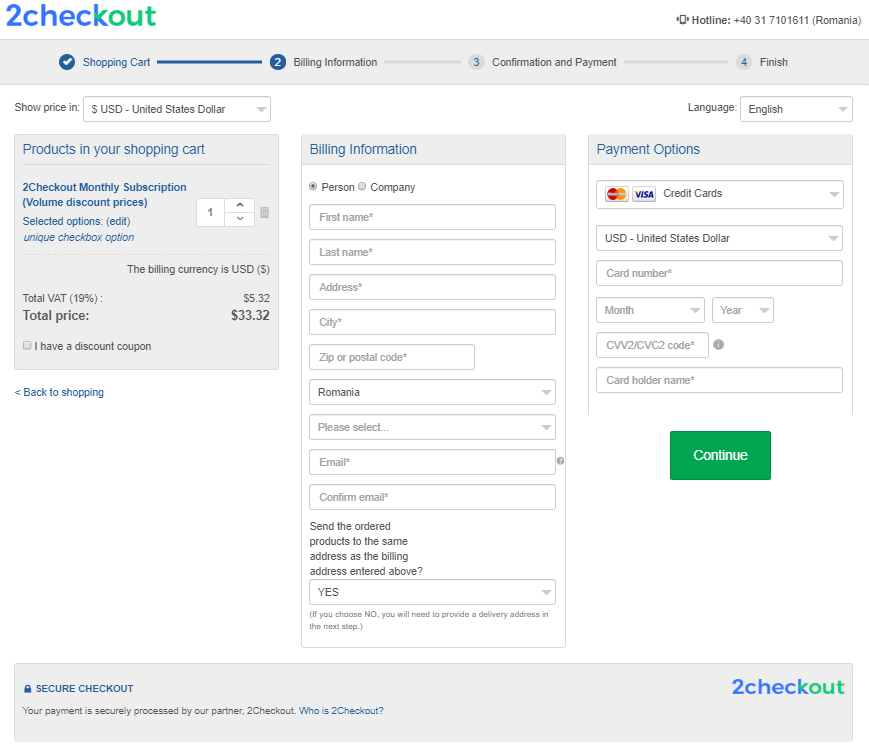
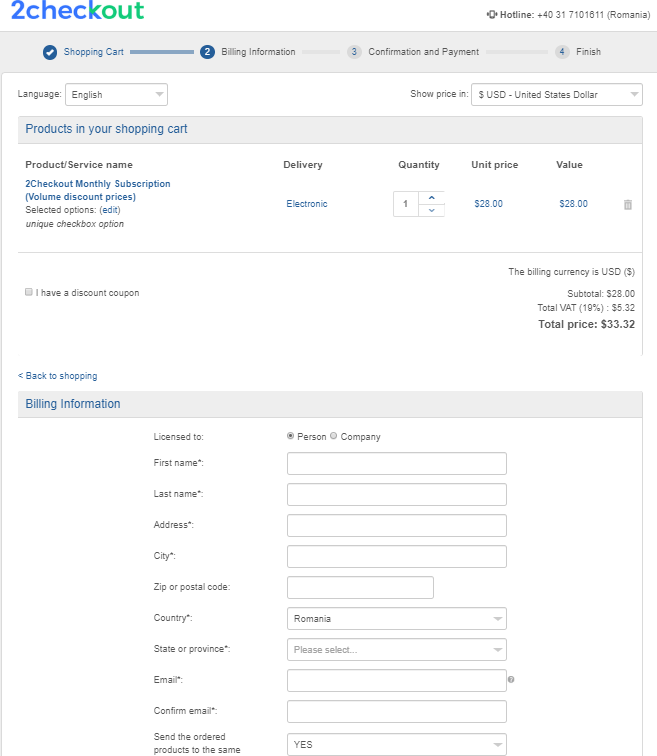
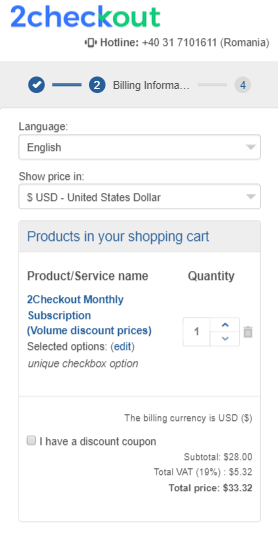
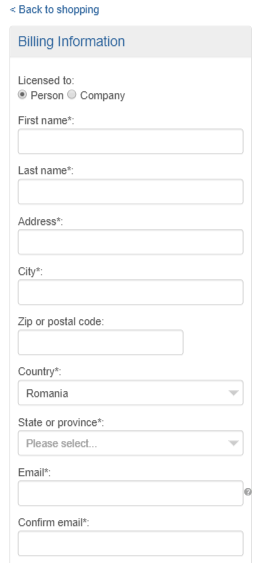
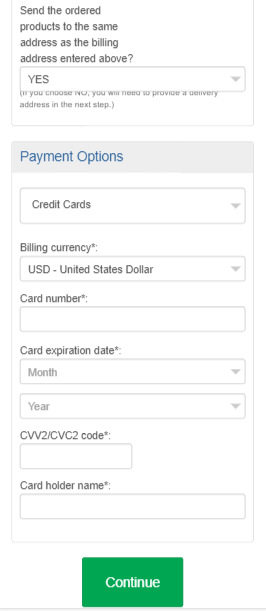
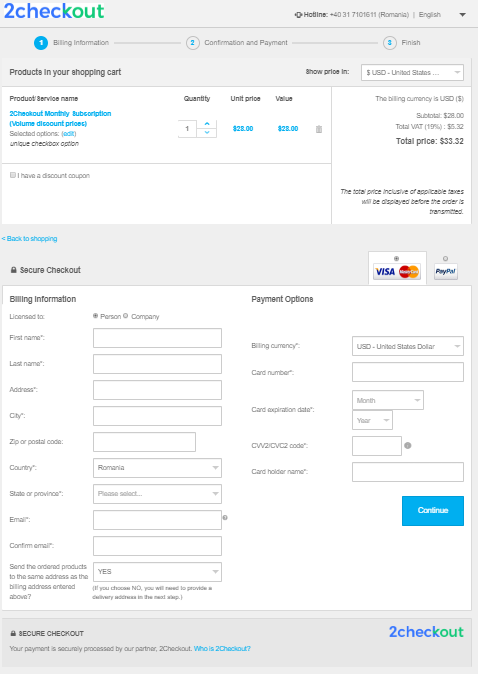
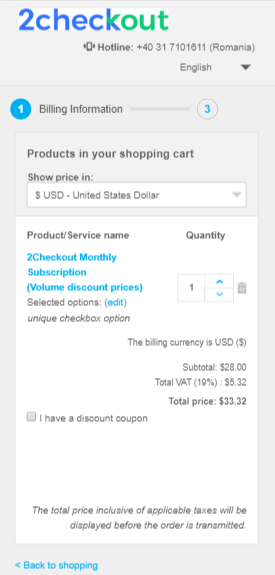
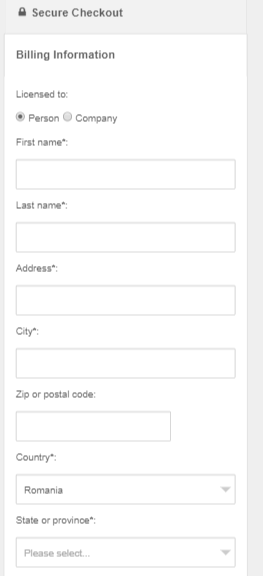
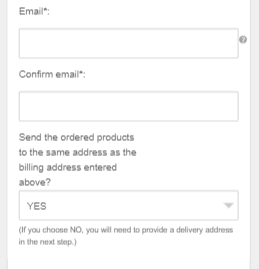
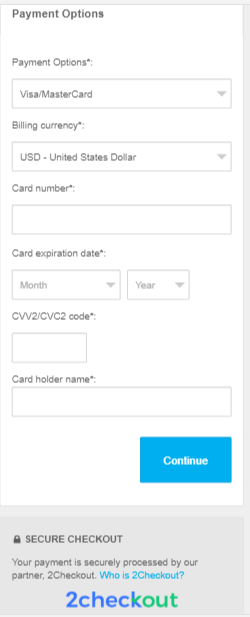
Omnicart Flow Checkout (default) - Desktop Version
The Omnicart Flow Checkout is a B2B and B2C shopping cart template with add-on products for cross-sales, promotions, and AOV management, optimized for companies on a SaaS or renewal license model. We've recently updated its layout to encompass CRO key findings and best practices and, thus, help merchants using this template see a 5-10% increase in their conversion rates.
Among the key UX improvements, you can notice the reduced overall height and scroll on-page for the whole form by merging some sections and removing all redundant elements. We've also redesigned the Company/Person selector, changed the order of fields in the form, updated the Paypal payment method with optimized up-to-date flows, simplified texts, and payment method button selector, and added certification and trust logos immediately below the Place Order button on the Review Page.
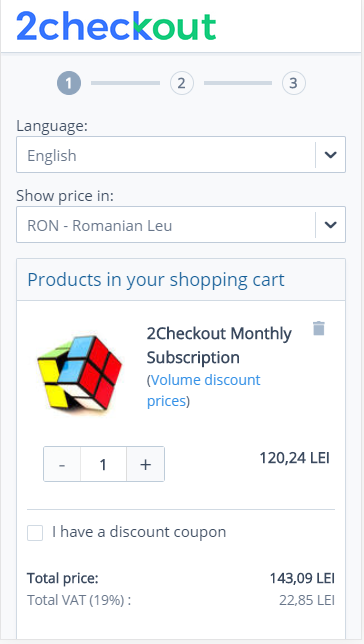
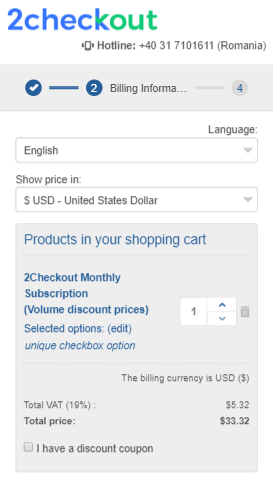
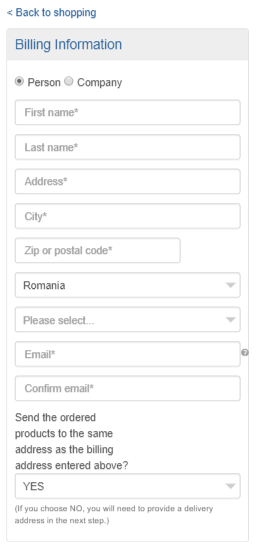
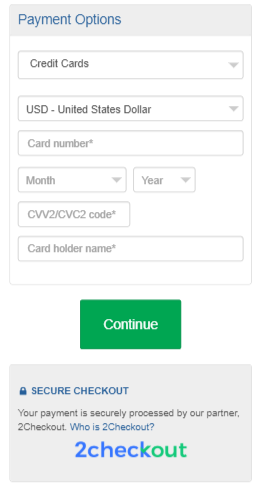
Omnicart Flow Checkout - Mobile Version
Scale Express Checkout - desktop version
Scale Express Checkout - Mobile Version

Swift-Pay Checkout - desktop version
Swift-Pay Checkout - Mobile Version
Global Optimizer Checkout - desktop version
Global Optimizer Checkout - Mobile Version
Digital Horizontal Flow Checkout - desktop version
Digital Horizontal Flow Checkout - Mobile Version
Drop-down Monetize Checkout - desktop version
Drop-down Monetize Checkout - Mobile Version
CompactPlus Checkout - desktop version
CompactPlus Checkout - Mobile Version
Template localization
By default, the English template is used for all languages if you did not define any localized templates. You can change this in two ways:
- Click the links available for each language and add/edit the template for that specific language.
- Check the checkboxes next to the languages you want to save a copy of the default template for. Subsequently, you can click on each language and edit the specific copy of the default template for that language as a standalone item.
Use a custom template on a different website
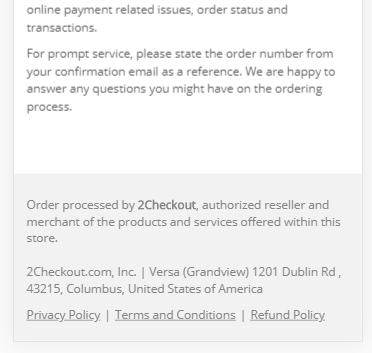
If you generate sales from a different website and you want to include that address in the emails the 2Checkout system sends to the shoppers, enable the Define the URL to be included in the notifications to customers as the sale source option and enter the address of the website in the dedicated field.
External JavaScript and CSS files
As an alternative to using 2Checkout’s templates, you can add your own JavaScript and CSS files to fully customize your customers’ experience. Keep in mind, though, that changing these files is an advanced operation best handled by experienced programmers.
To change the external JavaScript and CSS files, go to Media Center and upload your files. 2Checkout will automatically merge the files with the built-in interface files. Unless you upload your custom CSS and JS files to a secure 2Checkout server, 2Checkout cannot establish a secure connection (SSL) for your customers.
You can upload one or more CSS and JavaScript files according to your needs. When you upload multiple CSS or JS files, the last ones added will take precedence over previous ones. Custom CSS and JS files override the default ones. 2Checkout recommends that you use only a single .CSS file and a single .JS file in order to optimize page load time.
Once you upload the CSS and JS files, you can see them in the External JavaScript and CSS files section of the custom template Edit page. You can also implement full or partial advanced personalization by using custom templates.
HEAD Information
In addition to customizing the CSS and JS files, you can also edit the following:
- Doctype declaration
- Page title
- META & CSS
- HTML code
- JavaScript code
Click Save after you’re done making inline changes
Scroll down to the bottom of the page and click the Save button. The Save with comments button is designed to allow you to add observations to a custom template.
BODY Information
The BODY Information section allows you to modify the HTML code for the body of the page as well as the JavaScript code.
Click Save after you’re done making changes