Configuring Static IP
Last updated: 04-Dec-2024
The user can configure the Static connection type by using Com Control Panel (CCP) and following steps are provided with respect to LAN configuration.
| Display | Steps Details |
|---|---|
|
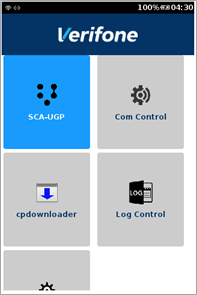
Press 1 5 9 simultaneously on the device to start the application Mac Menu. |
|
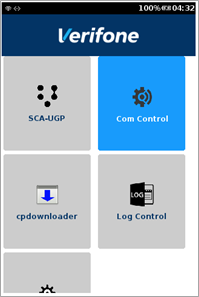
Select Com Control option. |

|
CCP screen is starting. |
|
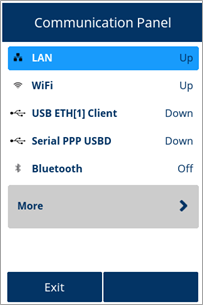
Communication Panel screen displaying the connection status. Select LAN to configure the network. |
|
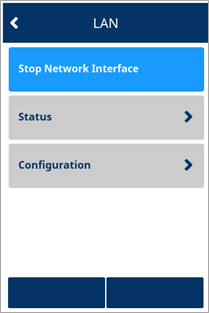
LAN configuration page. Select Configuration to configure Network communication. |
|
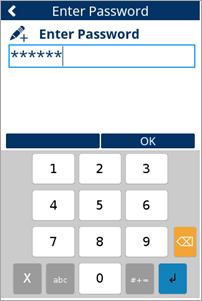
Enter password screen is displayed. Enter the required password or reach out to Verifone Contact for actual password and press Ok or Enter. |
|
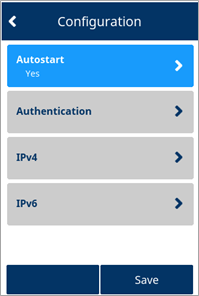
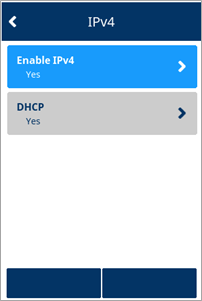
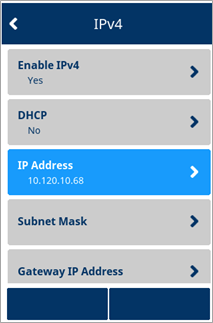
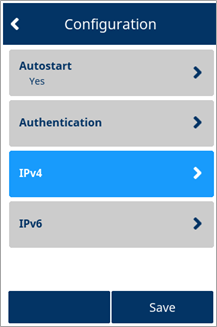
Configuration page with the list of actions. Select IPv4 to configure Static connection type. |
|
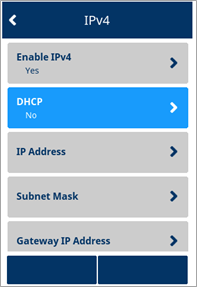
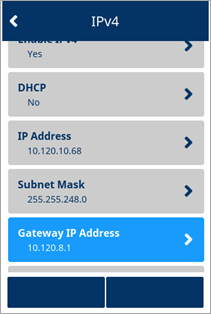
Select DHCP option as No. |
|
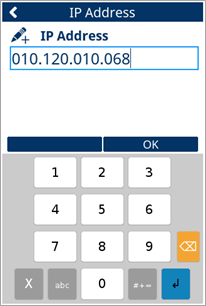
Select IP Address. |
|
Enter IP Address value and press OK. |
|
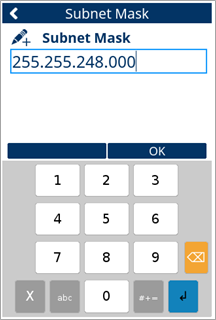
Select Subnet Mask. |
|
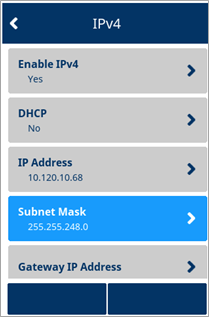
Enter Subnet Mask value and press OK. |
|
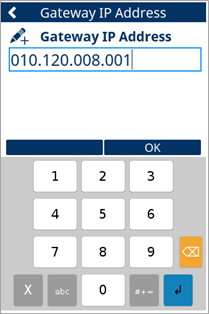
Select Gateway IP Address. |
|
Enter Gateway IP Address value and press OK. |
|
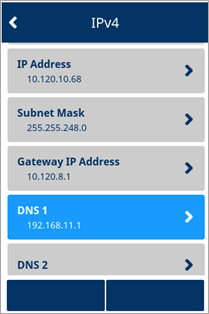
Select DNS1. |

|
Enter DNS 1 value and press OK. |
|
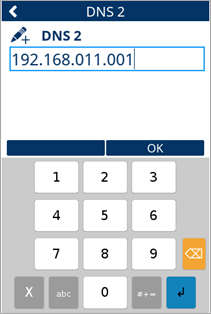
Select DNS2. |
|
Enter DNS 2 value and press OK. |
|
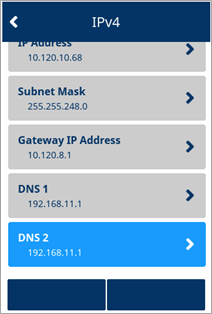
All values enter for the configuration. |
|
Save the details. |
|
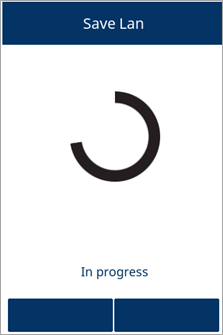
Static connection configuration of LAN is in progress. |

|
Configuration accepted screen, press OK. |
|
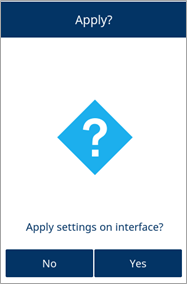
Select Yes to apply the settings and to start the network interface. |
|
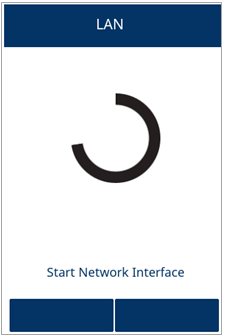
Staring the configured Network Interface. |
|
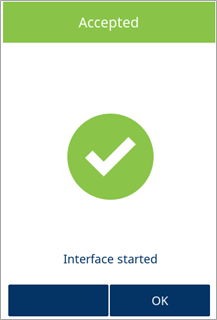
The Static connection for LAN is configured. Press OK and reboot the device to apply the changes and check the status. |