IP over USB
Last updated: 25-Oct-2023
| Step | Screen Information | Rebranded Screen Information | Instruction |
|---|---|---|---|
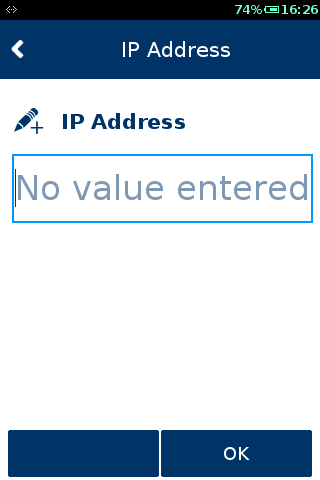
| 1 | 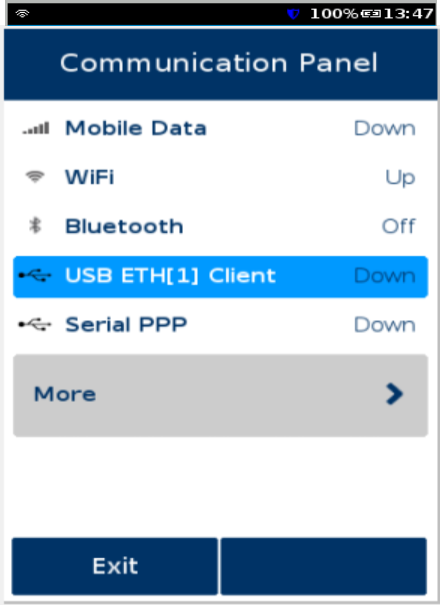 |
 |
Select USB ETH(1) Client. The terminal proceeds to the next step. |
| 2 | 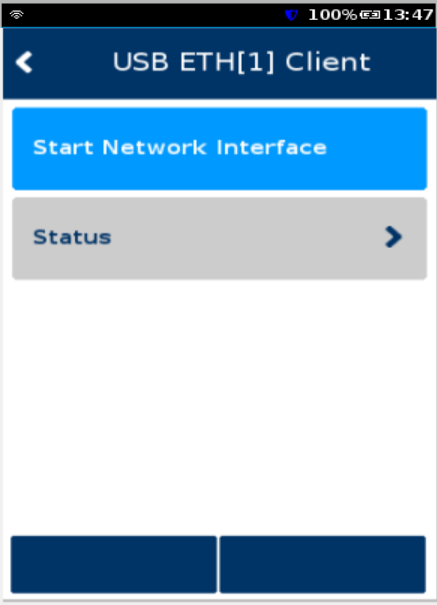 |
 |
|
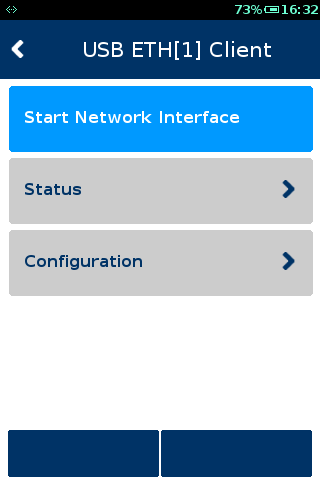
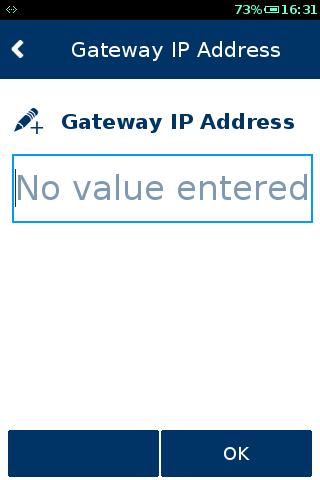
| 3 | 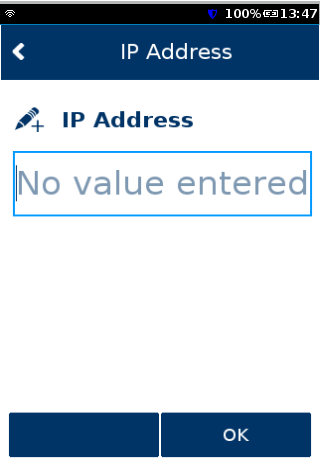 |
 |
|
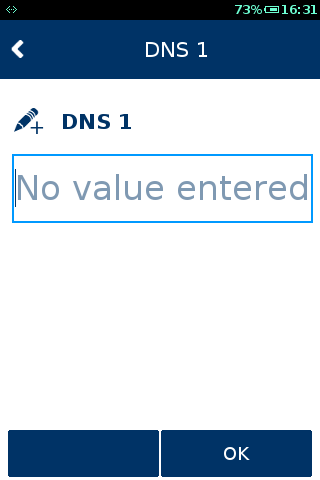
| 4 |  |
 |
|
| 5 |  |
 |
|
| 6 | 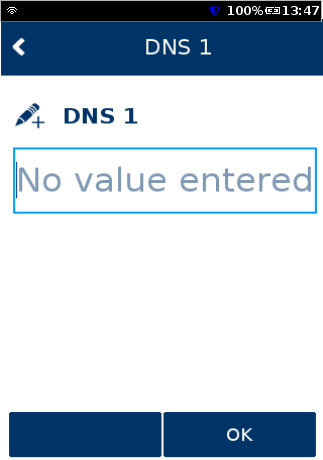 |
 |
|
| 7 | 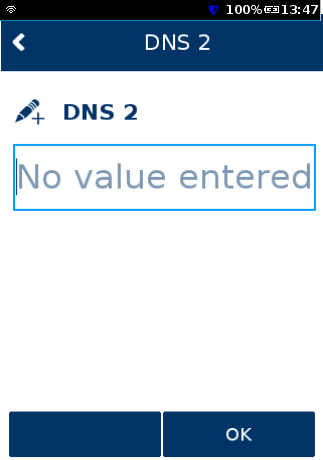 |
 |
|
| 8 | 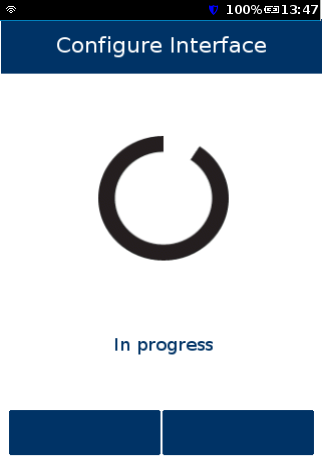 |
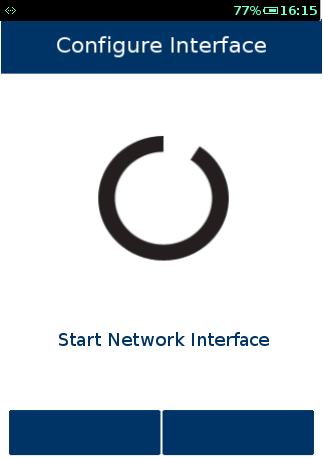 |
The terminal tries to configure interface selected. |
| 9 | 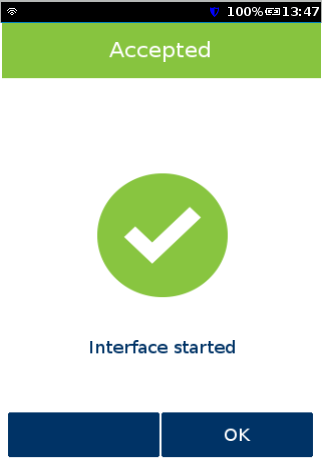 |
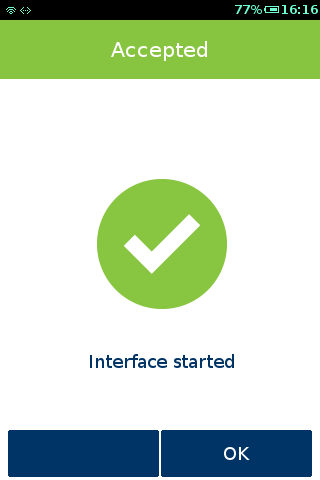 |
User timeout or press |