Administration Functions
The section covers further functionality used in the operation of the terminal.
| Screen Information | Rebranded Screen Information |
 |
|
Batch
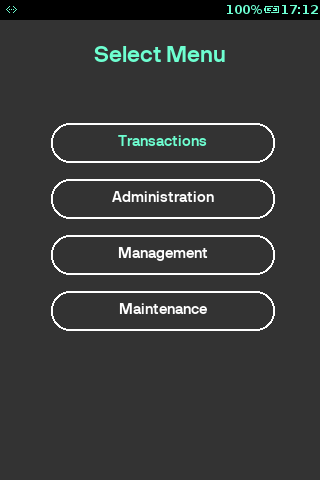
On clicking Batch from the Administration, it displays the below options on the terminal to choose from.
| Step | Instruction | Screen Information | Rebranded Screen Information |
|---|---|---|---|
| 1 | Terminal displays the available Batch menu options. | 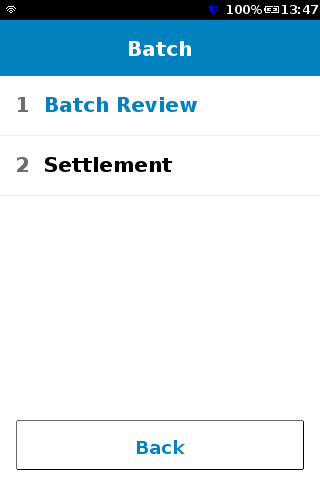 |
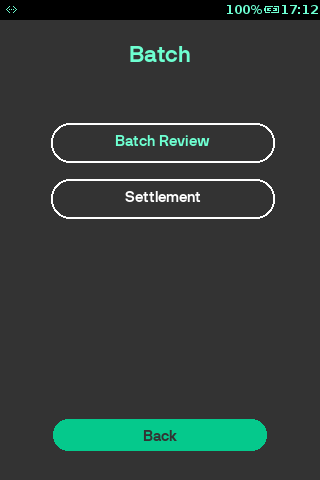 |
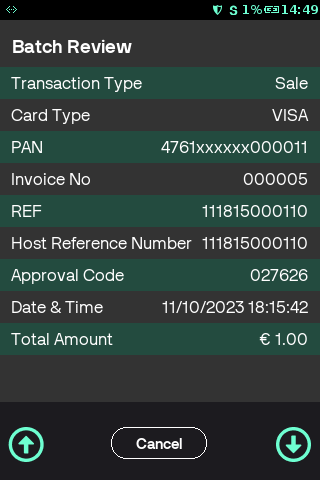
Batch Review
The Batch Review functionality is the feature which allows the User to check details of successful transactions in the past.
| Step | Instruction | Screen Information | Rebranded Screen Information |
|---|---|---|---|
| 1 | Select menu from idle screen. |  |
 |
| 2 | Select Administration. |  |
 |
| 3 | Select Batch. |  |
|
| 4 | Select Batch Review from the options. |  |
|
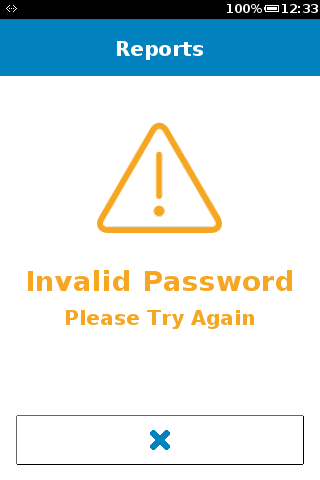
| 5 | Enter the password. | None. | 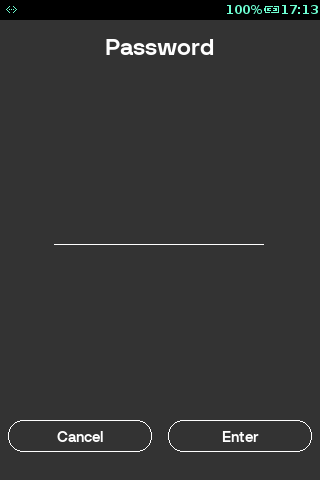 |
| 6 | Terminal displays all successful transactions that are in the batch. | 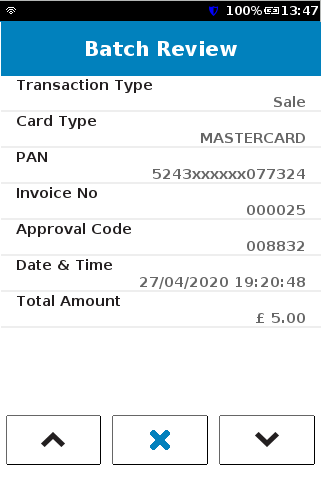 |
 |
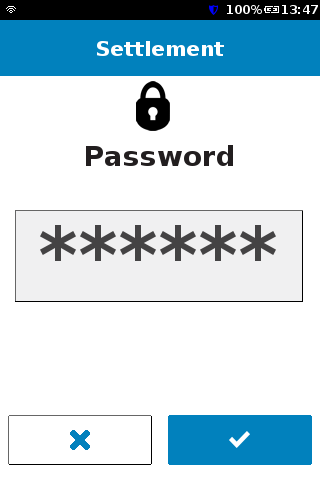
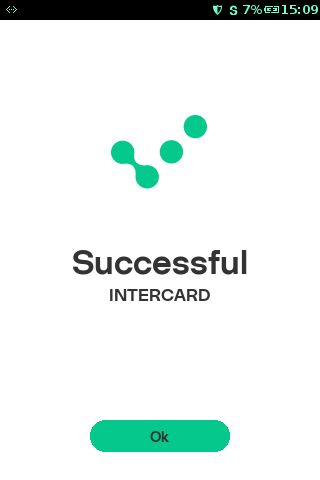
Settlement
This Settlement is used to settle the transactions in current batch.
| Step | Instruction | Screen Information | Rebranded Screen Information |
|---|---|---|---|
| 1 | Select menu from idle screen. |  |
|
| 2 | Select Administration. |  |
|
| 3 | Select Batch. |  |
|
| 4 | Select Settlement from the options. |  |
|
| 5 | The terminal prompts for password entry. Enter the password and then press |
 |
|
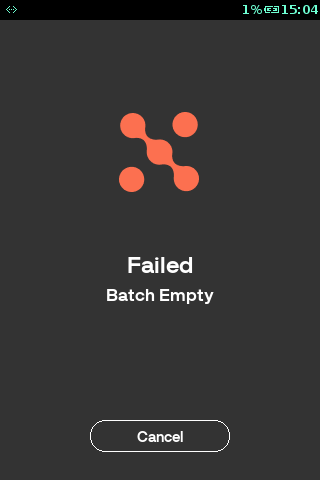
| 6 | The terminal tries to process the settlement request. | 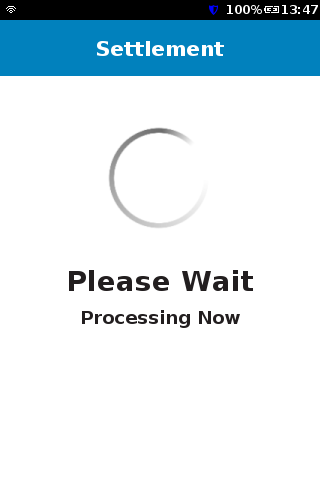 |
 |
| 7 | The terminal connects to the payment processing host to send the settlement request. | 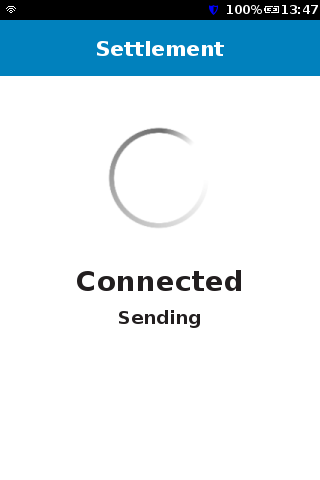 |
 |
| 8 | The terminal receives the settlement response from host. | 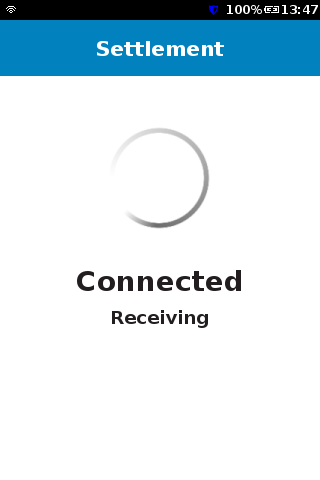 |
 |
| 9 | The terminal then prints the settlement summary report. | 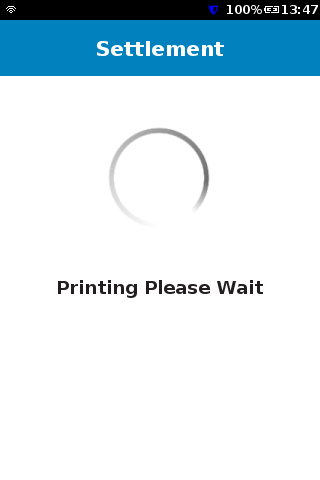 |
 |
| 10 | The terminal displays settlement approved screen. | 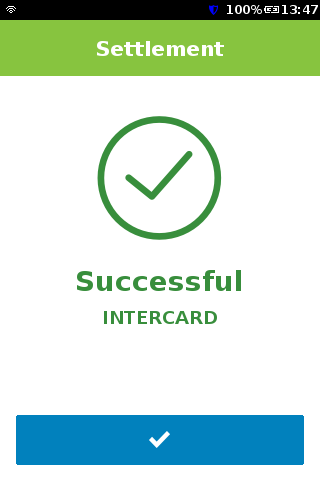 |
 |
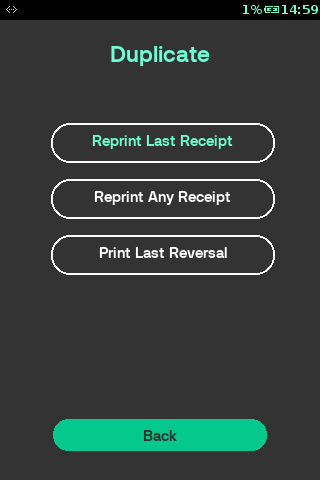
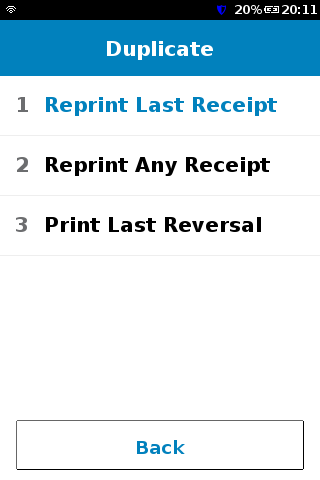
Duplicate
The second option Duplicate provides choice of previous transactions printing. The User can print a copy of the Merchant or customer receipt that is stored within the terminal.
| Step | Instruction | Screen Information | Rebranded Screen Information |
|---|---|---|---|
| 1 | Duplicate menu option allows the User to search for the three available types of transactions. |  |
 |
Reprint Last Receipt
This operation is used to print the last receipt, be it a sale, refund or a void.
| Step | Instruction | Screen Information | Rebranded Screen Information |
|---|---|---|---|
| 1 | Select menu from idle screen. |  |
|
| 2 | Select Administration. | 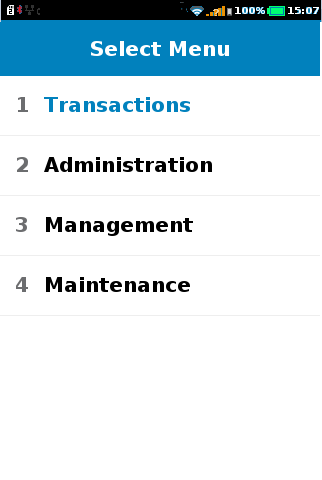 |
|
| 3 | Select Duplicate. |  |
|
| 4 |
|
 |
|
| 5 | Enter the password. | None. | |
| 6 | Press
|
None. | 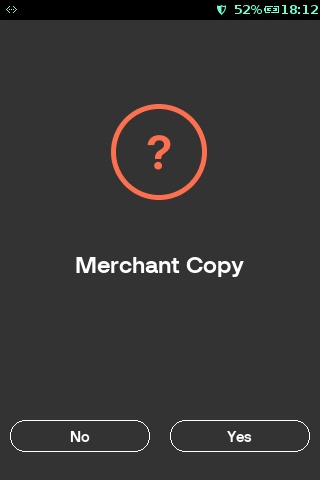 |
| 7 | The last Merchant receipt is printing. |  |
 |
| 8 |
|
 |
 |
| 9 | Press |
 |
 |
Reprint Any Receipt
This transaction is used to print the receipt for a specific transaction by entering the invoice number.
| Step | Instruction | Screen Information | Rebranded Screen Information |
|---|---|---|---|
| 1 | Select menu from idle screen. |  |
|
| 2 | Select Administration. |  |
|
| 3 | Select Duplicate. |  |
|
| 4 | Select Reprint Any Receipt from the options. |  |
|
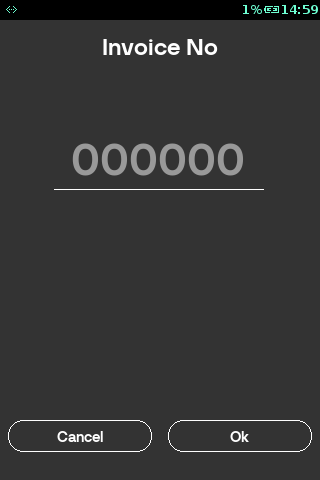
| 5 | Enter the password. | None. | |
| 6 |
|
 |
 |
| 7 |
Press
|
None. | |
| 8 | The selected Merchant receipt is printing. |  |
|
| 9 |
|
 |
|
| 10 | Press |
 |
|
Print Last Reversal
This option is used to print the last reversal receipt.
| Step | Instruction | Screen Information | Rebranded Screen Information |
|---|---|---|---|
| 1 | Select menu from idle screen. |  |
|
| 2 | Select Administration. |  |
|
| 3 | Select Duplicate. |  |
|
| 4 | Select Print Last Reversal from the options. |  |
|
| 5 |
Press
|
None. | |
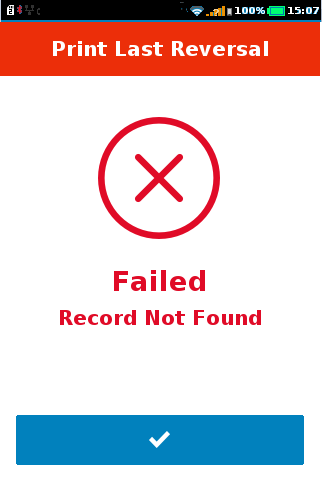
| 6 | The last reversal Merchant receipt is printing. If no records found terminal proceeds to Step 8. | 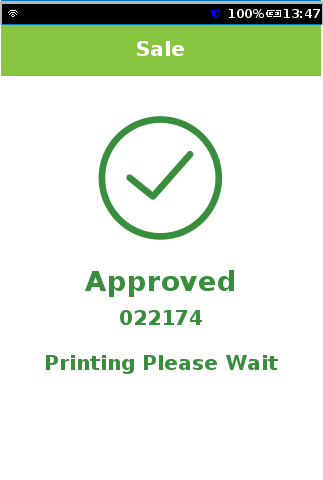 |
|
| 7 |
|
 |
|
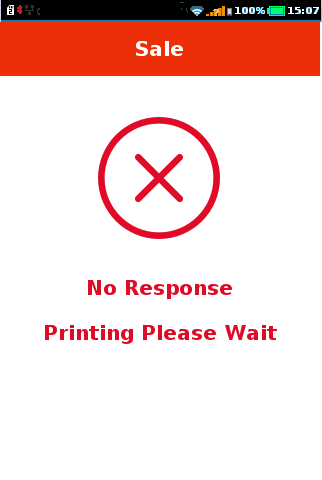
| 8 |
The Terminal prints the receipt of last reversal transaction. The screen displays the reason for last reversal. In this case, No Response is the reason for previous reversal. |
 |
None. |
| 9 | Press |
 |
|
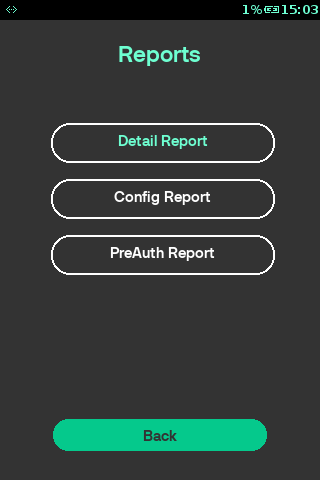
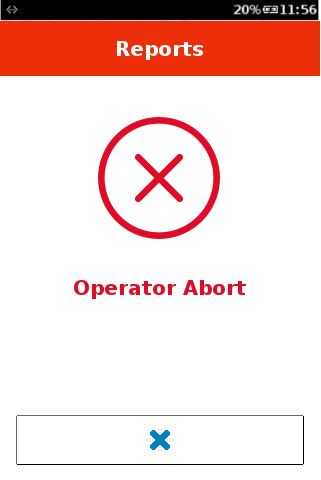
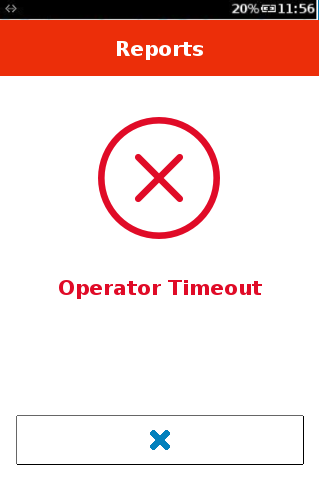
Report
The Reports section covers two reports generated for different transactions.
Note that by default, the rebranded solution supports PreAuth report as well. To enable X and Z reports in the rebranded solution, configure the parameters SHIFT_REPORT_PRINT_ENABLED, END_OF_DAY_REPORT_PRINT_ENABLED from Terminal Features table.
| Step | Instruction | Screen Information | Rebranded Screen Information |
|---|---|---|---|
| 1 | Terminal displays the available types of reports. | 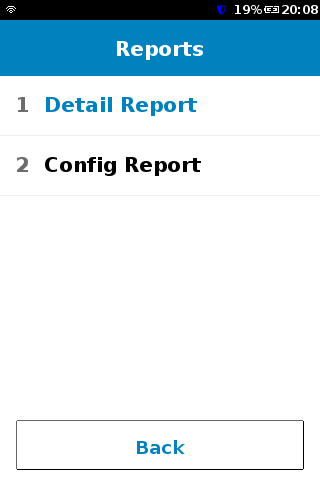 |
 |
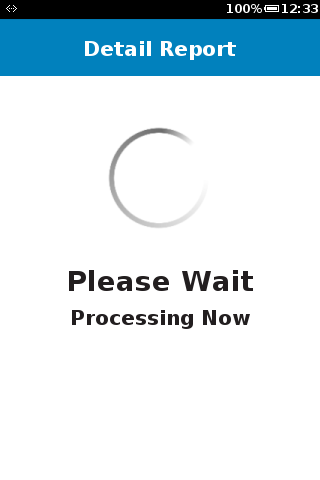
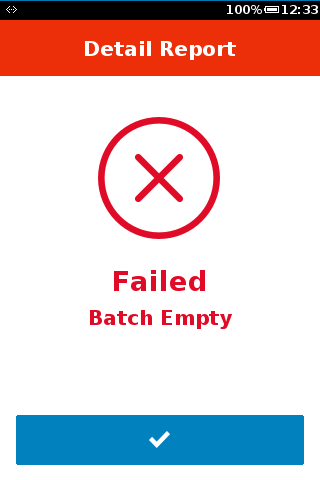
Detail Report
The Detail Report functionality prints detailed information for each transaction, card totals by card label/type, and grand totals.
| Step | Instruction | Screen Information | Rebranded Screen Information |
|---|---|---|---|
| 1 | Select menu from idle screen. |  |
|
| 2 | Select Administration. |  |
|
| 3 | Select Reports. |  |
|
| 4 |
|
 |
|
| 5 | Select Detail Report position. |  |
|
| 6 |
|
 |
|
| 7 | Press |
 |
 |
| 8 | Press |
 |
 |
| 9 | Press |
 |
 |
| 10 | Press |
 |
 |
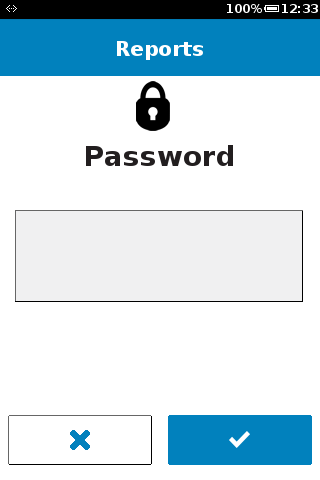
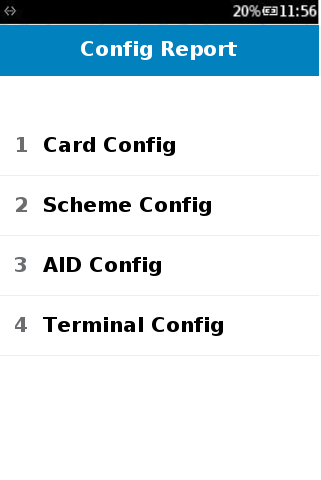
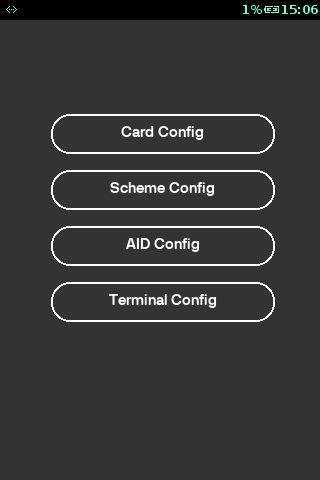
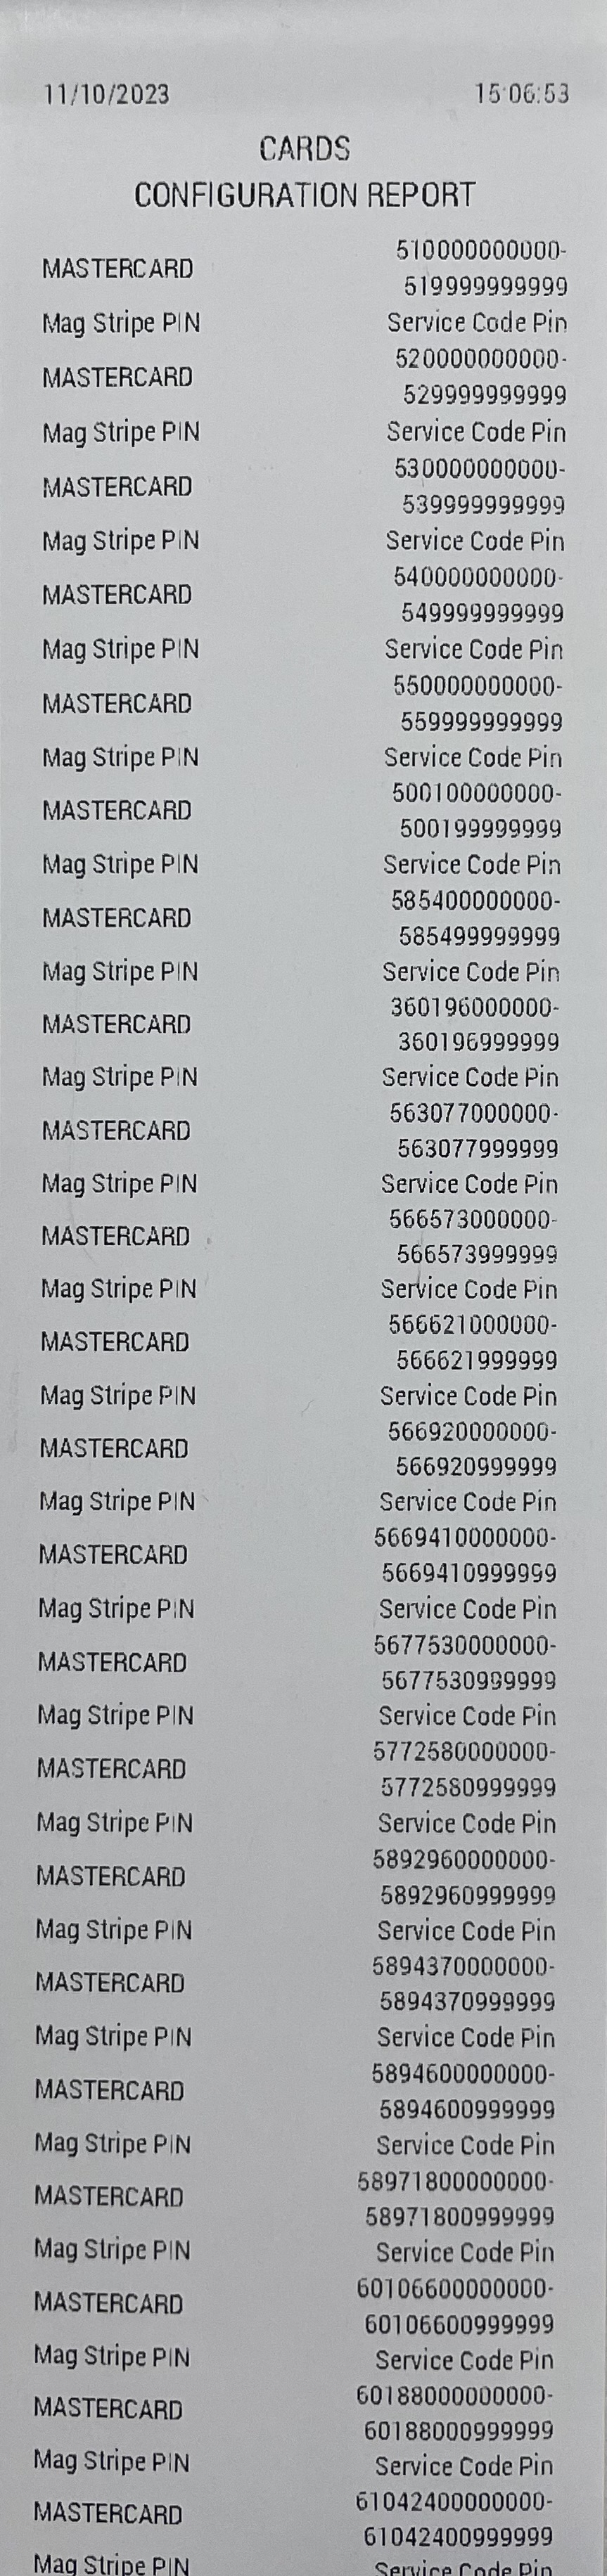
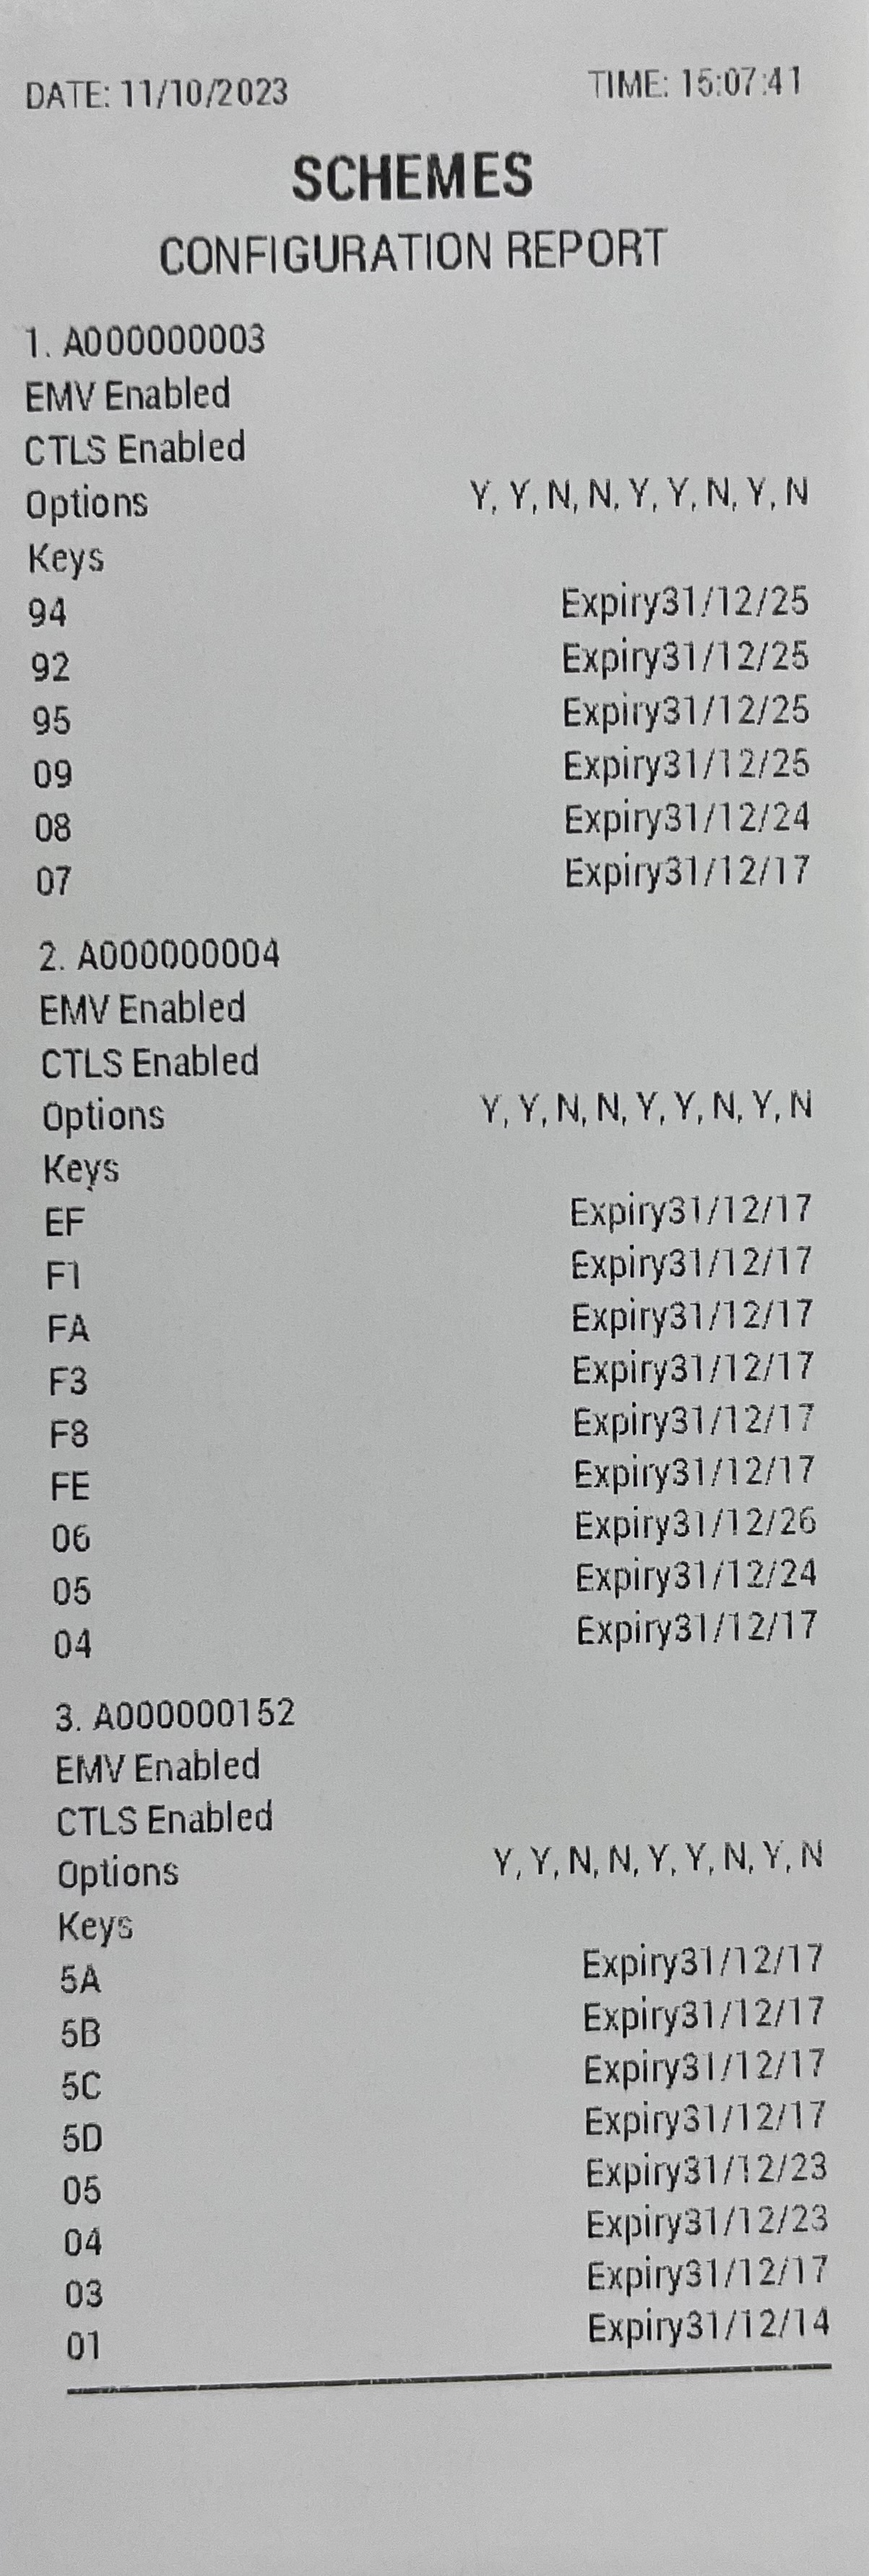
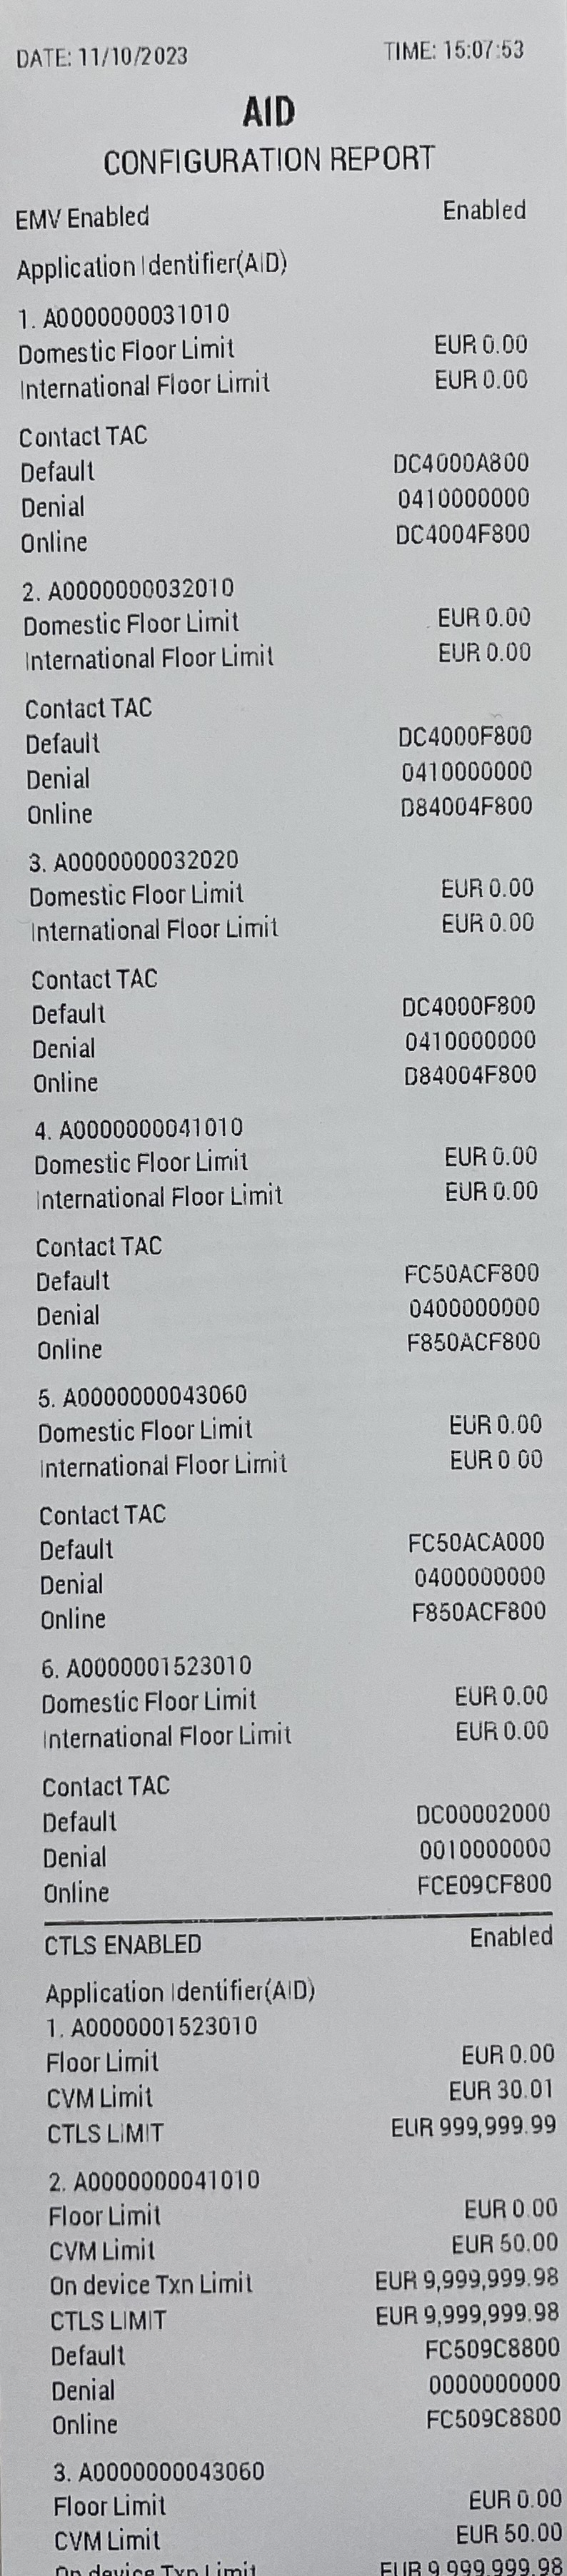
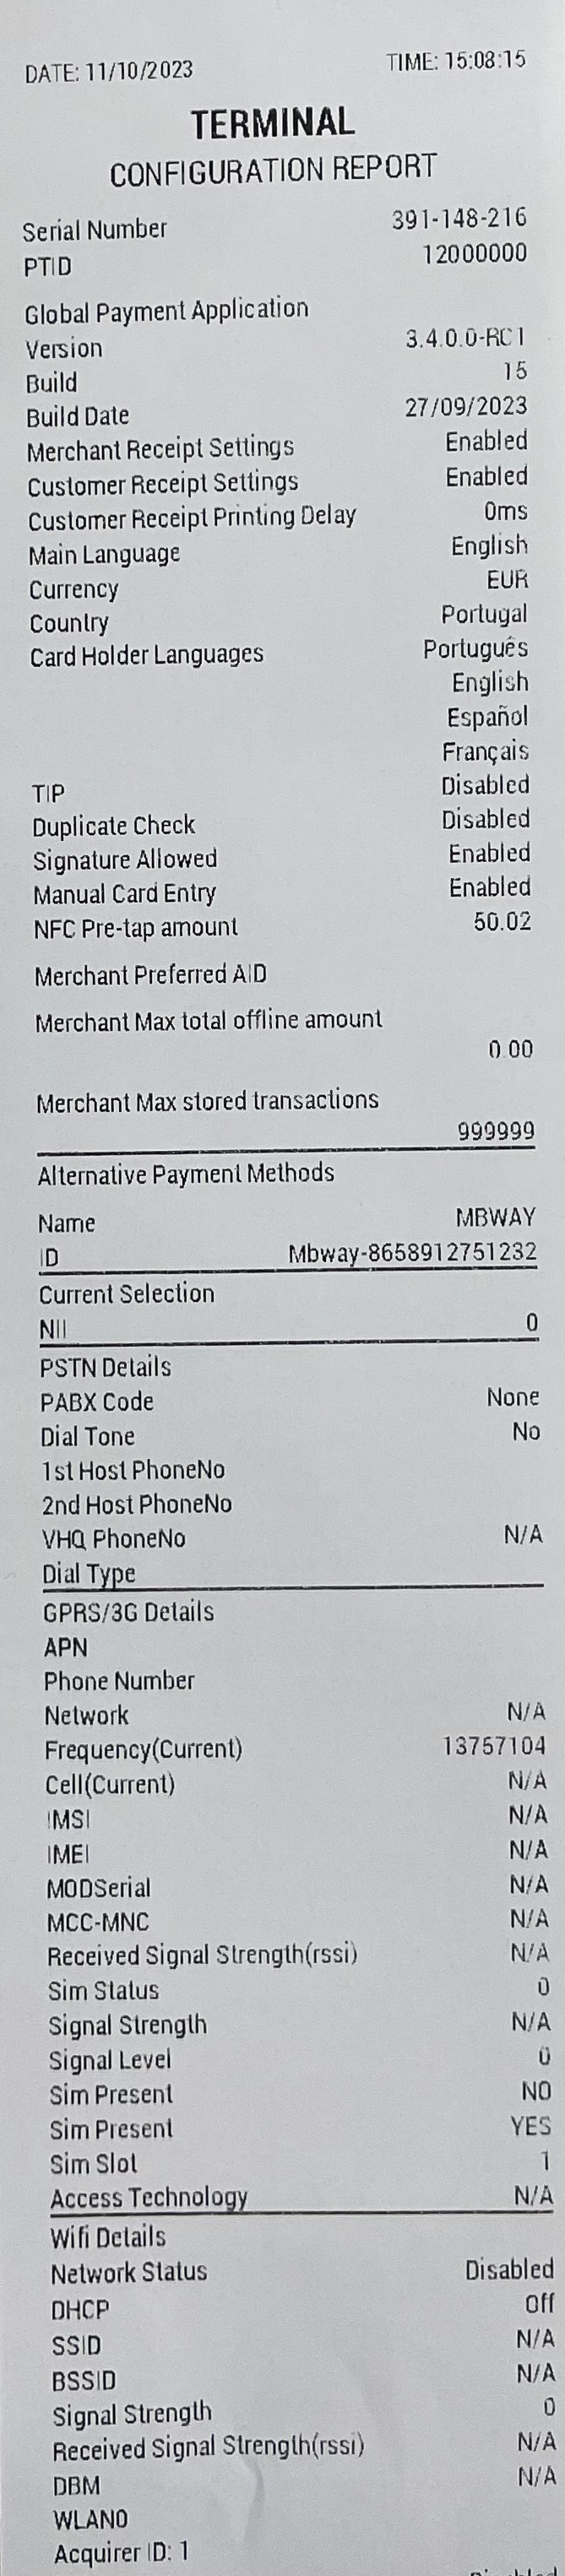
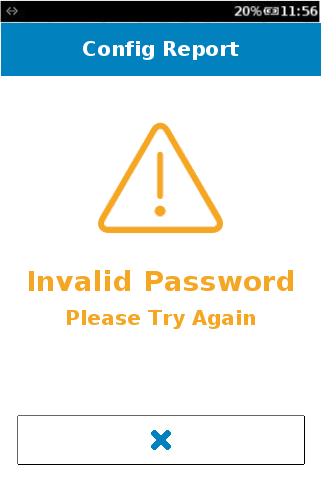
Config Report
The Config Report functionality is the feature which allows the Merchant to print Card Config, Scheme Config, AID Config and Terminal Config.
| Step | Instruction | Screen Information | Rebranded Screen Information |
|---|---|---|---|
| 1 | Select |
 |
|
| 2 | Select Administration. | 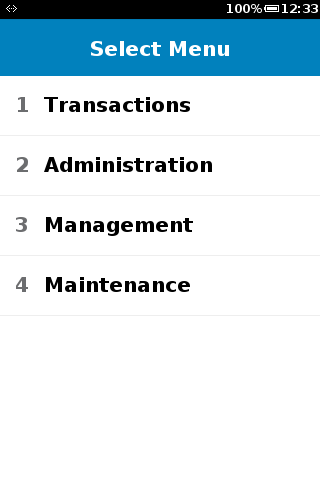 |
|
| 3 | Select Reports. | 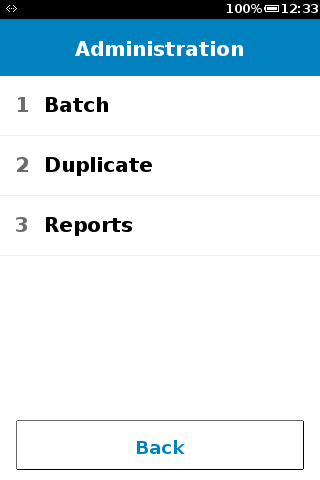 |
|
| 4 |
|
 |
|
| 5 | Select Detail Report position. | 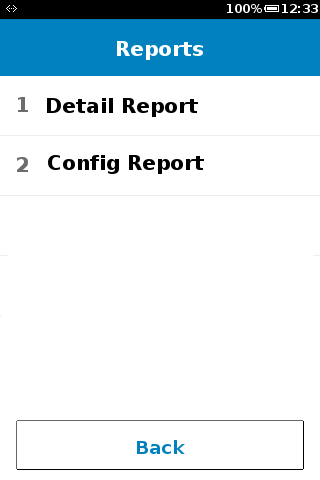 |
|
| 6 |
Select one appropriate option from:
|
 |
 |
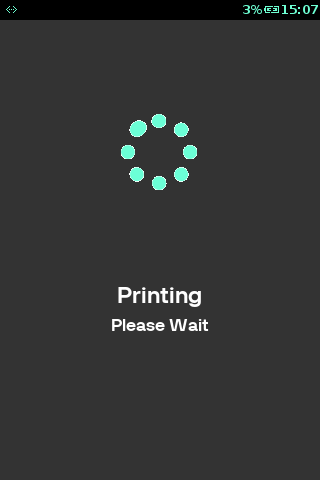
| 7 | Prints selected configuration. | 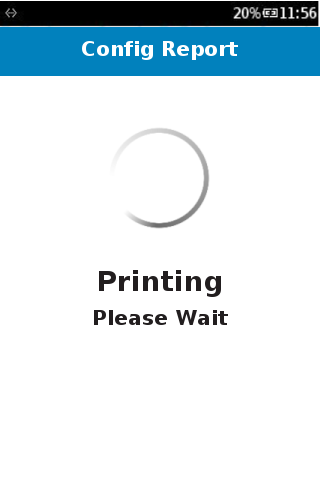 |
 |
| 8 |
Card Configuration Report. Press
key key for virtual report. Goes back to step 5. |
 |
 |
| 9 |
Scheme Configuration Report. Press
key for virtual report. Goes back to step 5. |
 |
 |
| 10 |
AID Configuration Report. Press
key for virtual report. Goes back to step 5. |
 |
 |
| 11 |
Terminal Configuration Report. Press
key for virtual report. Goes back to step 5. |
 |
 |
| 12 | Press |
 |
 |
| 13 | Press |
 |
None. |
| 14 | Press |
 |
|
| 15 | Press |
 |
 |
PreAuth Report
The Preauth report functionality is the feature that prints all non-voided and non-completed pre-auth transactions. The feature prompts the Terminal to prints-out individual pre-auth transactions details as well as the issuer base total of pre-auth records count, and the amount.
| Step | Instruction | Rebranded Screen Information |
|---|---|---|
| 1 | Select menu from idle screen. |  |
| 2 | Select Administration. |  |
| 3 | Select Reports. |  |
| 4 |
|
 |
| 5 | Select PreAuth Report. |  |
| 6 |
|
 |
| 7 | Press |
 |
| 8 | Press |
 |
| 9 | Press |
 |
| 10 | Press |
 |
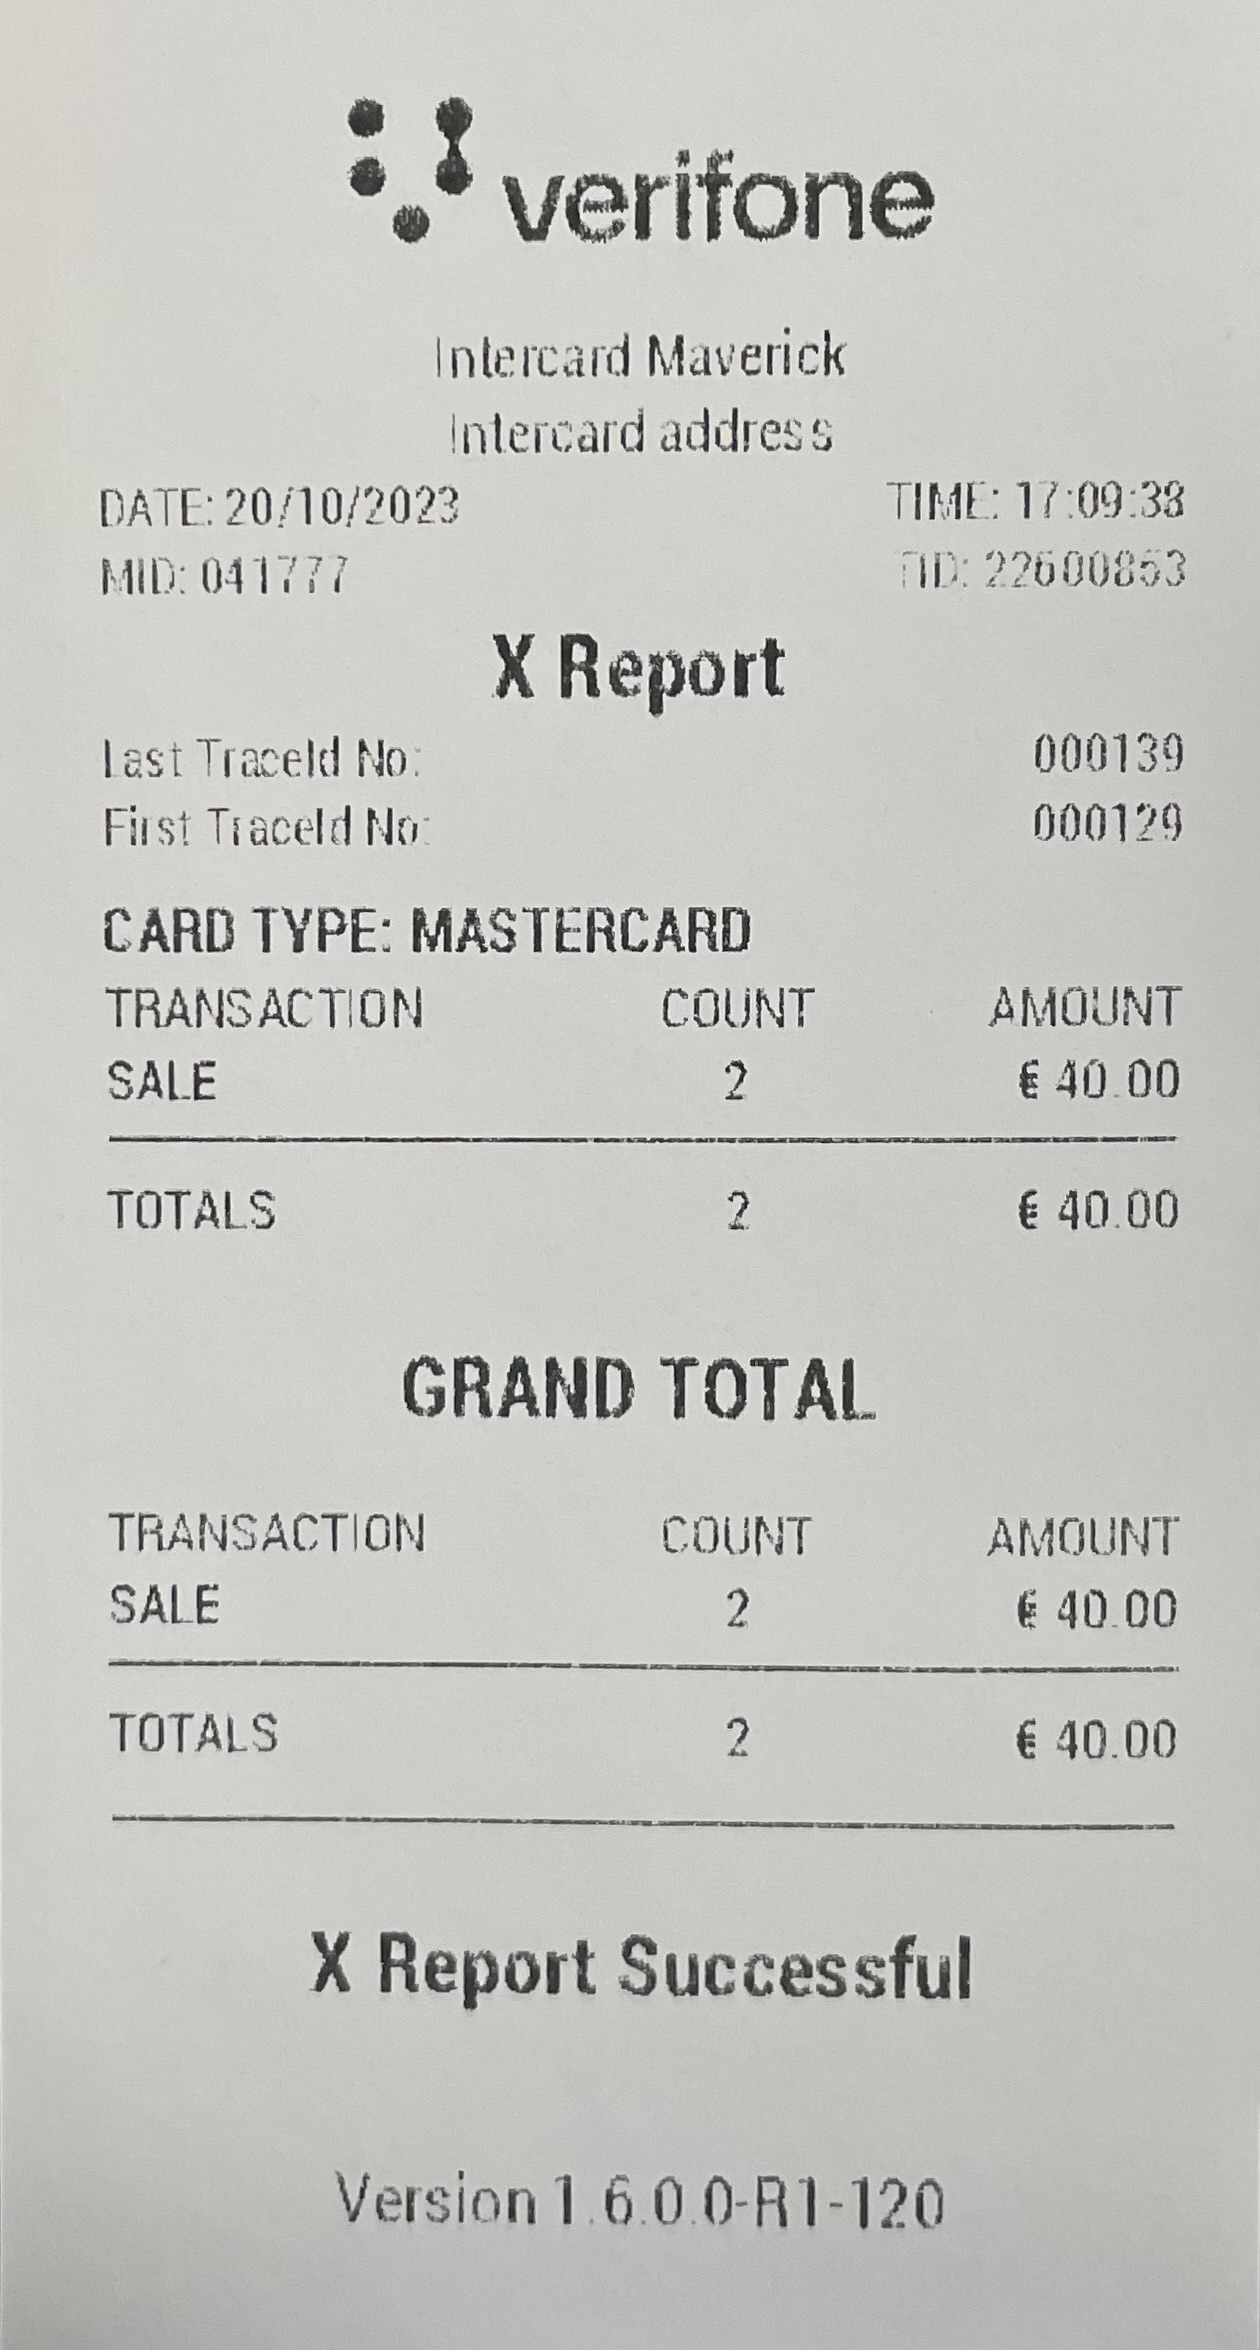
X (Mid-Shift/Day) Report
The X report is a mid-shift report that provides detail on transactions that have been performed from the beginning of the shift/day until the present moment. It is used to see a running total of transactions at any point during the trading day. To enable this feature, configure the parameter SHIFT_REPORT_PRINT_ENABLED under Terminal Features table.
| Step | Instruction | Rebranded Screen Information |
|---|---|---|
| 1 | Select menu from idle screen. | |
| 2 | Select Administration. | |
| 3 | Select Reports. | |
| 4 |
|
|
| 5 | Select X Report. |  |
| 6 | The terminal processes the request and connects with the host. |  |
| 7 | On successful operation, the terminal prints the X report. |  |
| 8 | The terminal displays the approved screen. |  |
Sample Receipt:
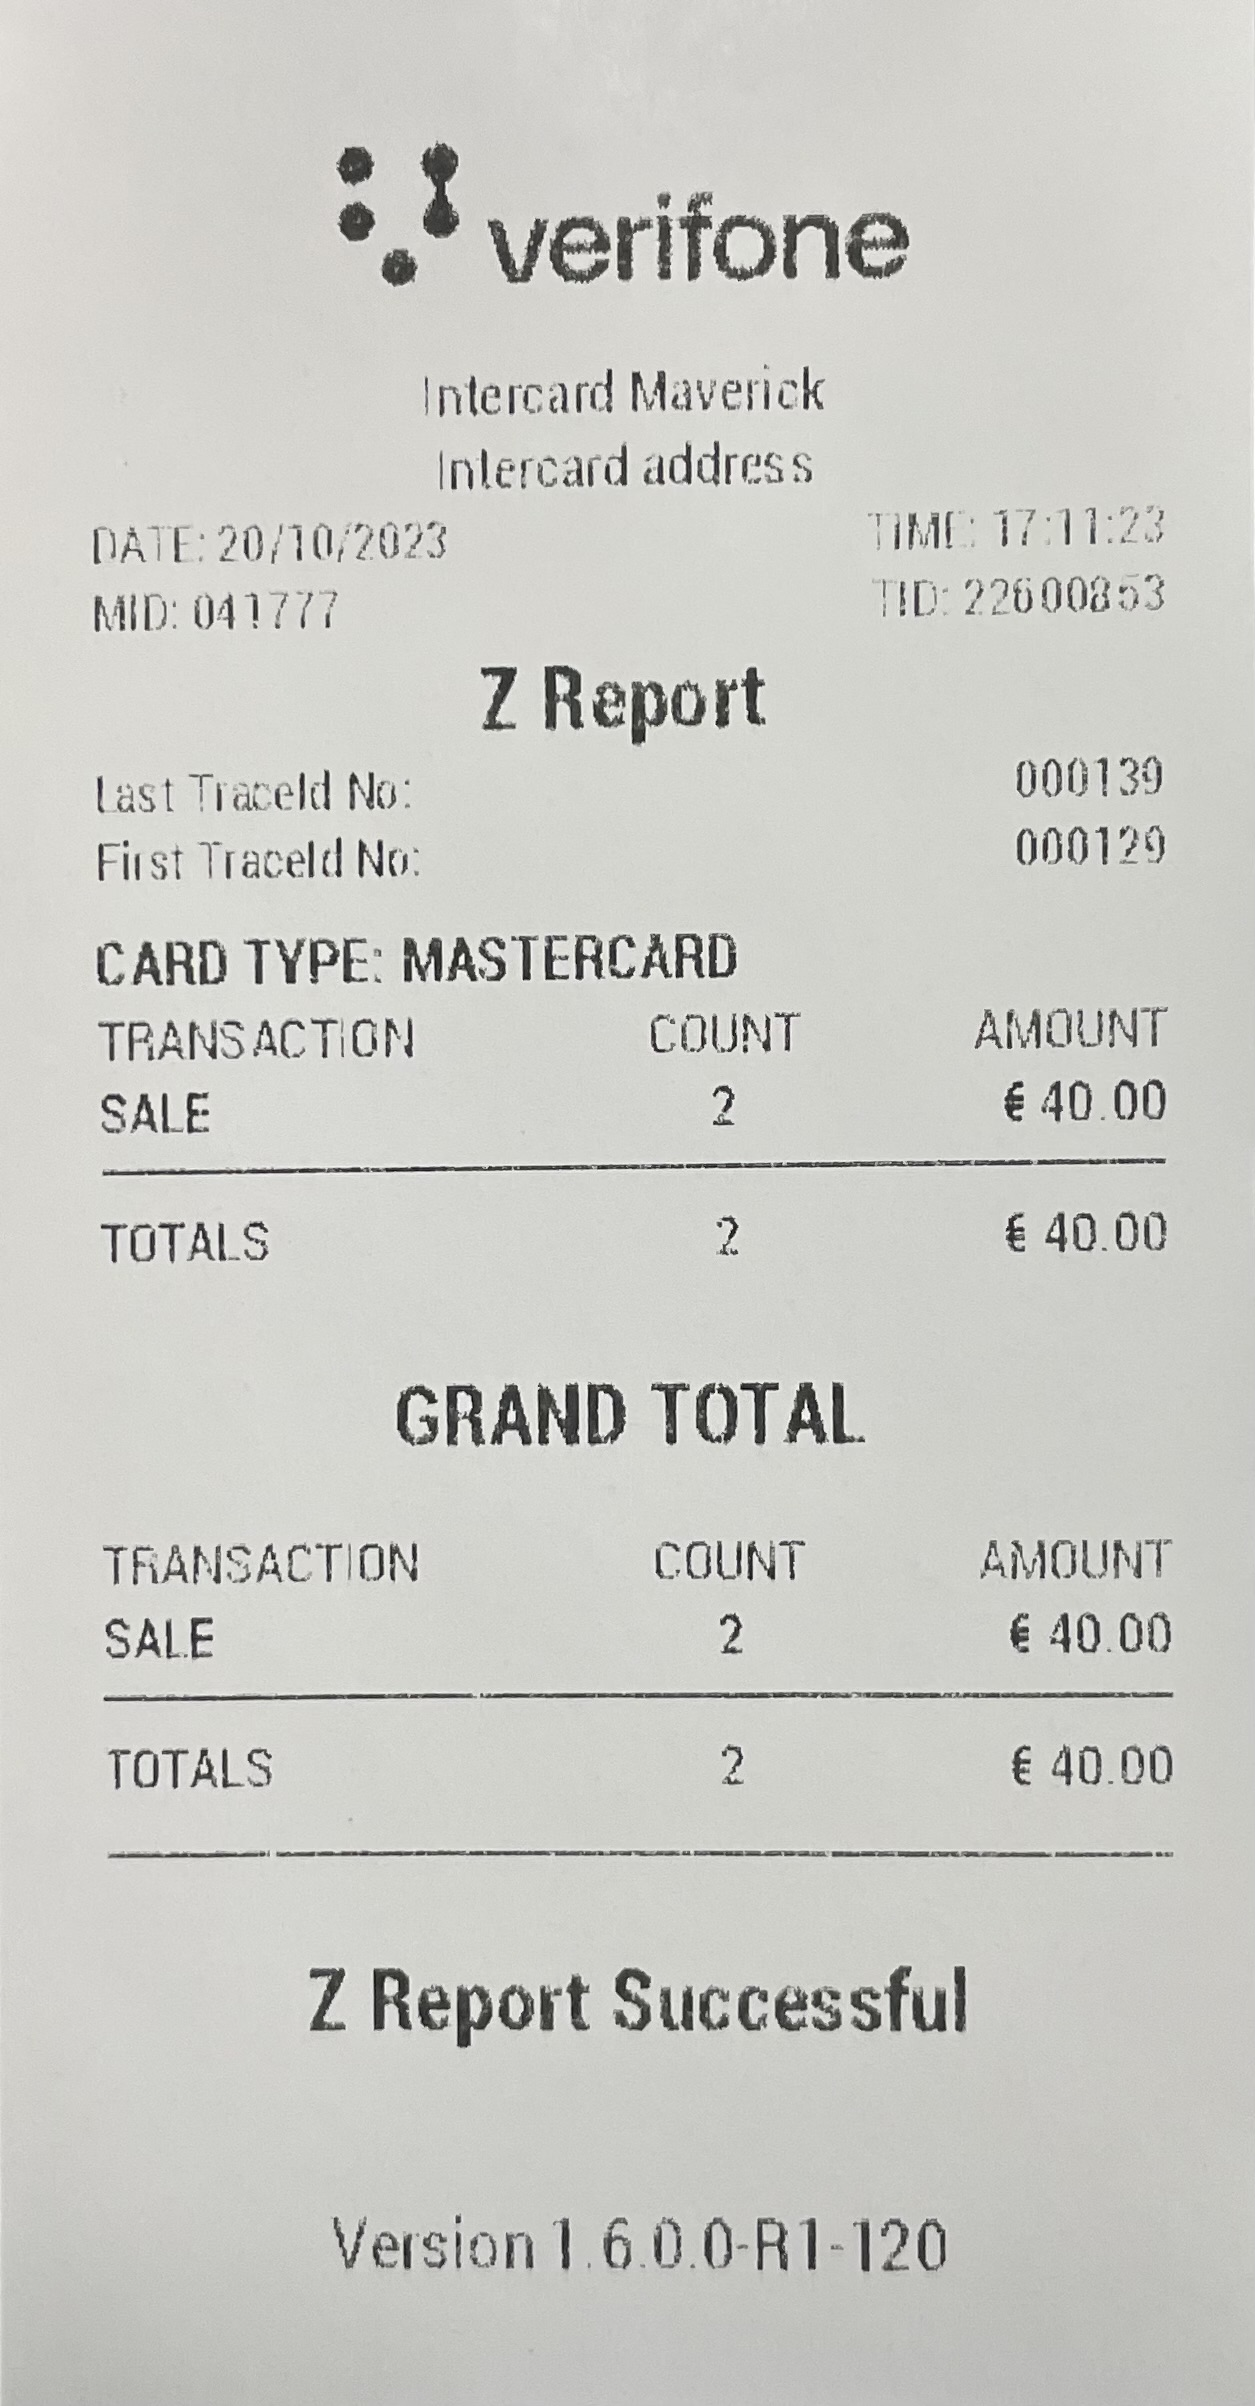
Z (Mid-Shift/Day) Report
The Z report is an end of shift/day report that covers the transactions performed during the entire shift/day from the beginning till the end. It is used to review the end of day trading totals. To enable this feature, configure the parameter END_OF_DAY_REPORT_PRINT_ENABLED under Terminal Features table.
| Step | Instruction | Rebranded Screen Information |
|---|---|---|
| 1 | Select menu from idle screen. | |
| 2 | Select Administration. | |
| 3 | Select Reports. | |
| 4 |
|
|
| 5 | Select Z Report. |  |
| 6 | The terminal processes the request and connects with the host. | |
| 7 | On successful operation, the terminal prints the Z report. | |
| 8 | The terminal displays the approved screen. | |
Sample Receipt: