Start up and Preamble
Prerequisites
Once the device is powered on, the user needs to perform the following steps sequentially.
1. Configure the network communication.
2. Install the updated ADK version in the device. It is recommended to restart the device after successful installation of ADK package.
3. Install SCA Solution package and followed by SCA Configuration package. Once installation is complete, it is recommended to restart the device once more to apply all the changes.
4. Once the device is ready with the required application, the preamble steps will be performed and followed by registering the device in Host. Following screen flows are added for detailing the process.
Setup Screens
M440/M424
Following are the set up screens:
| Display | Description |
|---|---|

|
Starting screen. |
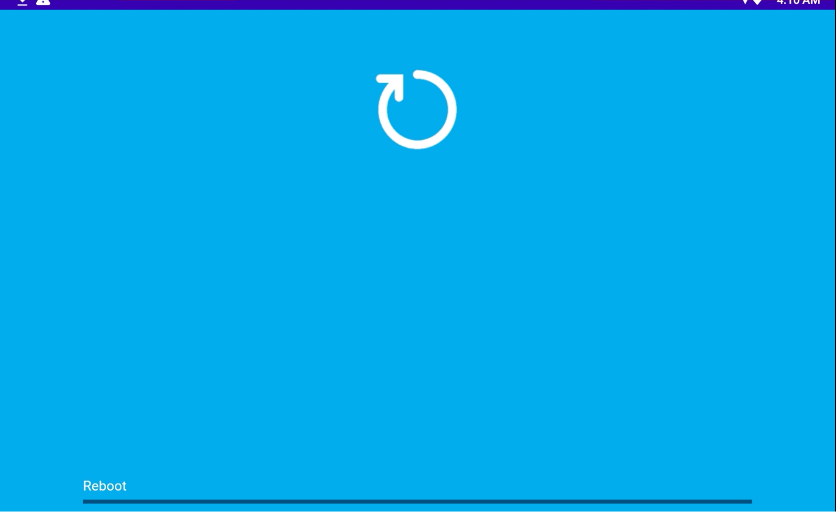
|
Rebooting in progress screen. |
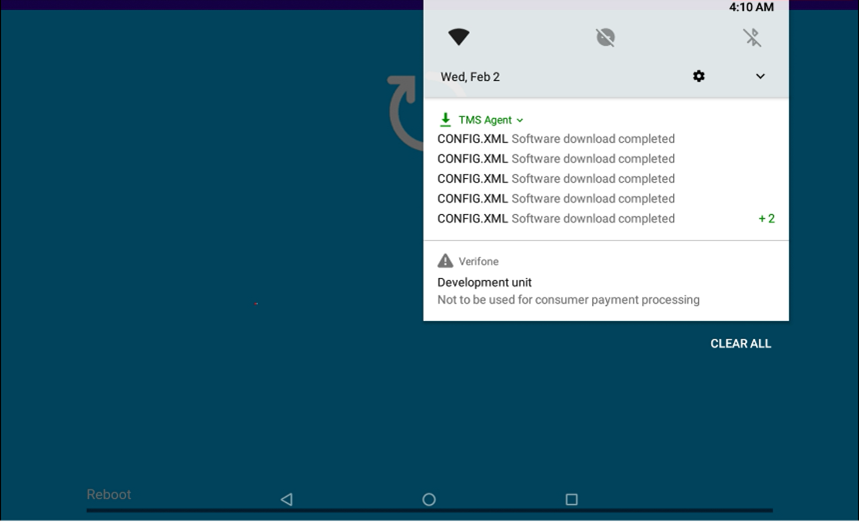
|
Displaying config download status. |

|
Starting application screen. |

|
|
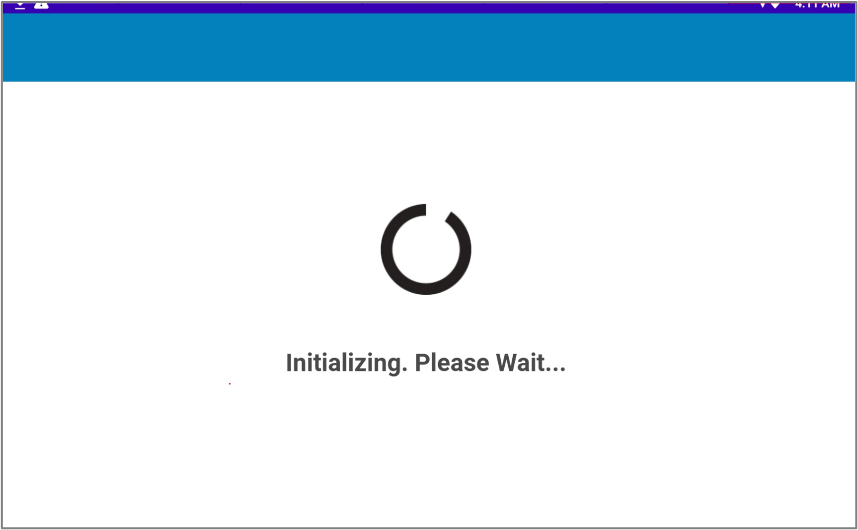
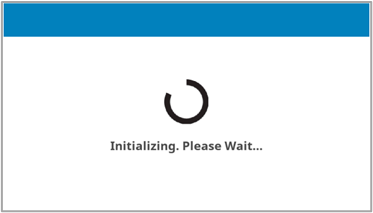
|
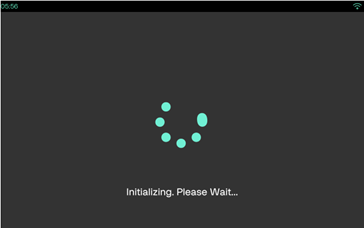
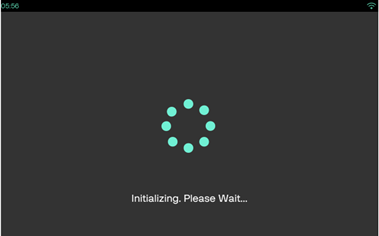
Initialization in progress. |

|
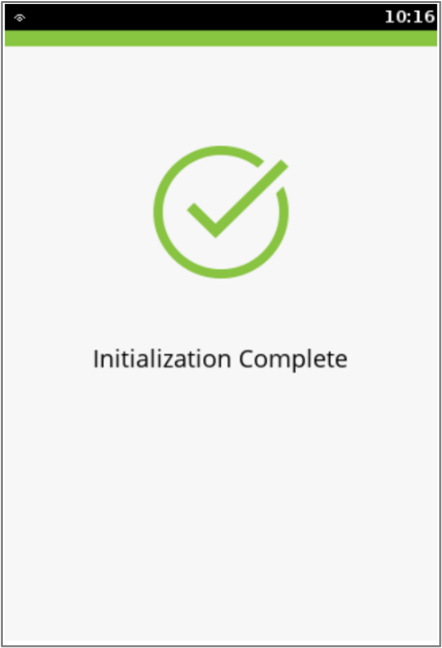
Initialization completed. |

|
Idle screen. |
M400
Following are the set up screens:
| Display | Description |
|---|---|

|
Starting screen. |

|
Application is getting ready. |
|
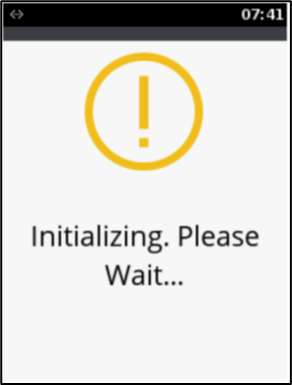
Initialization in progress. |
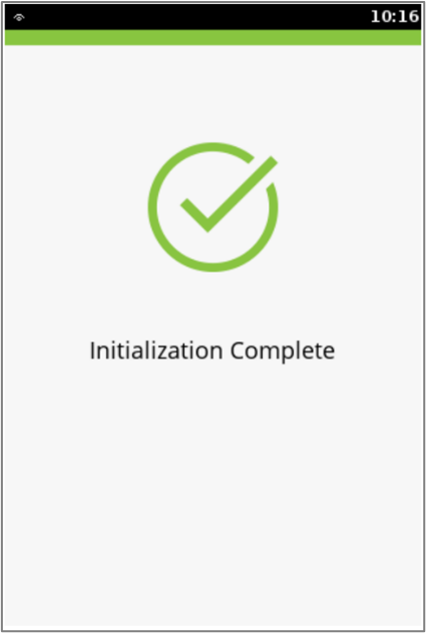
|
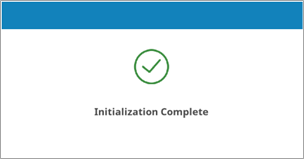
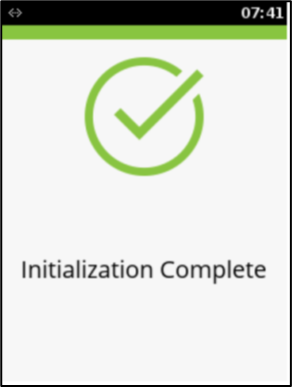
Initialization completed. |
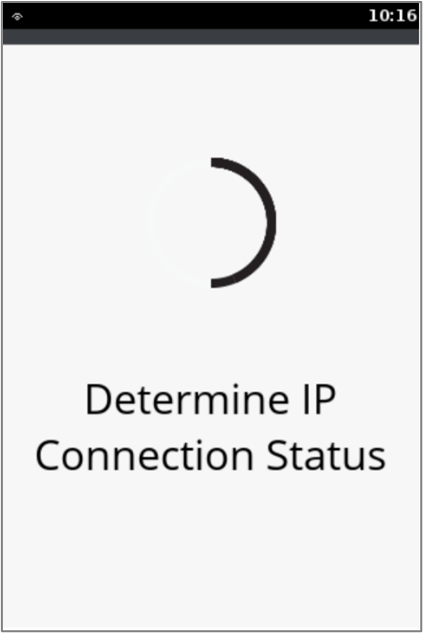
|
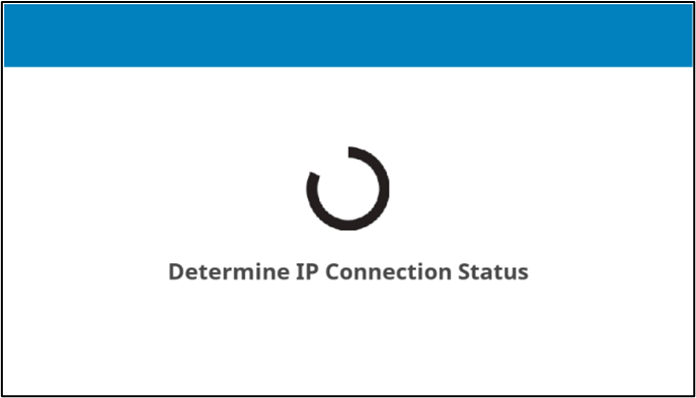
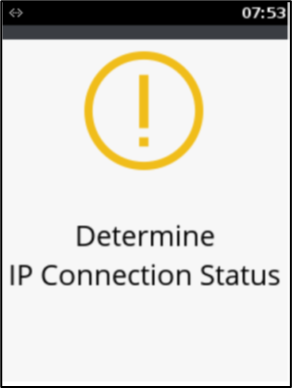
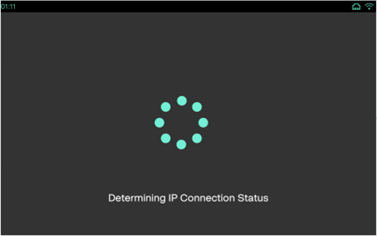
Checking for the IP connection status is in progress. |
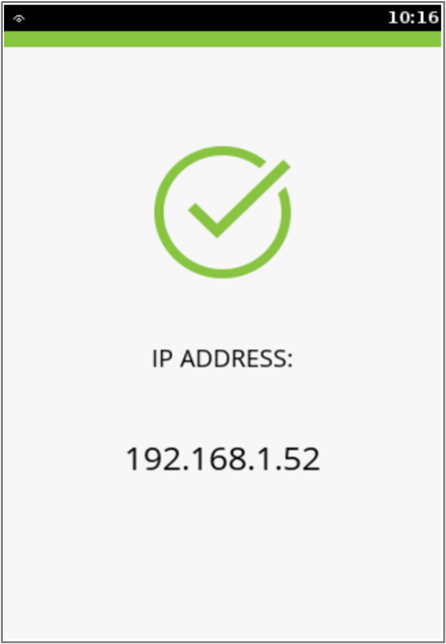
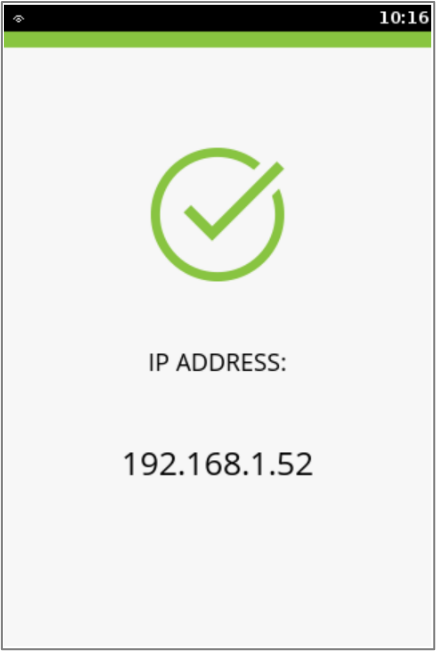
|
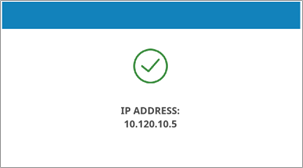
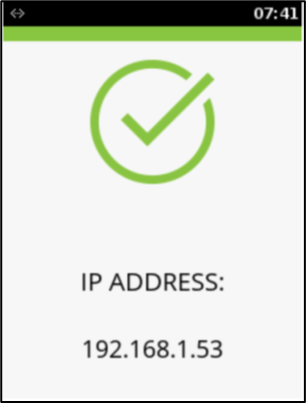
IP connection is established. |
e280
Following are the set up screens:
| Display | Description |
|---|---|

|
Starting screen. |

|
Starting screen. |

|
Application is getting ready. |

|
Initialization in progress. |
|
Initialization completed. |

|
Checking for the IP connection status is in progress. |
|
IP connection is established. |
P400/V400c/V400m
Following are the set up screens:
| Display | Description |
|---|---|

|
Starting screen. |

|
Application is getting ready. |

|
Application is getting ready. |

|
Initialization in progress. |
|
Initialization completed. |
|
Checking for the IP connection status is in progress. |
|
IP connection is established. |
P200/V200/e285
Following are the set up screens:
| Display | Description |
|---|---|

|
Starting screen. |

|
Starting screen. |

|
Application is getting ready. |
|
Initialization in progress. |
|
Initialization completed. |
|
Checking for the IP connection status is in progress. |
|
IP connection is established. |
M450/M425
Following are the set up screens:
| Display | Description |
|---|---|

|
Starting screen. |

|
Application is getting ready. |
|
Initialization in progress. |

|
Initialization completed. |
|
Checking for the IP connection status is in progress. |

|
IP connection is established. |
P630/UX700
Following are the set up screens:
| Display | Description |
|---|---|

|
Starting screen. Application is getting ready. Initialization in progress. |

|
Initialization completed. |

|
Checking for the IP connection status is in progress. |

|
IP connection is established. |
Preamble Screens
M400/M440/M424
Following are the preamble screens:
| Display | Description |
|---|---|
|
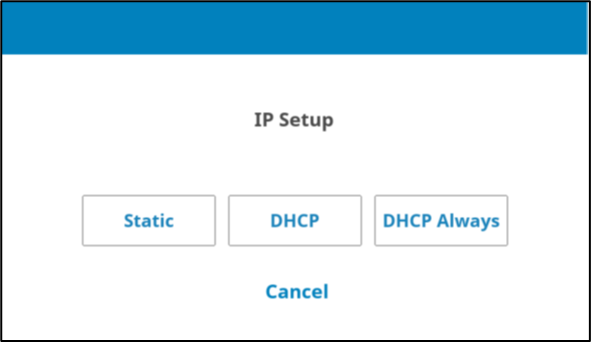
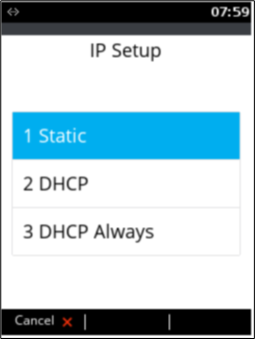
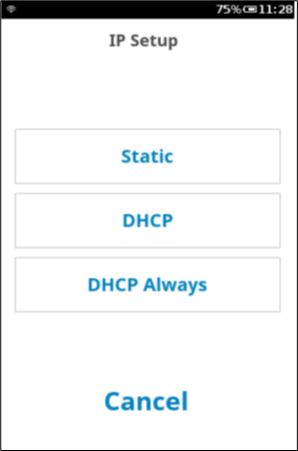
IP Setup options. It is recommended to use DHCP Always. |
|
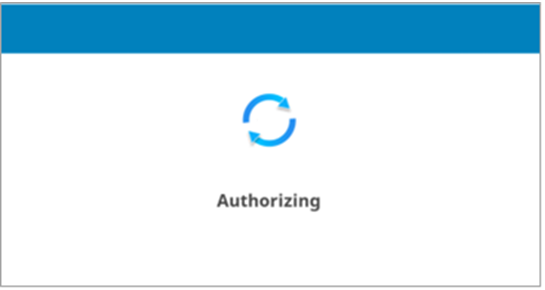
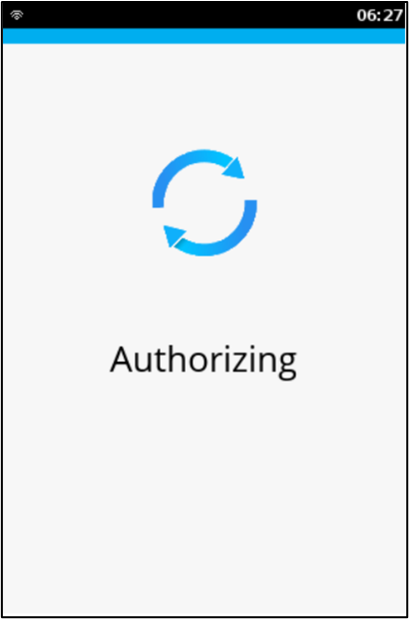
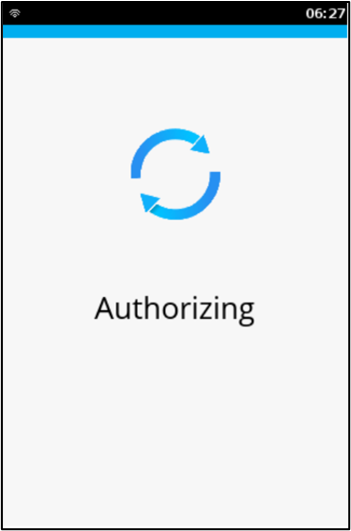
Authorizing screen. |
|
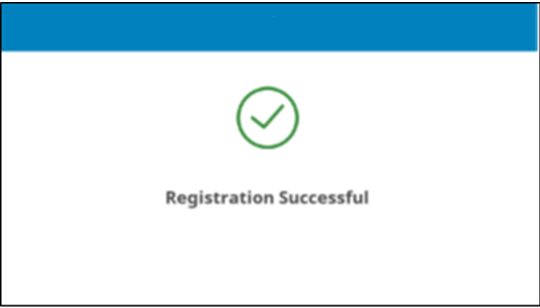
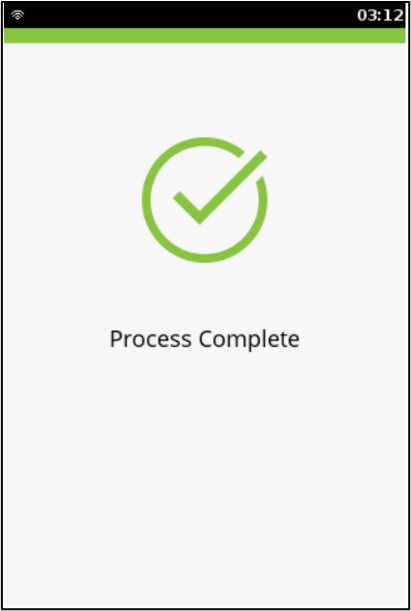
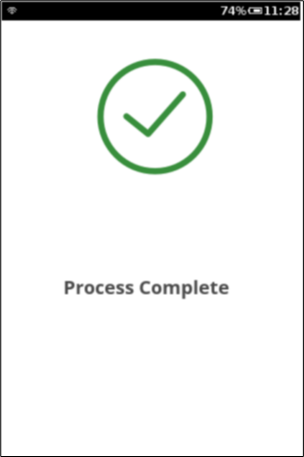
Status screen as Registration Successful. |

|
Encryption process in progress. |
|
Encryption process is completed. |

|
After the registration is successful, the application will prompt for Dummy Sale screen. Once the card is used the next screen is followed by Initialization completed and then displays Idle screen. This is M400 Dummy Sale screen. |

|
This is M440 and M424 Dummy Sale screen. |
P400/V400c/V400m
Following are the preamble screens:
| Display | Description |
|---|---|
|
Authorizing screen. |

|
Status screen as Registration Successful. |

|
Encryption process in progress. |
|
Encryption process is completed. |
|
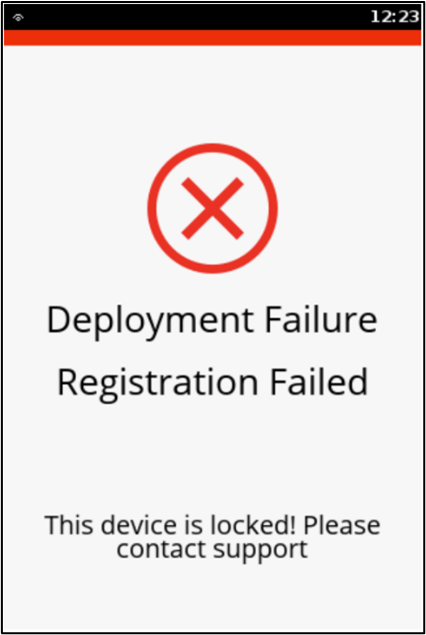
This status screen is displayed if the registration process is failed. |

|
After the registration is successful, the application will prompt for Dummy Sale screen. Once the card is used the next screen is followed by Initialization completed and then displays Idle screen. |
P200/V200/e285
Following are the preamble screens:
| Display | Description |
|---|---|
|
IP Setup options. It is recommended to use DHCP Always. |
|
Authorizing screen. |

|
Status screen as Registration Successful. |

|
Encryption process in progress. |

|
Encryption process is completed. |

|
This status screen is displayed if the registration process is failed. |

|
After the registration is successful, the application will prompt for Dummy Sale screen. Once the card is used the next screen is followed by Initialization completed and then displays Idle screen. |
e280
Following are the preamble screens:
| Display | Description |
|---|---|
|
IP Setup options. It is recommended to use DHCP Always. |

|
Authorizing screen. |

|
Status screen as Registration Successful. |

|
Encryption process in progress. |
|
Encryption process is completed. |

|
After the registration is successful, the application will prompt for Dummy Sale screen. Once the card is used the next screen is followed by Initialization completed and then displays Idle screen. |
M450/M425
Following are the preamble screens:
| Display | Description |
|---|---|
|
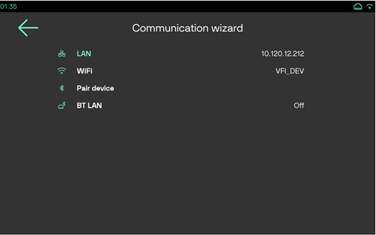
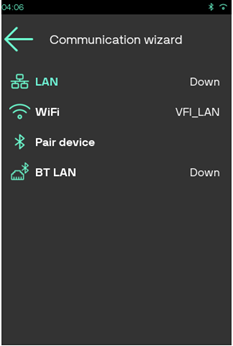
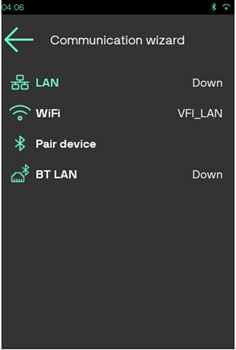
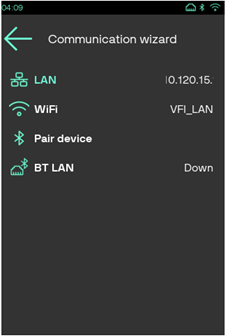
Communication Wizard screen to select the Network type. |
|
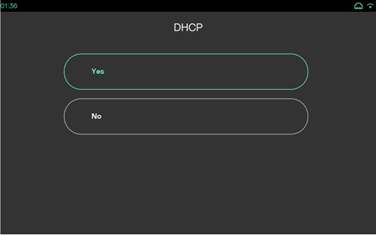
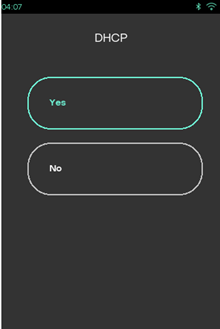
Select Yes in DHCP screen to configure the network. |
|
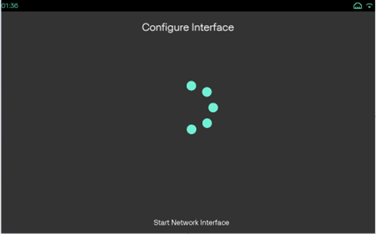
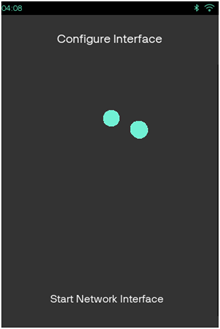
Configure Interface in progress. |
|
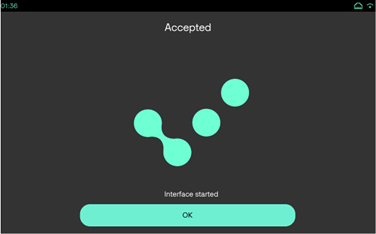
Click Ok to start the Network. |
|
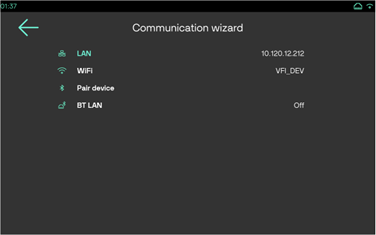
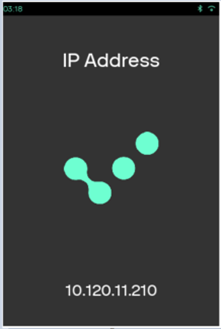
Returns to Communication Wizard and setting the IP address. |
|
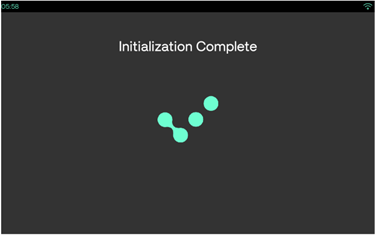
Initialization completed. |
|
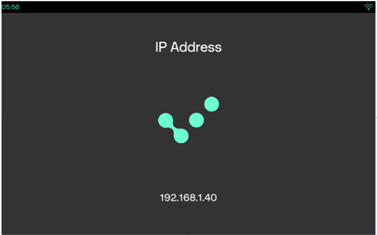
IP connection is established. |
|
Select NO in DHCP screen to configure the network with all the components below. |
|
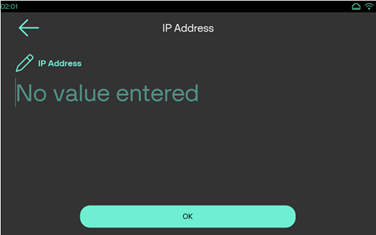
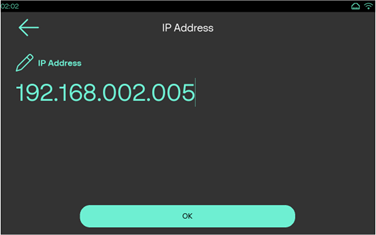
Enter the IP Address and click OK. |
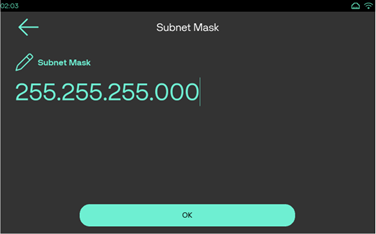
|
Enter the value for Subnet Mask and click OK. |
|
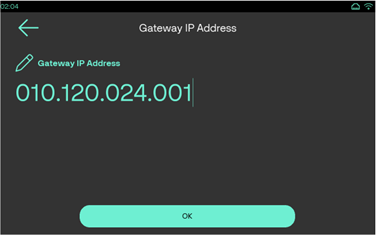
Enter the value for Gateway IP Address and click OK. |
|
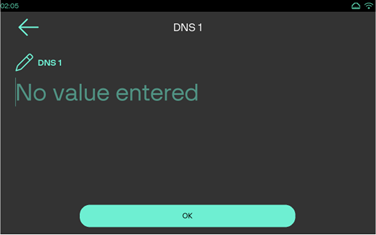
Enter the values for DNS1. |
|
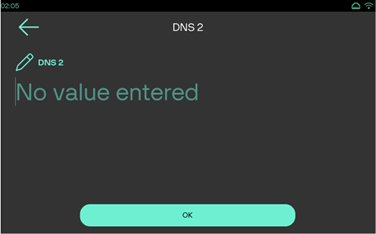
Enter the values for DNS2 servers. Click OK to return to Communication Wizard and setting the IP address. |
P630/UX700
Following are the preamble screens:
| Display | Description |
|---|---|
|
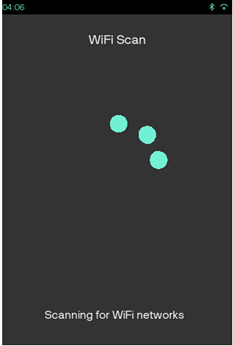
Communication Wizard screen to select the Network type. Select WiFi for find new WiFi connection. |
|
WiFi Scan is in progress. |
|
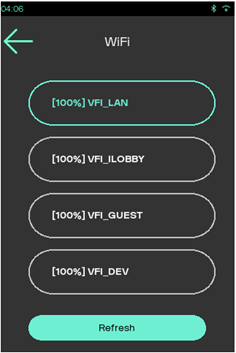
Click Refresh to get more connection list. |
|
Returns to Communication Wizard screen. |
|
Select Yes in DHCP screen to configure the network. |
|
Configure Interface in progress. |

|
Click Ok to start the Network. |
|
Returns to Communication Wizard and setting the IP address. |

|
Initialization completed. |
|
IP connection is established. Select NO in DHCP screen to configure the network with all the components below. Enter the IP Address and click OK. Follow the remaining steps mentioned in Preamble steps for M450/M425. |
Additional Preamble Screens
Following are the additional preamble screens, which will be displayed based on different Host and its configuration:
| Display | Description |
|---|---|
|
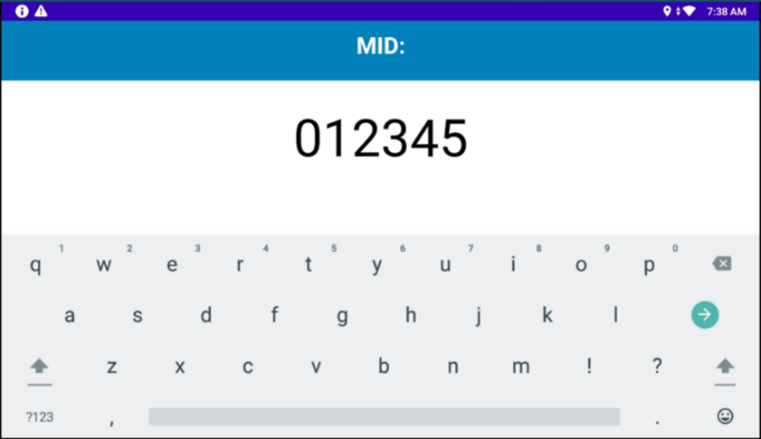
Tap the text box for keyboard input to enter the Merchant ID. |
|
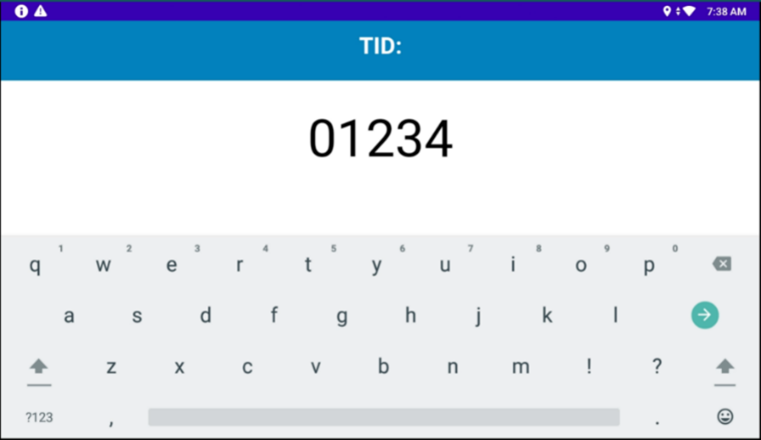
Tap the text box for keyboard input to enter the Terminal ID. |
|
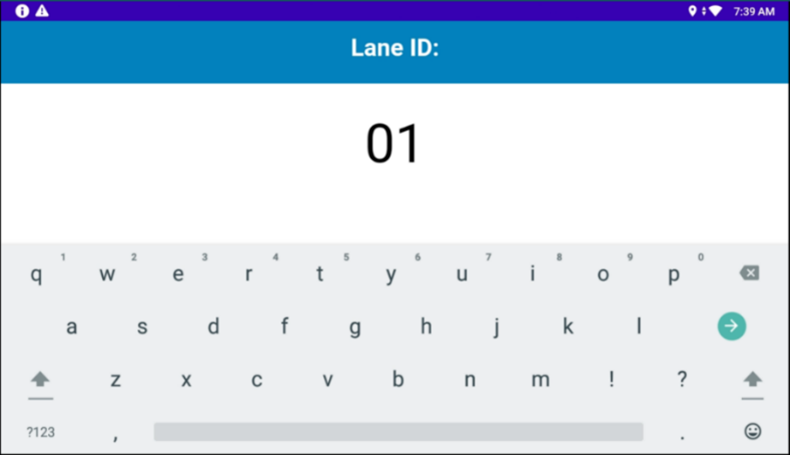
Tap the text box for keyboard input to enter the Lane ID. |
|
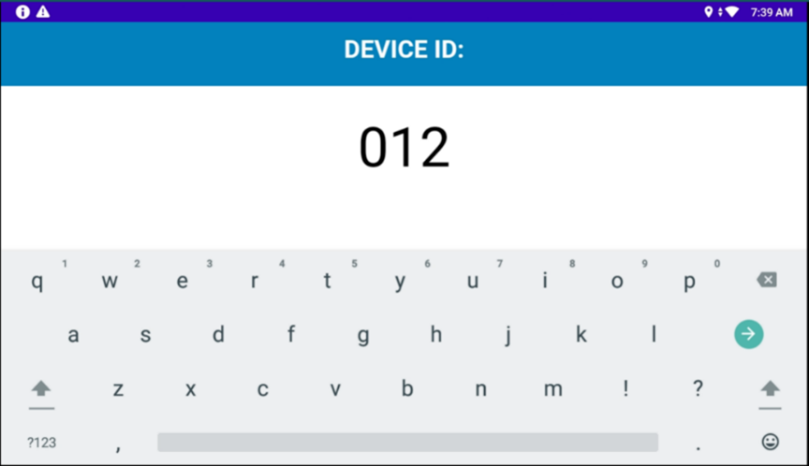
Tap the text box for keyboard input to enter the Device ID. |
Prompt for Dummy Sale
The final step is to perform a dummy sale on the device, confirming the proper operation of the device in synchronization with gateway/processors. SCA prompts the user to move forward with the sale as shown above.
Continue with Insert, Tap or Swipe to prompt for the next step. Upon successful insert, tap or swipe, SCA will process a SALE transaction with Host. On successful SALE, SCA will then request Host to void the dummy transaction.
At the successful completion of the Preamble process, the Idle screen will display.