Management Functions
This section covers the management functions of the terminal.
| Screen Information | Rebranded Screen Information |
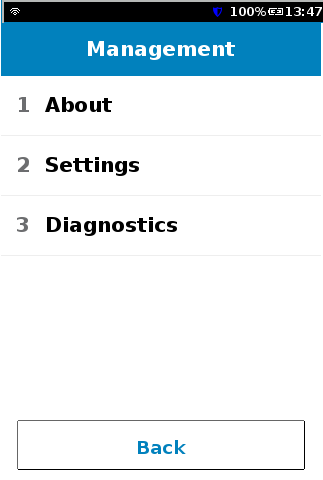 |
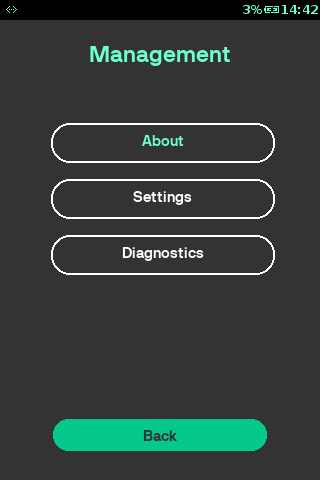
|
About
The application version, build number, a profile is displayed. The terminal operating system version and terminal model versions may also be displayed.
| Step | Instruction | Screen Information | Rebranded Screen Information |
|---|---|---|---|
| 1 | Terminal displays information about the payment application. | 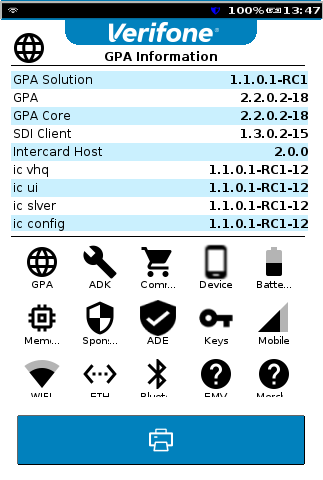 |
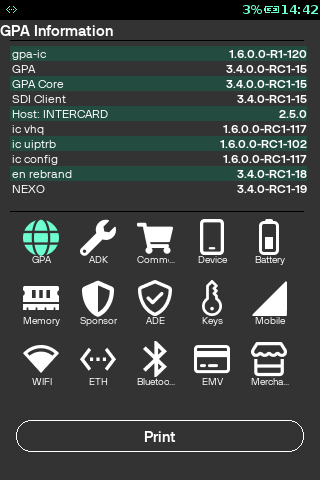 |
Settings
Communications
The Communication Control Panel (CCP) allows the user to access the following functions:
- Set /change the network configuration parameters
- Run simple network diagnostics
- Report the network status
The most important information is on the main screen:
- The type of communication (Ethernet, GPRS, Wi-Fi, Bluetooth)
- The current connection status (connected/not connected)
- The base CCP menu (Status, Configuration, Diagnostic)
For more information, refer to Setting Connection
Set Language
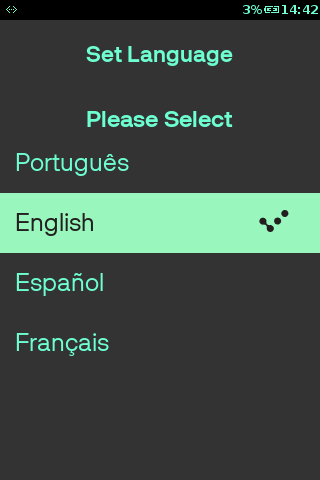
The Set Language screen allows the user to select the required language.
| Step | Instruction | Screen Information | Rebranded Screen Information |
|---|---|---|---|
| 1 | The User is prompted to select the menu option, scroll until Set Language operation appears, or enter the number for the operation. |  |
 |
CP Manual Launch
Use this option to launch a Commerce Plugin. If Commerce Plugins are configured, a list of applications will be displayed.
Training Mode
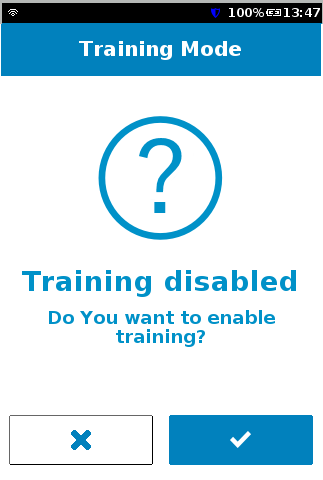
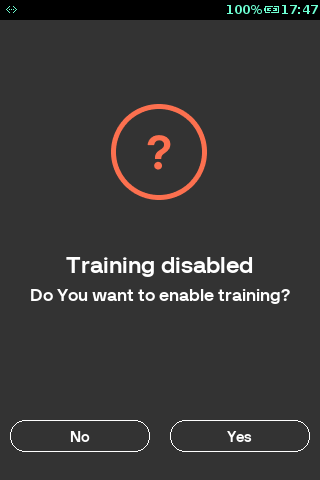
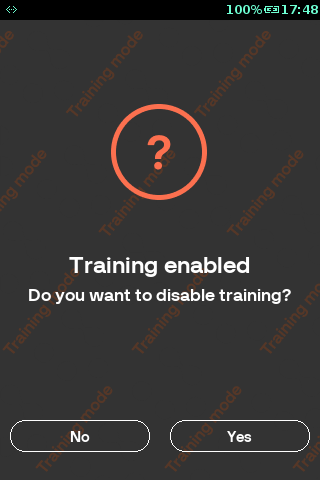
Training Mode is a facility that enables the user to interact with the application for demo and training purposes.
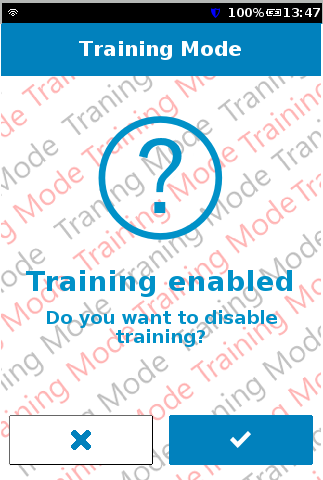
Once the application enters ‘Training Mode’, the User should be able to access all menus and perform all transaction types as if the terminal was in normal processing mode.
| Step | Instruction | Screen Information | Rebranded Screen Information |
|---|---|---|---|
| 1 | Press |
 |
 |
| 2 | If the User selected |
 |
 |
Call TMS (Terminal Management System)
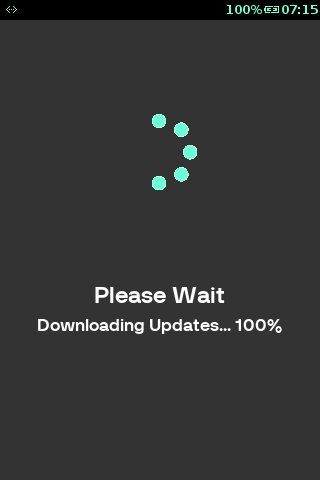
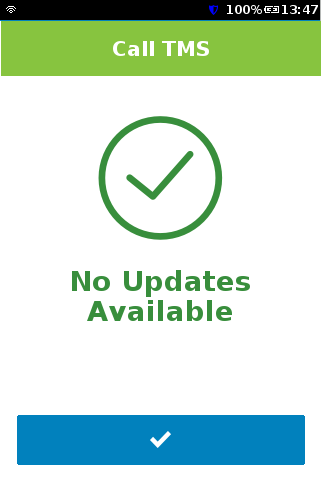
Selecting this option downloads any available updates from the TMS. The terminal will display “No Updates Available” if there is nothing to download.
| Step | Instruction | Screen Information | Rebranded Screen Information |
|---|---|---|---|
| 1 | Process and check for updates. | 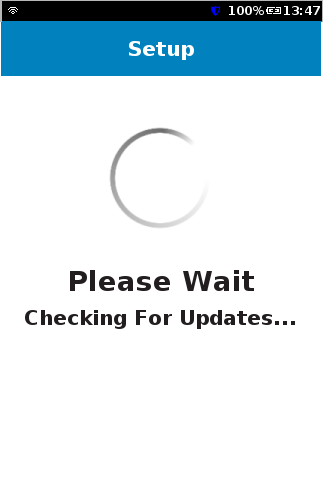 |
 |
| 2 | Fetch update and show progress as a percentage. | 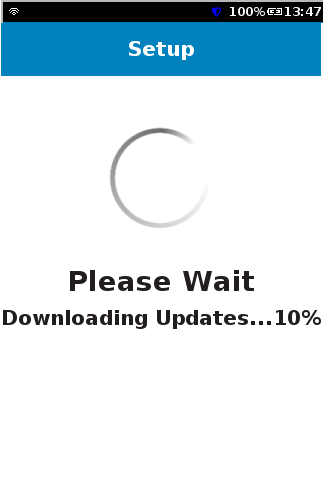 |
 |
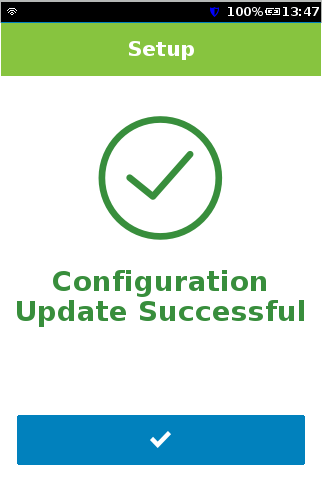
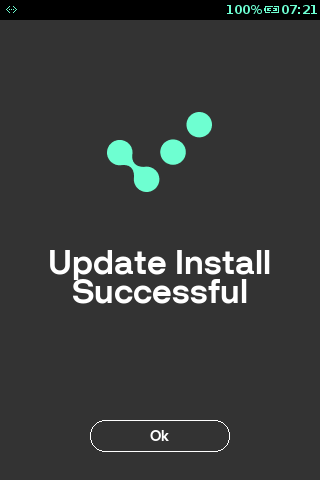
| 3 | A successful update is confirmed on-screen. Press |
 |
 |
| 4 | Message on the screen confirming that no updates are available. Press |
 |
 |
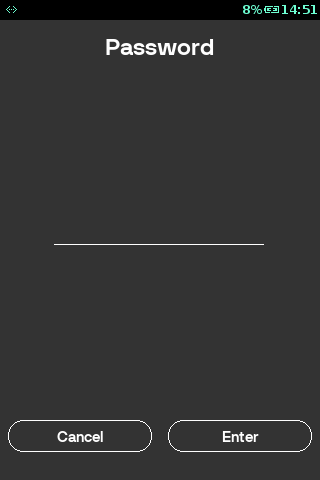
Change Password
The terminal is programmed with an Admin password which is required for refunds, void transactions, and some protected terminal functions. This password is a security measure to ensure only authorized personnel can access this functionality on the terminal.
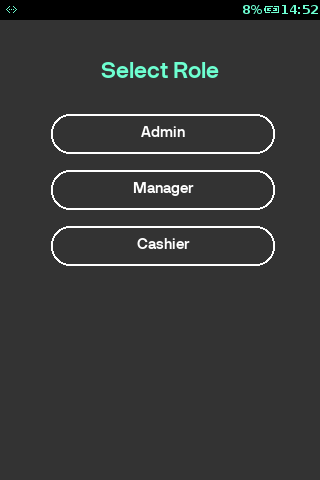
The system supports 3 password roles:
- Admin - typically the User, store owner, or the store supervisor
- Manager
- Cashier
| Step | Instruction | Screen Information | Rebranded Screen Information |
|---|---|---|---|
| 1 | Enter the current password. | 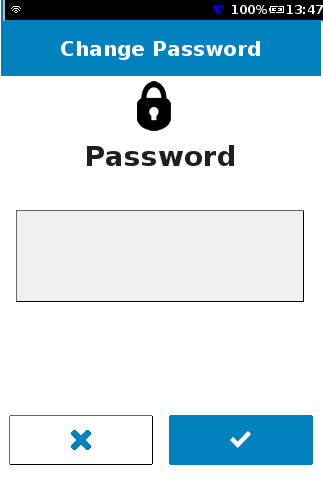 |
 |
| 2 | Select the password level to be changed. | 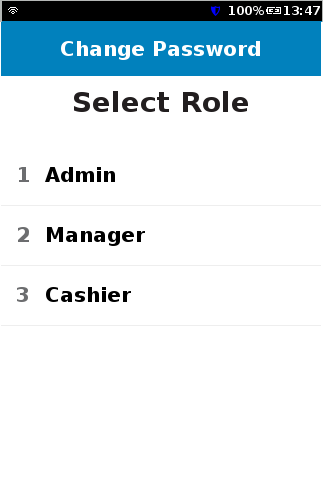 |
 |
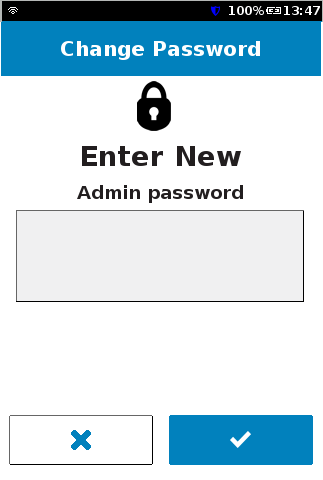
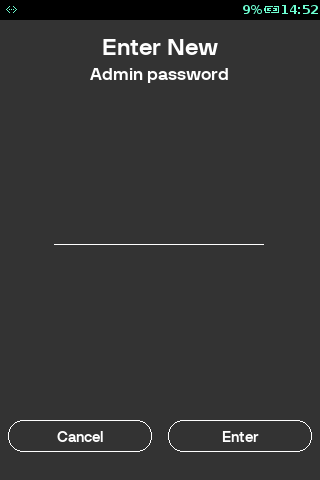
| 3 | Enter the new password. Press |
 |
 |
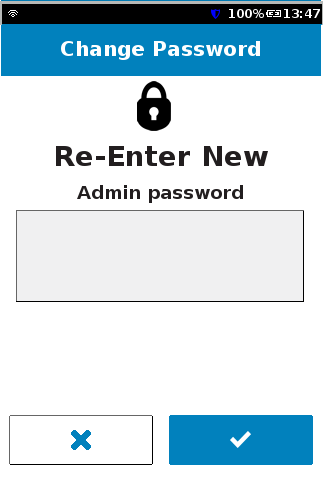
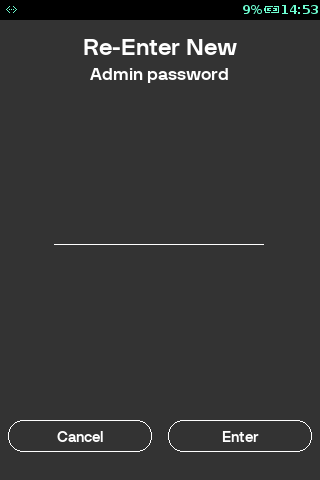
| 4 | Re-enter the new password. Press |
 |
 |
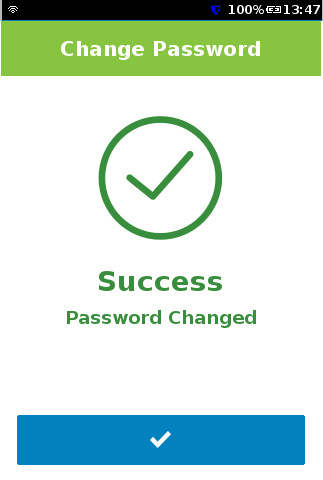
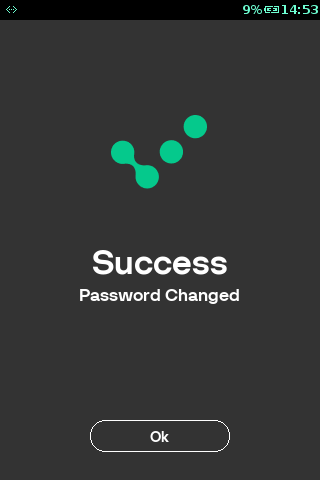
| 5 | The password has been changed. Press |
 |
 |
Diagnostics
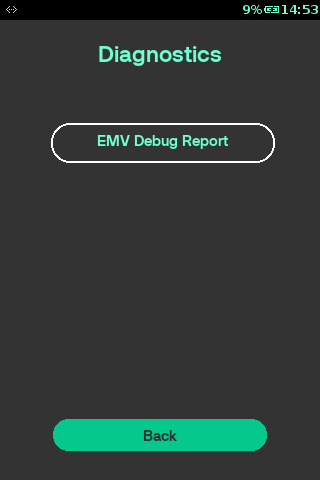
EMV Debug Report
The EMV Debug Report is a feature, which allows the user to print EMV data which may be asked for by the Verifone Helpdesk if the User calls requesting assistance.
| Step | Instruction | Screen Information | Rebranded Screen Information |
|---|---|---|---|
| 1 | Terminal displays the available Diagnostic Reports. | 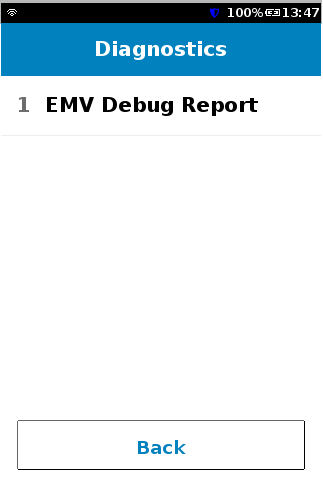 |
 |
| 2 | The Diagnostic Report is printing. | 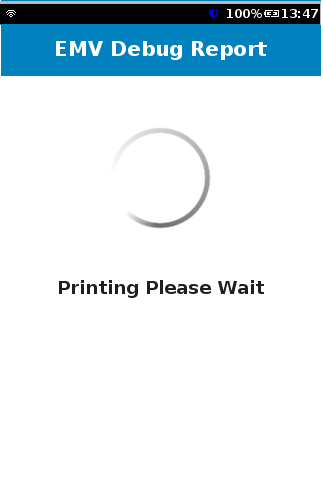 |
 |
