Terminal Setup
This section will allow you to activate your Verifone terminal. Please follow the instructions carefully.
| Step | Instruction | Screen Information | Rebranded Screen Information |
|---|---|---|---|
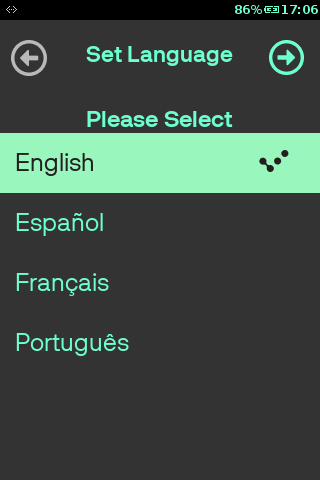
| 1 | Connect the power to the terminal. When first powered on, the terminal will start up and after a short while, this screen will be displayed. Select the language to continue. | 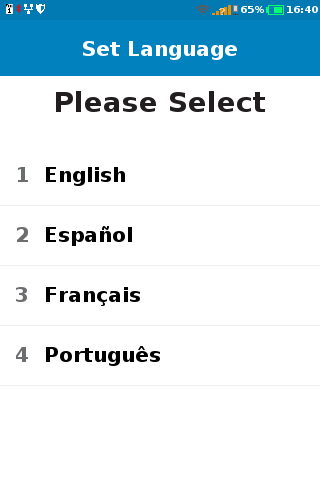 |
 |
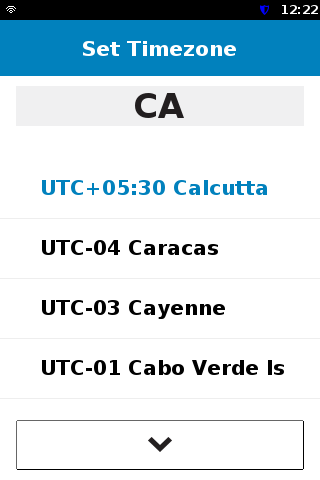
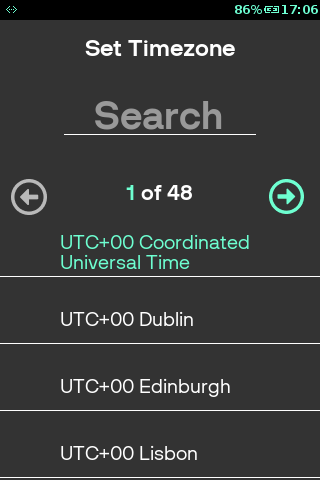
| 2 |
Terminal prompts for setting the timezone. Use
|
|
 |
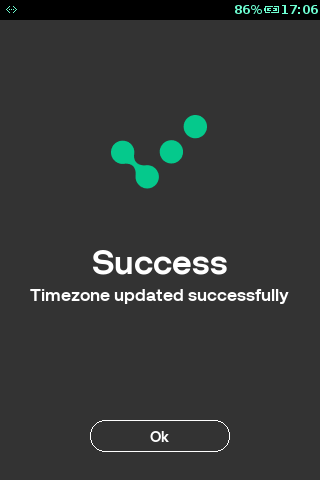
| 3 | Message is displayed informing about successful setting up of timezone. | 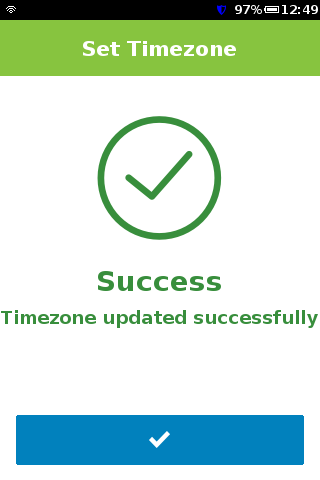
|
 |
| 4 |
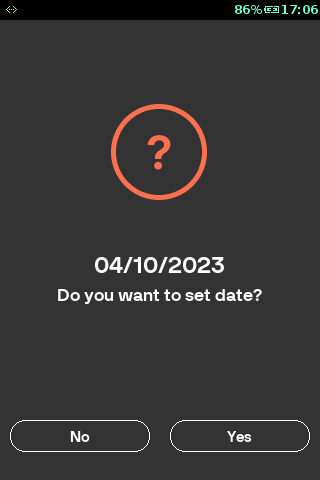
Terminal prompts for setting the date. Press Press |
|
 |
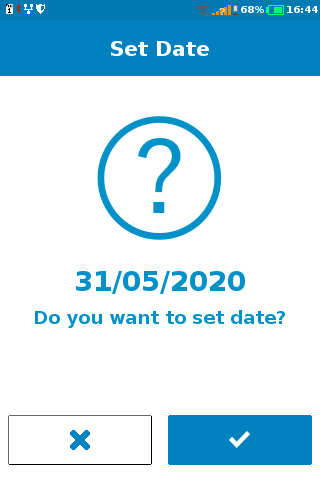
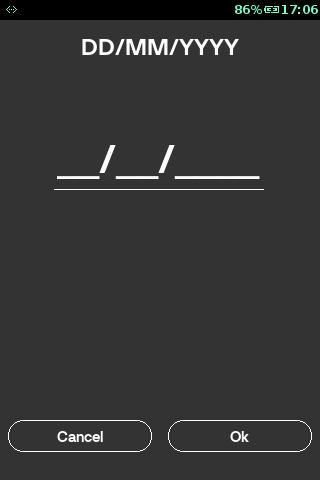
| 5 | Set the correct date and press |
 |
 |
| 6 |
Terminal prompts for setting the time. Press Press |
 |
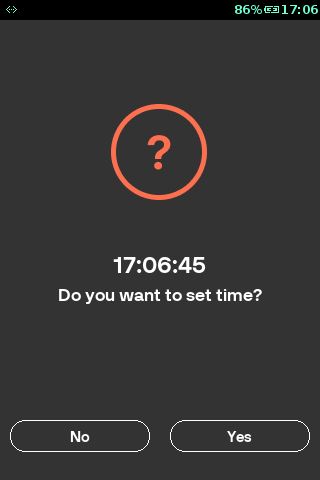 |
| 7 | Set the correct time and press |
 |
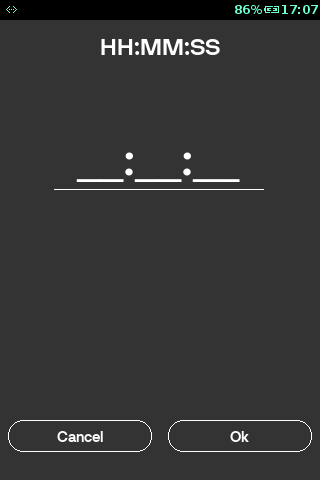 |
| 8 | The message is displayed informing about successful setting up of date and/or time. | 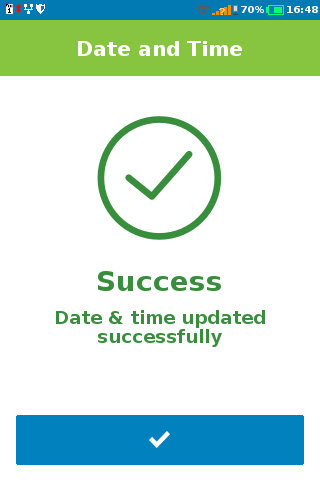
|
 |
| 9 | Terminal reboot is required to update timezone for vhq agent. | 
|
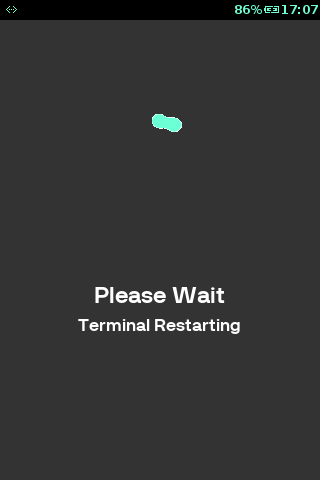 |
| 10 |
Terminal prompts for selecting the communication setting through communication wizard or ADV communication. Press |

|
 |
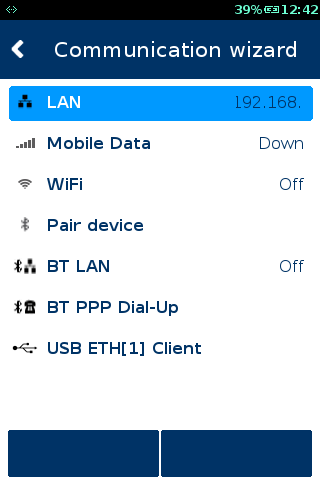
| 11 | Configure the communication medium through communication wizard. For more information, refer to Setting Connection | 
|
 |
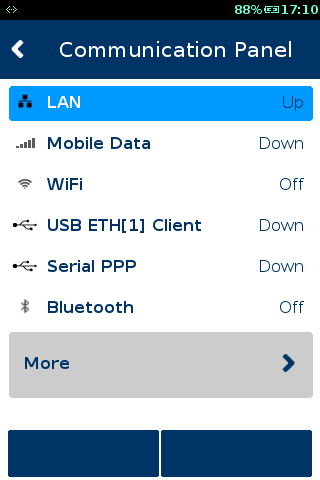
| 12 | Configure the communication medium. For more information, refer to Setting Connection |  |
 |
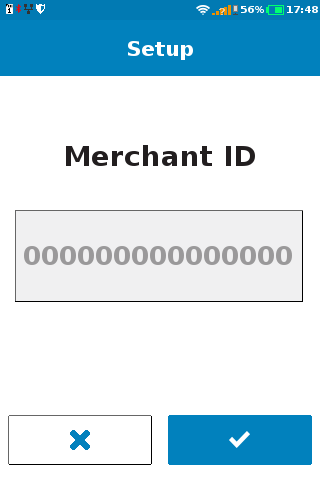
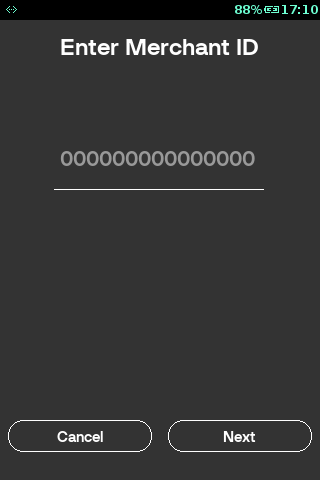
| 13 | Enter Your MID (Merchant ID number) that was sent to you in your Welcome letter and press |
 |
 |
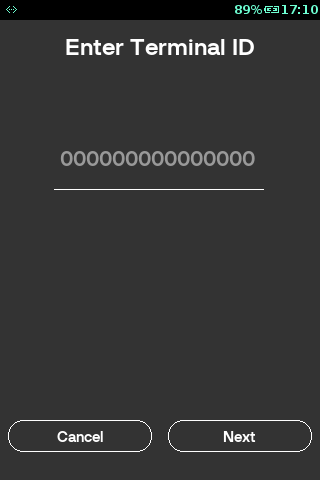
| 14 | Enter Your TID (Terminal ID number) that was sent to you in your Welcome letter and press |
 |
 |
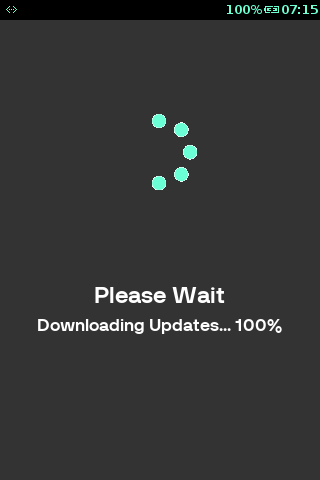
| 15 | The terminal will now download any available updates from the Terminal Management System. |   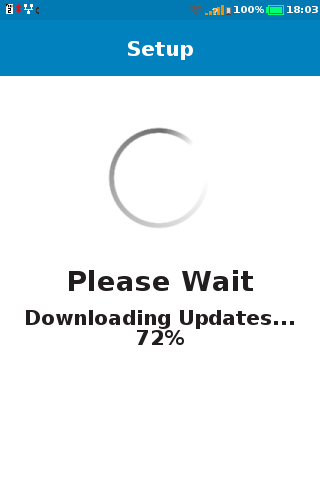   |
|
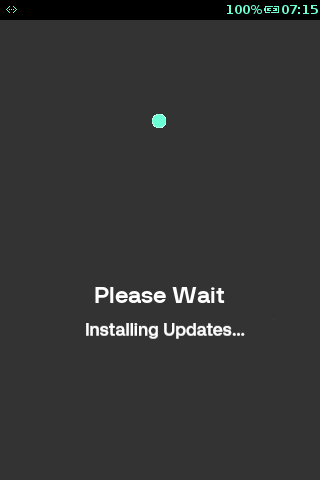
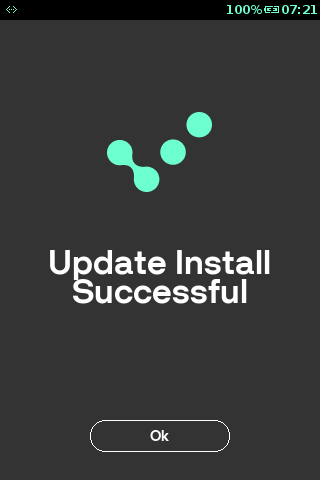
| 16 | Once the updates are installed, it will show the successful message. | 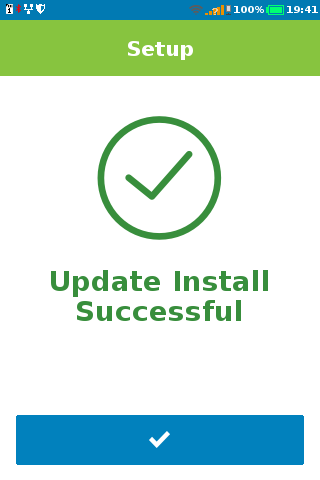 |
 |
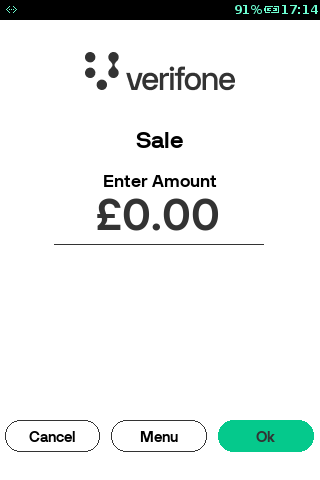
| 17 | You will then be presented with the idle screen. The terminal is now ready to perform transactions. |  |
 |