Claiming your device
Once you have received your OakOS device you will need to:
- Unbox and setup device with a monitor attached
- Check to see if you have an internet ready ethernet cable attached to the RJ45 jack
- Power up the device and wait for the default application to start up (can take a few minutes to start)
Our devices are shipped with a default application installed that has a code displayed on the screen by default. Note: the device must be connected to the internet to obtain this special code. Once you have received an email from our support team telling you that an account on the OakOS Dashboard Web Portal has been created, you will login to OakOS Dashboard Web Portal. At the time of writing the only capabilities developed so far in the web dashboard are:
- Claim a device
- View API execution logs
You can either claim your device through the OakOS Dashboard Web Portal or skip to the OakOS API section and claim it through the API.
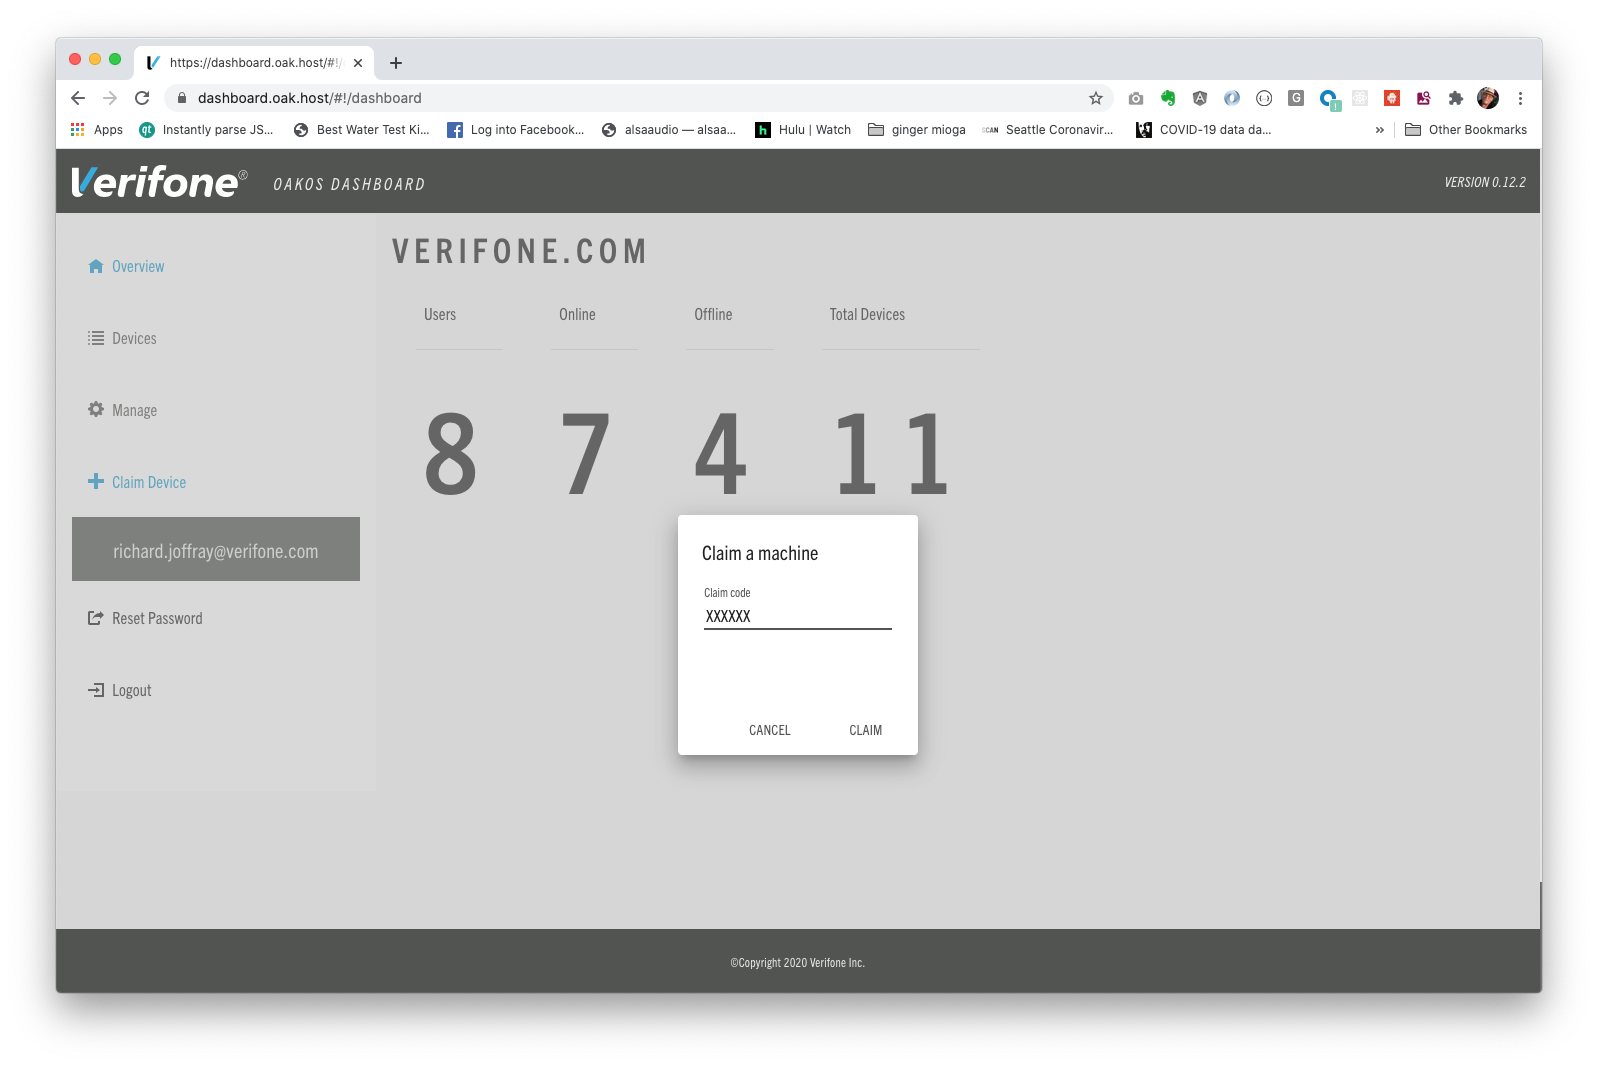
If you choose to do it through the [OakOS Dashboard Web Portal], click on Claim Device in the left menu.
You should see a dialog box that requires the Claim Code that you should see on your OakOS device when first booting up.