Loggly Plugin
We will set up the example application, using Fluentd with Loggly, for handling logs.
WARNING You will need an account at Loggly to continue.
Setting up Loggly
For testing this tutorial, if you do not already have an account, you may create a free trial at Loggly.
Once you have created your account, you must get an API token to set in the environment variable: LOGGLY_TOKEN
Go to the Loggly token endpoint for your organization:
https://{your-organization}.loggly.com/account/users/api/tokens

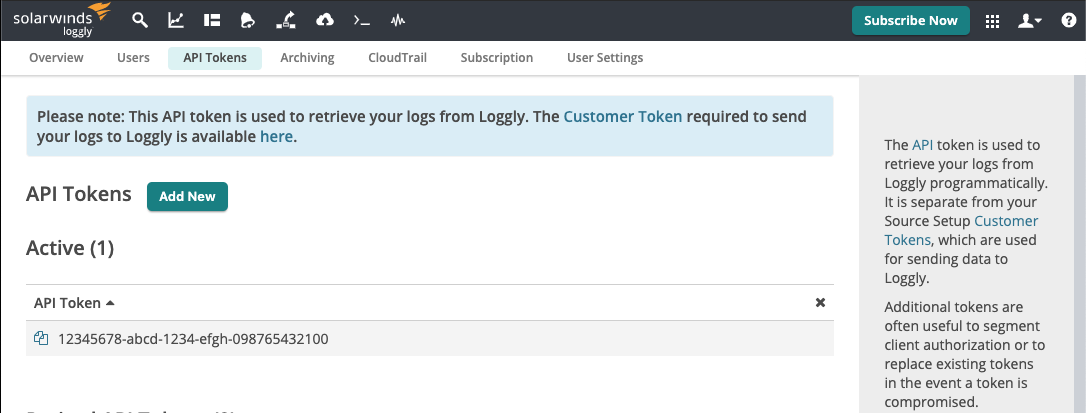
Figure 1.1 - API Tokens List at Loggly.
To create a token, click the Add New button (see Figure 1.1). Once created, the token will appear in the active tokens list, such as the example above. That value will need to be set, in the next step, in a Postman environment variable: {{logglyToken}}
Install the example application and configure Fluentd"
Oak Platform (API): Install
{
    "services": [{
            "image": "index.docker.io/oaklabs/app-example:release-1.0.1",
            "environment": {
                "TZ": "America/Phoenix"
            }
        },
        {
            "image": "index.docker.io/oaklabs/component-fluentd:loggly",
            "environment": {
                "LOGGLY_TAG": "{{logglyTag}}",
                "LOGGLY_TOKEN": "{{logglyToken}}"
            }
        }
    ]
}
Viewing the logs
The logs being sent to Loggly are the same that were sent in the Logz.io Plugin tutorial.

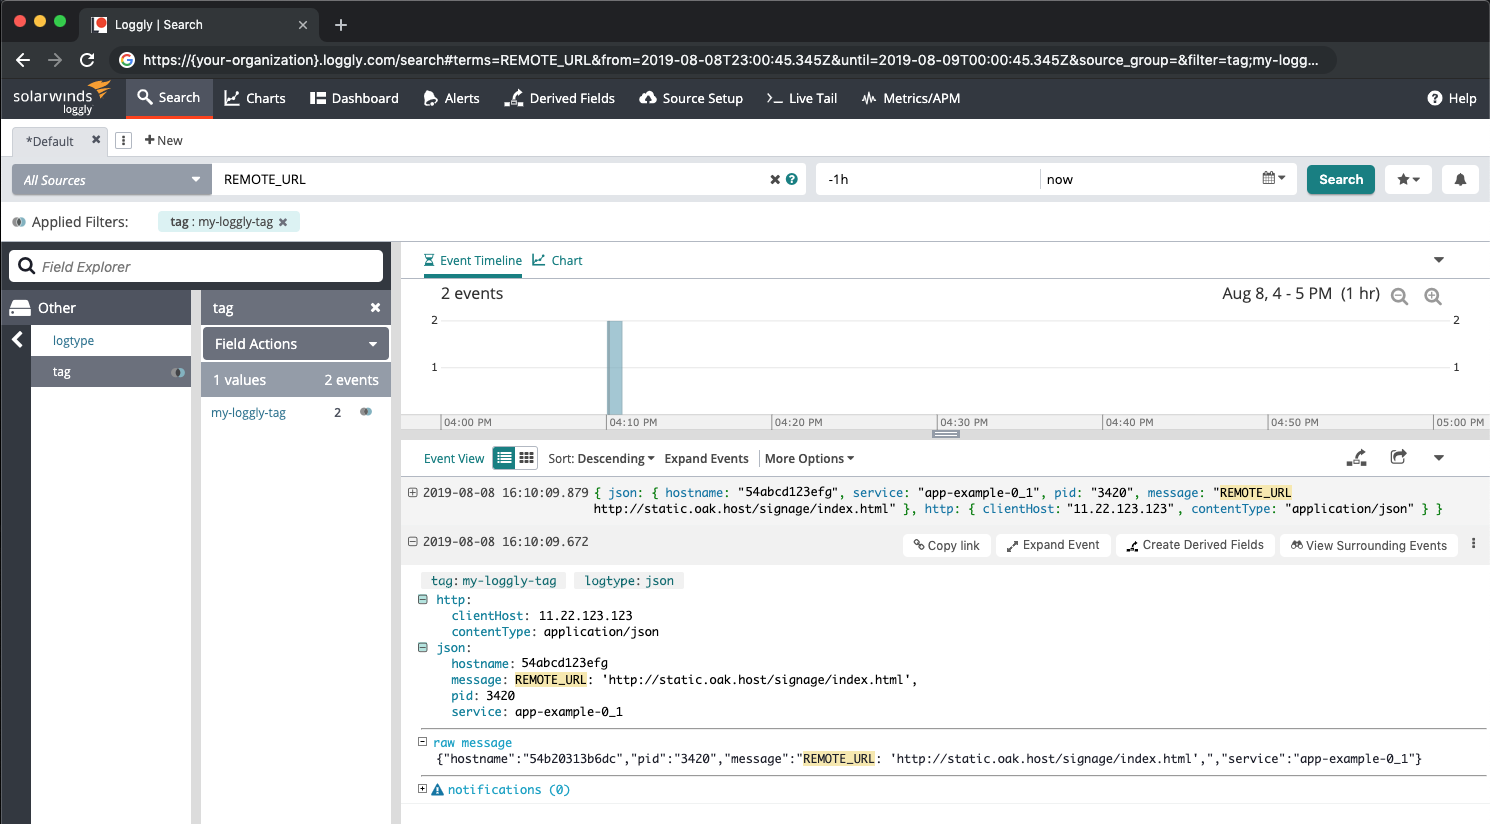
Figure 1.2 - Expanded log entry for REMOTE_URL at Loggly.
This screenshot shows an expanded example log message with the REMOTE_URL environment variable being logged in the example application.
The search results are filtering by the example tag that was set in {{logglyTag}}: my-loggly-tag
