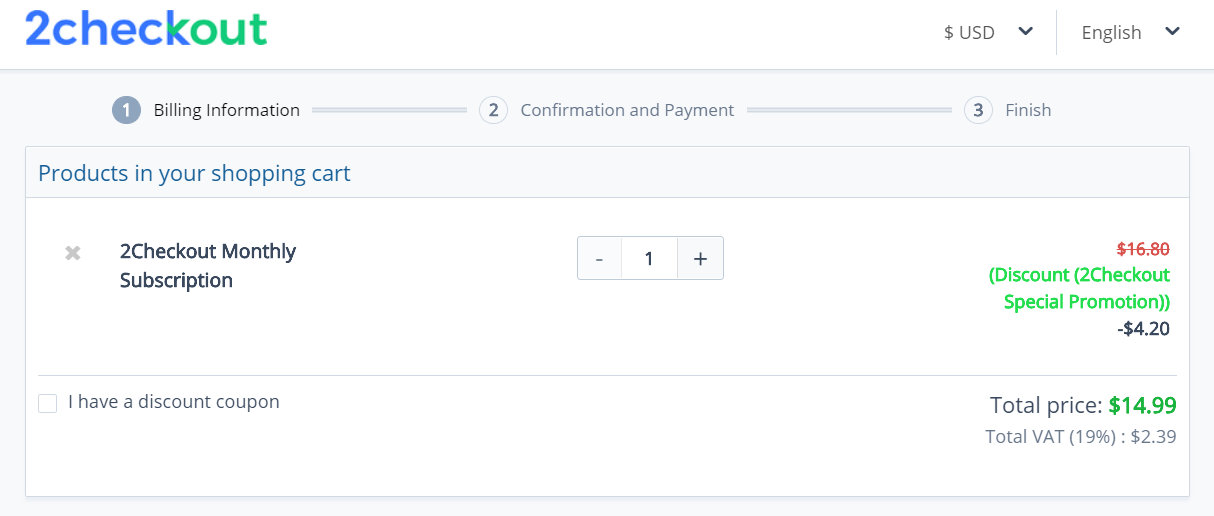
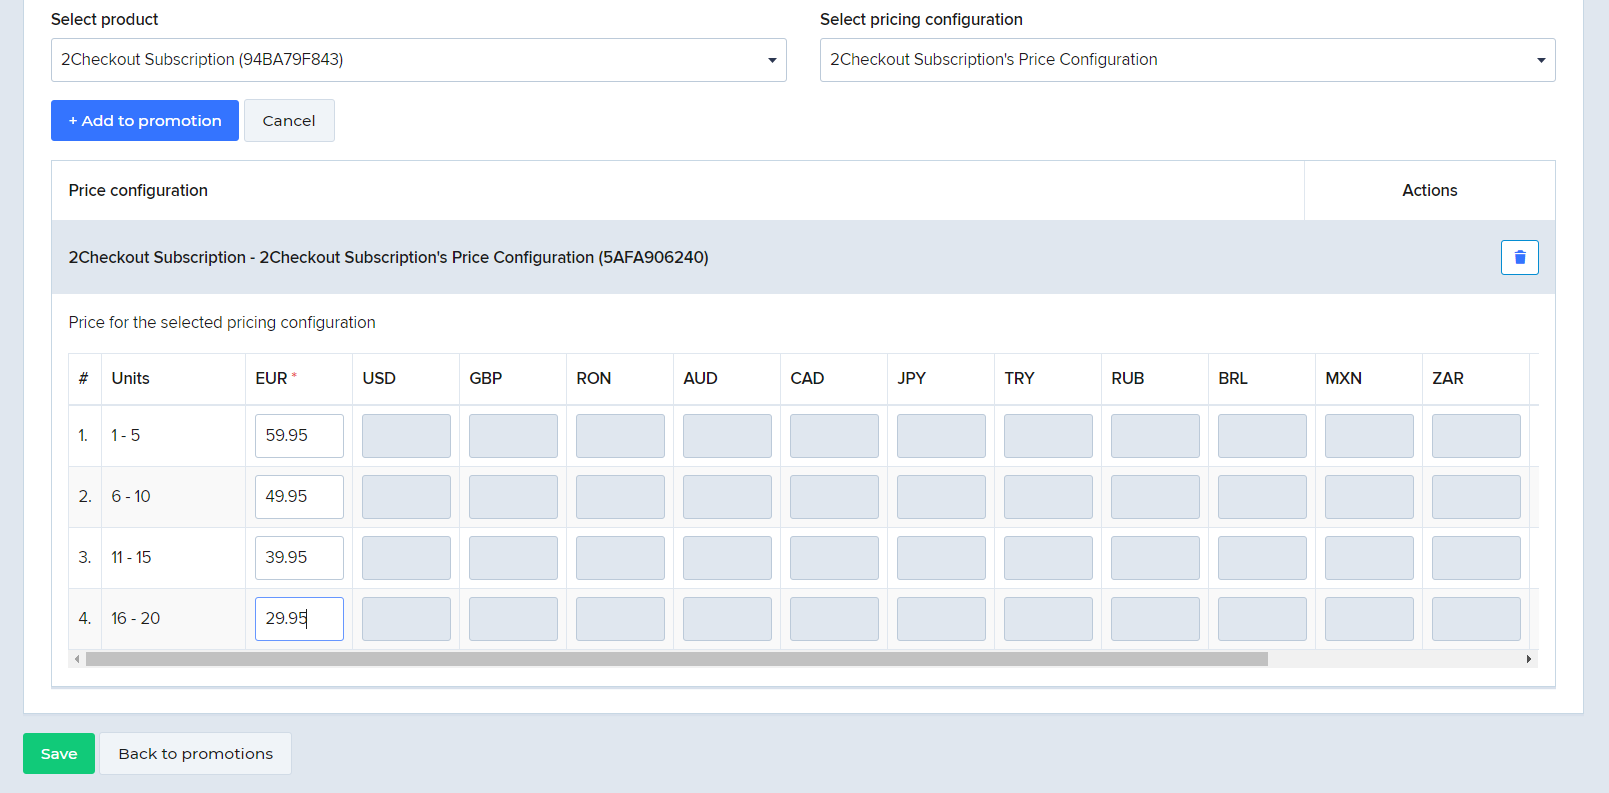
Orders with dynamic product information

Overview

Dynamic products are a mechanism designed to enable you to pass purchase information directly from your system into 2Checkout without first configuring the products in your Control Panel or via API. Bypass the need for handling 2Checkout's catalog products and create orders with product information sent dynamically via API or through ConvertPlus URL parameters. Receive payments from your customers by using the products defined in your own system, or in your shopping cart applications.

Availability

This functionality is available only for merchants on the 2Sell and 2Subscribe accounts (PSP business model), for orders that are placed both through ConvertPlus/InLine ordering engines and API calls.

Dynamic Products Parameters

2Checkout allows you to create orders and receive payments by using the following product types: 

  • PRODUCT - Item purchased by the customer. It is mandatory to send the name and price of the product item.
    • Products can have pricing and recurring options assigned.Picture1.png
  • TAX - Additional fee/charge that will be considered 'Tax' in the ordering process. Taxes may have recurring options assigned.
  • SHIPPING - Item that contains the name and amount corresponding to the shipping method.
  • COUPON - Item that contains the discount to be applied to the entire order.

Orders with dynamic information allow you to control, without an existing setup, the following product attributes:

  • Price
    • You have full control over the price applied to the purchase. Example: $20 price for product A.
  • Product pricing options (together with name and prices)
    • You can pass the pricing options information dynamically. Example: A pricing option named users that adds a surcharge of $5 for option 3-5 users, and $10 for option 5-10 users.
  • Product purchase type
    • Set the purchase type (tangible or intangible). Example: intangible for products delivered electronically.
  • Recurring options
    • Set the product recurring options that include the contract length and unit, cycle length and unit, and recurring amount to be charged. Example: a recurring charge of $20, on a monthly basis for the next 2 years.

Reporting dynamic products

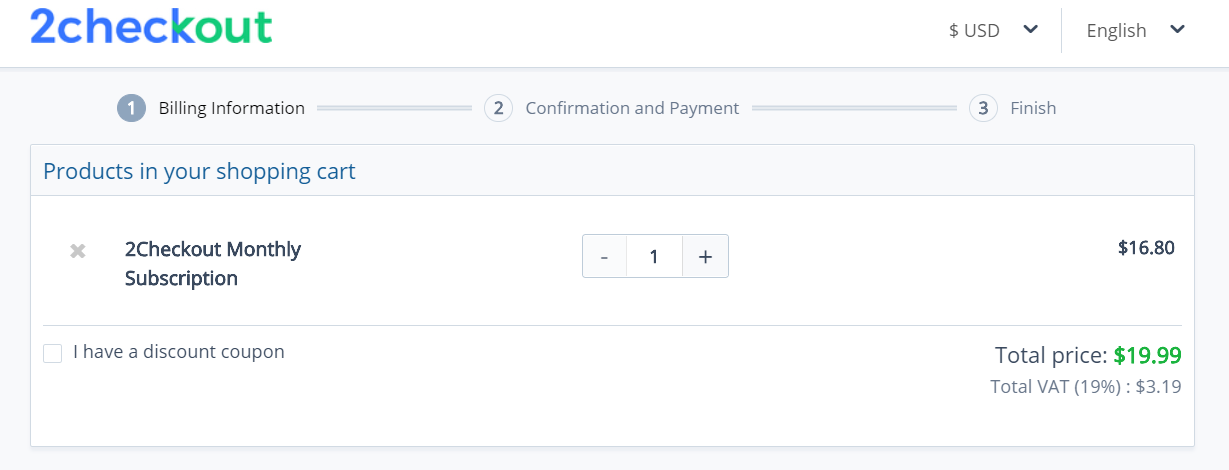
Orders placed with dynamic product information are included in your account reports and can be found in your Order Search area of the Control Panel, and in the Products Reports based on which your sales invoices are generated.

Dynamic products are not displayed in the Products section of the 2Checkout Control Panel.

How to place orders with dynamic information

Orders with dynamic products via API

Place orders via 2Checkout's latest API version and send the product information as part of the call. Create orders with dynamic product information, that contain the following product types: product, tax, shipping, and coupon.

Requirements 

Product code must be sent as null. The order currency must match the payment currency, otherwise, an error is thrown. The isDynamic parameter of the Items object must be true.

Limitations 

Placing an order with both catalog and dynamic product information is not possible. Recurring options can be set only for purchase type PRODUCT and TAX.

How to test it?

You can place test orders via API with dynamic product information. Set the Payment details type to TEST in order to create an order in a test environment.

Place your first order with dynamic products

Read the documentation for guidance:

Orders with dynamic products via convertplus

Use ConvertPlus to create a dynamic ordering process by passing the product information to ConvertPlus through buy links parameters. With ConvertPlus dynamic ordering, you control the product name, price, recurring and pricing options, and many other product properties.  

Learn more about ConvertPlus buy link parameters and dynamic ordering.

Alternatively, you can generate buy links for dynamic products directly from your Control Panel. Learn more about ConvertPlus dynamic ordering via Control Panel.

Search leads

Overview

Use the searchLeads method to retrieve leads created in the 2Checkout system.

Request Parameters

Parameters Required Type/Description
Page Required String. The page in the result set.
Limit Required Number. The number of items to be retrieved on each page.

Request Example

<?php

require ('PATH_TO_AUTH');

$LeadSearchInput = new stdClass();

$LeadSearchInput->Type = "New";
$LeadSearchInput->Language = "BG";
$LeadSearchInput->Country = "RO";
$LeadSearchInput->Page = 1;
$LeadSearchInput->Limit = 200;

$jsonRpcRequest = array (
    'method' => 'searchLeads',
    'params' => array($sessionID, $LeadSearchInput),
    'id' => $i++,
    'jsonrpc' => '2.0'
);

var_dump (callRPC((Object)$jsonRpcRequest, $host, true));
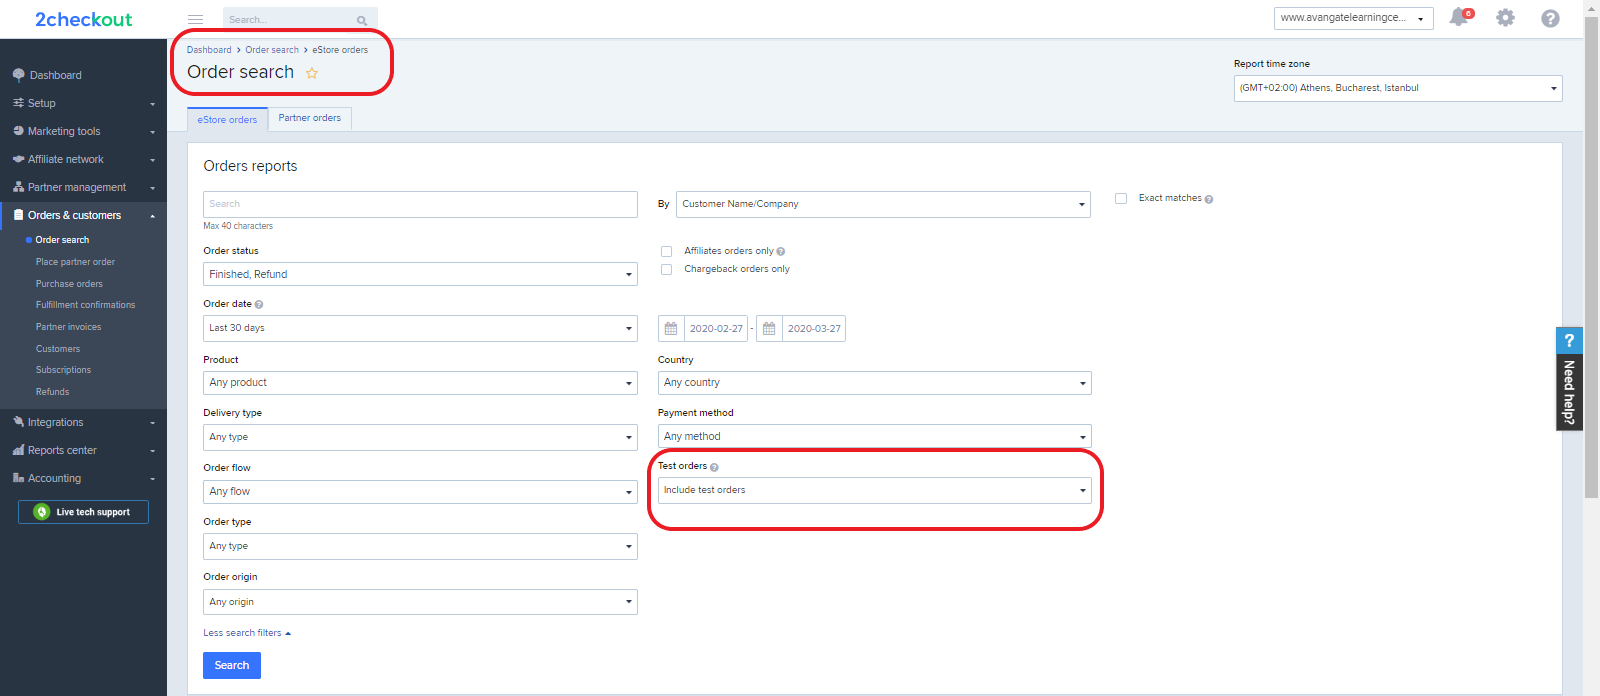
Response Example

class stdClass#4 (2) {
  public $Items =>
  class stdClass#5 (1) {
    public $0 =>
    class stdClass#6 (14) {
      public $LeadCode =>
      string(10) "60E6C4B574"
      public $GeneratedFrom =>
      string(3) "API"
      public $CartId =>
      string(11) "CartIdValue"
      public $Currency =>
      string(3) "EUR"
      public $Language =>
      string(2) "BG"
      public $ExternalReference =>
      string(18) "REST_API_3CHECKOUT"
      public $MachineId =>
      string(6) "123asd"
      public $LocalTime =>
      string(19) "2019-11-05 16:48:28"
      public $Items =>
      class stdClass#7 (1) {
        public $0 =>
        class stdClass#8 (15) {
          public $Code =>
          string(10) "04C26C50F8"
          public $Quantity =>
          string(1) "2"
          public $SKU =>
          NULL
          public $Name =>
          string(5) "softy"
          public $Description =>
          NULL
          public $IsDynamic =>
          bool(false)
          public $Tangible =>
          bool(false)
          public $PurchaseType =>
          string(7) "PRODUCT"
          public $PriceOptions =>
          NULL
          }
          public $RecurringOptions =>
          class stdClass#10 (5) {
            public $CycleLength =>
            NULL
            public $CycleUnit =>
            NULL
            public $CycleAmount =>
            NULL
            public $ContractLength =>
            NULL
            public $ContractUnit =>
            NULL
          }
          public $RenewalInformation =>
          class stdClass#11 (1) {
            public $SubscriptionReference =>
            NULL
          }
          public $MarketingCampaigns =>
          class stdClass#12 (3) {
            public $Type =>
            string(2) "23"
            public $ParentCode =>
            string(1) "m"
            public $CampaignCode =>
            string(2) "23"
          }
          public $Price =>
          class stdClass#13 (2) {
            public $Amount =>
            string(2) "20"
            public $Type =>
            string(6) "CUSTOM"
          }
          public $AdditionalFields =>
          NULL
          public $SubscriptionStartDate =>
          string(19) "2019-11-05 16:48:28"
        }
      }
      public $BillingDetails =>
      class stdClass#14 (12) {
        public $FirstName =>
        string(8) "Customer"
        public $LastName =>
        string(9) "2Checkout"
        public $Phone =>
        NULL
        public $Company =>
        NULL
        public $FiscalCode =>
        string(8) "32423423"
        public $Email =>
        string(22) "customer@2checkout.com"
        public $Address1 =>
        string(12) "Test Address"
        public $Address2 =>
        NULL
        public $City =>
        string(2) "LA"
        public $Zip =>
        string(5) "12345"
        public $CountryCode =>
        string(2) "RO"
        public $State =>
        string(2) "CA"
      }
      public $DeliveryDetails =>
      class stdClass#15 (12) {
        public $FirstName =>
        string(8) "Customer"
        public $LastName =>
        string(9) "2Checkout"
        public $Phone =>
        NULL
        public $Company =>
        NULL
        public $FiscalCode =>
        string(8) "32423423"
        public $Email =>
        string(22) "customer@2checkout.com"
        public $Address1 =>
        string(12) "Test Address"
        public $Address2 =>
        NULL
        public $City =>
        string(2) "LA"
        public $Zip =>
        string(5) "12345"
        public $CountryCode =>
        string(2) "RO"
        public $State =>
        string(2) "CA"
      }
      public $DeliveryInformation =>
      class stdClass#16 (1) {
        public $ShippingMethod =>
        class stdClass#17 (1) {
          public $Code =>
          string(5) "sdfsd"
        }
      }
      public $PaymentDetails =>
      class stdClass#18 (4) {
        public $Type =>
        string(2) "CC"
        public $Currency =>
        string(3) "EUR"
        public $PaymentMethod =>
        class stdClass#19 (2) {
          public $RecurringEnabled =>
          bool(false)
          public $CardPayment =>
          class stdClass#20 (1) {
            public $InstallmentsNumber =>
            string(2) "23"
          }
        }
        public $CustomerIP =>
        string(7) "1.2.3.4"
      }
      public $Promotions =>
      array(1) {
        [0] =>
        string(0) ""
      }
    }
  }
  public $Pagination =>
  class stdClass#21 (3) {
    public $Page =>
    int(1)
    public $Limit =>
    int(200)
    public $Count =>
    int(1)
  }
}

User roles

Overview

User privileges define the access level of your Merchant Control Panel users to specific 2Checkout features and modules.

A collection of privileges is called a user role. You can define your own user roles based on specific access levels that you want to grant to your users. You can assign multiple roles to a user.

You need to have two factor authentication enabled in order to add or edit information in the Settings area of your Merchant Control Panel.

Add/Edit users

Follow the steps below to add/edit new users:

  1. Log in to the 2Checkout Merchant Control Panel using your master account.
  2. Navigate to the Settings cogwheel in the top right corner.
  3. Click on User Management.

user roles_1.png

4. On the User Management page, click on Add user.

user roles_2.png

5. On the Add user page, fill in the new user account details: Username, Email, First name, Last name, Password, Password lifetime, User status, User role.

user roles_3.png

6. To edit a user, click on the Edit icon on the Users page.

edit user_1.png

7. Click Save.

User management options

  • You can use the strong password generator that complies with the above requirements to make sure you're using a secure password.
  • The user is required to change the password after the first login. This option is enabled by default.
  • The reset password option allows you to disable the old password and the user will receive an e-mail for setting a new password.
  • You can set passwords to expire in a number of days of your choosing. By default, passwords expire in 90 days.
  • Passwords never expire invalidates the password expiration setting. Disabled by default.

Add/Edit user roles

Follow the steps below to add or edit user roles:

  1. Log in to the 2Checkout Merchant Control Panel using your master account.
  2. Navigate to the Settings cogwheel in the top right corner.
  3. Click on User Management.
  4. On the User Management page, click on the Roles tab.
  5. On the Roles page, click on Add role.

edit user_2.png

6. On the Add role page, fill in the role info (Role name, Role description), and then select the privileges you want to assign to that specific role.

edit user_3.png

7. To edit a role, click on the Roles tab and click on the Edit icon next to the role you want to change (see image at Step 5 above).

8. On the Edit role page, edit/change the role info (Role name, Role description) and then check or uncheck the privileges you want to assign to the role.

edit user_4.png 

9. Click the green Save button at the bottom of the page to save/update the changes.

Assign user roles

Follow the steps below to assign roles to the existing users.

  1. Log in to the 2Checkout Merchant Control Panel using your master account.
  2. Navigate to the Settings cogwheel in the top right corner.
  3. Click on User Management.
  4. On the User Management page, click on the Users tab.
  5. Identify the user account that you want to assign a role to and click Edit.

edit user_1.png

6. On the Edit User page, you can update the User info and also assign/check a role to the user or change the role already assigned to that particular user. 

assign role_1.PNG

7. Click Save to update changes.

Privileges

Setup

Privilege name Description
Getting started Allows users to access the Getting Started screen on the Dashboard and request the account to Go Live.
Add/Edit products Controls access to the Products area.
Edit product pricing Controls editing privileges of per-product pricing configurations.
Gift products Controls access gift product settings.
Product Upgrade Settings Controls access to the product upgrade settings.
Electronic delivery Controls access to product fulfillment settings.
Download Insurance Service Controls access to Download Insurance Service settings.
Shipping Controls access to product shipping options.
Price lists Controls access to product price list settings.
Subscriptions Controls access to subscription renewal settings.
Generate links - eStore Controls access to the buy link generation options.
Interface templates - eStore Controls access to the cart templates customization options.
Order Additional Fields Controls access to the additional order fields settings.
Ordering options - settings Controls access to Order settings.
Ordering options - aftersale message Controls access to the After-sale message settings.
Ordering options - web analytics Controls access to the Web analytics settings.
Metered Billing Controls access to usage billing settings.
Manage Financial Settings Controls access to the account's financial settings.

Marketing Tools

Privilege name Description
Affiliates Management Controls access to the 2Checkout Affiliate Network settings.
Promotions Controls access to promotion settings.
Cross-Selling and Up-Selling Controls access to cross-selling and up-selling promotion settings.
Email marketing program Controls access to email marketing settings.
Channel resources - affiliates Controls access to affiliate channel resources.
Channel resources - partners Controls access to partner channel resources.
Leads Management Controls access to lead management settings.
View Avangate Polls Allows 2Checkout Control Panel polls to be displayed to users whose privileges are governed by the assigned role. Uncheck to hide polls from users.
Email editor - email viewing rights Allows users to see emails in the Email editor.
Email editor - email editing rights Allows users to edit emails in the Email editor.
Retention tools

Only accounts that have the Retention tools package enabled can see this privilege displayed.

Allows users to view and manage retention campaigns, and provides access to Enrollment and Churn prevention reports.

Orders & Reports

Privilege name Description
Accounting Controls access to Accounting, Vendor 2 Vendor, and Purchase Order settings.
View and search eStore order data Controls access to Order Search.
Executive Reports

Controls access to:

  • Financial Reports
  • Executive Reports
  • Order statistics
  • Products report
  • Product options
  • Additional Fields Report
Business Dynamics Controls access to Custom Reports.
Promotions Reports Controls access to marketing reports.
A/B Testing Controls access to A/B testing campaign settings.
Aggregate Reports Allows the aggregation of report data from multi-accounts.
Customer support - eStore Grants limited order search options for customer support agents.
Partner order search Allows users to search and view partner orders.
Customer support - partners Grants limited partner order search options for customer support agents.
Delivery confirmations Controls access to Fulfillment confirmation settings.
Proforma payment confirmation Allows users to confirm proforma payments for direct partner payments.
Manage order refunds Allows users to request refunds or order cancelations. Use in conjunction with the Customer support privileges to enable access to order data.
Access refund requests area Allows access to the Refunds section, listing all refund requests. Use in conjunction with Manage order refunds and Customer support privileges to enable editing privileges.
Customers Controls access to customer management settings.
Blank & partial searches for eStore Allows blank and partial order searches.
Affiliates Reports Controls access to Top Affiliates and Affiliate Sales reports.
Vendor to Affiliate Payments Allows users to make payments to top-performing affiliates.
API Logs Controls access to API & webhooks log monitor reports.
Enable delivery confirmation approval Allows users to approve/reverse orders that require vendor delivery confirmation.
Renewal Authorizations Report Allows users to generate, view, and export authorization reports.
Restrict export customer details Allows users to get every detail in the order search export (using the full option template) when disabled.
Cohorts Reports Allows users to generate, view, and export cohort reports.
Subscription Management Controls access to subscription management settings.
Subscription Pricing Controls access to the Update credit card and Change current billing amount options. Use in conjunction with the Subscription Management privilege.
Partner Reports Controls access to the Top Partners report.
Place orders on behalf of customers Allows users to place orders on behalf of customers.
Additional fields report Controls access to the Additional fields report.
Users Activity Controls access to the Users Activity report.
Delete user comments Allows users to delete their own comments from orders.

Account Settings

Privilege name Description
Account information Controls access to the Account information section.
User roles management Controls access to user roles management settings.
Users management Controls access to user management settings.
System settings Controls access to system settings, such as time zone, IPN, LCN, and other notifications.
Financial information Allows users to manage bank and payment information.
Salesforce settings Controls access to Salesforce integration settings.

Partner Management

Privilege name Description
Restrict to own partners Limits user access to partner accounts where they are assigned as account managers or backup account managers.
Proforma invoices Controls access to partner invoices.
Partners management Controls access to partner management settings.
Partnership programs management Controls access to partner programs settings.
Place order Allows users to place orders on behalf of partners.
Receive order notification Allows users to receive notifications from partner orders.
Refund management Allows users to manage partner refunds.
Refund history Allows users to see previous partner refund requests.

Third-Party Apps

Privilege name Description
Use a third-party app Allows users to use third-party apps.
Manage third-party apps Controls access to third-party apps settings.


Start flipping the channel

If you are a software company, it's estimated that channel sales are over 50% of your revenue mix. But this number is shrinking... fast, especially in the new world of services and recurring revenues.

With SaaS and other direct-to-customer offerings, traditional channels are being disrupted and new ones are emerging to take their place. Gaining distribution, lowering customer acquisition costs, increasing client retention and better brand control are the hallmarks of the new order.

Learn practical tips and advice from R "Ray" Wang, the chief guru at Constellation Research, and apply them to your 2016 planning.

Watch this webinar and learn how to:

  • Acquire and grow the right channels for distribution; track the right KPIs
  • Maximize your channel revenue in this new competitive landscape
  • Minimize channel conflict and maximize margins
  • Increase your SaaS renewals via channels
image-top-right.jpg


Fiscal compliance (for merchants in/selling in US only)

​This guide provides an overview of the financial compliance regulations that apply to merchants in the United States. It contains details about the 1099-K, W8 and W9 forms that merchants with a legal entity in the US or selling in the US are required to fill in for submission to the IRS.


Shipping method

Overview

The object below is returned directly or within a successful response from the following API requests:

Search shipping method

Shipping method object

Parameters   Type/Description
Items   Array of objects
      Contains shipping methods objects.
  ShippingMethod

Shipping method object.

Details below.

          Name String
      Shipping method name that you define when creating the method.
          Code String
      System-generated identified for the shipping method.
          TrackingURL String
      URL assigned to the shipping method. Provided to your customers that purchase physical products.
          BasePrice String
      Base fee attached to the shipping method, that will be charged to customers when shipping method is available in cart, regardless of their country, product value or weight.
          Currency String
      Currency in which the base fee is expressed. Example: 'USD'.
           Active Boolean
     

Possible values:

  • TRUE - if shipping method is active.
  • FALSE - if shipping method is inactive.
    Availability Strings
     

Defined where the shipping method is active.

Possible values:

  • ALL - all delivery countries.
  • CUSTOM - selected delivery countries.
  • HOME - only your home country.
    Countries Array of objects
      Countries where the shipping method applies.
                  CountryCode String
                  Two-letters country code.
                  Surcharge String
      Surcharge defined for each country.
    Surcharge Array of objects
      Additional fee assigned to the shipping method.
                 Type String
                 

Order property based on which the surcharge is added.

Possible values:

  • PRICE -  surcharge is based on total order amount.
  • WEIGHT -  surcharged is based on total order weight.
                 From Float
                  Lower interval limit.
                 To Int
      Higher interval limit.
                  Amount Int
      Surcharge defined based on order price/weight.
                 ApplyTo String
     

Possible values:

  • interval - surcharge is added for a given interval. Example: from 1 kg to 4kg.
  • unit - surcharge is added for each additional unit. Example: $5 for each unit over 4 kg.
  Pagination Object
      Pagination filters.
    Page Int
      Number of pages used for displaying the results.
    Limit Int
      Number for limiting the results.
    Count Int
      Total number of results.


Convert a trial

Overview

Use the convertTrial method to convert a trial to a paid subscription. In the eventuality of a conversion failure, you can use convertTrial again for the same trial subscription only after you let 24 hours pass since the initial attempt. The 2Checkout system attempts to automatically convert trials before they expire to full subscriptions unless you made an attempt that failed less than 24 hours before the scheduled expiration deadline.

In case the trial conversion fails due to a transaction issue, the 2Checkout system sends unfinished payment follow-up emails to customers, provided that you set up lead management for your account.

Parameters

Parameters Type/Description

SubscriptionReference

Required (string)


Unique, system-generated subscription identifier of the trial that you convert to a paid subscription. The unique identifier from the 2Checkout system:

  • Must belong to an active trial subscription with the recurring billing system (auto-renewal) enabled.
  • The initial order placed to access the trial subscription must be finalized (status Finished).

Note: This method does not work for canceled and/or expired trial subscriptions.


2Checkout charges customers using the payment data attached to the trial subscription. In the case of credit/debit cards, if customers update their payment information in myAccount or if you update these details on behalf of your subscribers, the 2Checkout system uses the latest card info provided to charge subscription renewals.

ExtendSubscriptionFromPaymentDate

Optional (boolean)


true = Set the moment of the conversion as the start date of the full subscription. 

Example: A 7-day trial purchased on October 29 for a monthly subscription converted on October 30 with $ExtendSubscriptionFromPaymentDate = true; features the following Billing cycle expiration: Nov 30, 2013, and 2Checkout scraps the initial trial expiration date November 5.


false = Set initial trial expiration deadline as the full subscription start date. 

Example: A 10-day trial purchased on October 29 for a monthly subscription converted on October 30 with $ExtendSubscriptionFromPaymentDate = false; features the following Billing cycle expiration: December 9, with the first month period of the subscription added to the trial lifetime stretching until November 8.


Can be NULL. If not sent, the default value is false.

Response

Parameters Type/Description

Boolean

true or false depending on whether the changes were successful or not.

Request


<?php

require ('PATH_TO_AUTH'); 
 
$SubscriptionReference = 'BF44555C6C';

$ExtendSubscriptionFromPaymentDate = true; //false can also be used if you want the subscription start date to be the moment when the trial was set to initially expire.

$jsonRpcRequest = array (
'method' => 'convertTrial',
'params' => array($sessionID, $SubscriptionReference, $ExtendSubscriptionFromPaymentDate),
'id' => $i++,
'jsonrpc' => '2.0');

var_dump (callRPC((Object)$jsonRpcRequest, $host, true));
 

License Change Notification (LCN)

Overview

License Change Notification (LCN) works as a message service generating automatic subscription notifications for your 2Checkout account. Use the notifications to process subscription data into your own management systems by synchronizing it with 2Checkout account events. 2Checkout generates notifications for subscription update and expiration events (including past-due notifications).

How can I use LCN?

Use LCN to automate back-end functions for your services, including but not limited to:

  • Creating end-user accounts
  • Providing access to acquired services
  • Manage subscriptions
  • Fulfilling purchases
  • Engaging subscribers
  • Converting trials to paid subscriptions
  • Cutting access to a delinquent account

Webhook asynchronicity

2Checkout’s webhooks (IPN and LCN) operate asynchronously

How does LCN work?

  1. Create one or multiple LCN listener pages on your website. 2Checkout sends LCNs to publicly accessible servers.
  2. Configure the LCN settings of your 2Checkout account to point to the URLs of your default/preferred listener pages. Our system performs a GET request against the URL you fill in and expects an HTTP 200 code as a response. Make sure that your URL can be queried via a GET request from our webserver  IPs.
  3. Set up multiple URLs if you require more listener pages, such as in testing scenarios in which you don’t want to use your default LCN listener. 
  4. 2Checkout sends subscription notifications to the endpoints you defined when subscribers change specific subscription details, using secure (HTTPS) POST.
  5. 2Checkout uses an HMAC_SHA signature to validate the HTTPS POST. Calculate the signature using data sent and your 2Checkout account’s secret key, following the instructions included in this article.
  6. Your custom LCN listener scripts consume the notifications and process the info received.
  7. Configure your LCN listener to output a read receipt confirmation on the listener page after receiving a valid LCN message. This article includes guidance on how to generate the confirmation.
  8. In the absence of a confirmation from one of your LCN listeners, 2Checkout continues to send notifications to that endpoint, according to the failure retry process, until you provide a valid response.
  9. The 2Checkout system regularly checks the status of subscriptions to identify expired items and modifications. 2Checkout then sends notifications for expirations as well as for updates that occurred in the last 24 hours prior to the moment when it performs the check. 2Checkout does not re-send notifications for the same event unless the status of the subscription changes or it identifies additional modifications.

Set up the default LCN URL

  1. Log into your 2Checkout account.
  2. Navigate to Dashboard → Integrations → Webhooks and API.
  3. Click on the LCN Settings tab.
  4. Click on the Edit button to edit an existing URL corresponding to your default LCN listener or click on the Add LCN URL button to add a URL corresponding to your default LCN listener in the LCN URL field.
  5. Save your settings by clicking on the Update button at the bottom of the page.
  6. 2Checkout checks the validity of the URLs in terms of access to ensure that notifications reach your LCN listener without any issues.
   
All merchants are strongly advised to migrate to SHA2/SHA3. We will stop supporting the MD5 algorithm in our platform on the 15th of August, 2024.
For more details, check the Migration guide from MD5 to SHA2/SHA3 algorithm documentation.  

Set up multiple LCN URLs

You can set up multiple endpoints for your LCN notifications, for scenarios in which you have multiple Internal Systems that require receiving this information. You can set up eight (8) URLs for your notifications.

Navigate to LCN settings under Integrations → Webhooks and API, in your Merchant Control Panel Dashboard. Select the LCN settings tab and click on the Add LCN URL button to create an additional URL configuration for your notifications.

To find out more about the NOTIFICATION_URL functionality, read more here.

Debug LCN

To view or debug LCN notifications during the integration phase, place TEST orders.

Alternatively, search for specific subscriptions in the Subscriptions area. On the subscription details page, you have the option to resend notifications. You can also see how many LCN notifications have been sent so far for a subscription. Opt to reissue the LCN for debugging and 2Checkout re-generates and re-sends the LCN, but also displays a copy of the content sent in the control panel.

Secure your LCN script 

For security reasons, 2Checkout recommends that you restrict access to the LCN script. 

Multi-product promotions

Overview

Multi-product promotions allow you to offer percentage-based discounts to your shoppers, based on the number of unique products added to the shopping cart. They apply automatically as long as the order includes the products assigned to the promotion.

How to configure a multi-product promotion

  1. Enter a promotion title and description. Promotion names are visible to your shoppers if the order meets the promotion criteria.
    • Add localized promotion names for any of the supported languages. The 2Checkout shopping cart automatically displays localized promotion names based on the selected shopping cart language.
  2. Define the time interval when you want the promotion to be active. To start a promotion as soon as you activate it, leave the start date empty. If you don't set an end date, the promotion will stop when the maximum number of orders has been reached or will continue to run if the maximum number of orders is set to unlimited.
  3. You can restrict promotions to a specific number of orders, or set them to run indefinitely
  4. Define a minimum order value threshold. Choose whether to apply the promotion to any order or only to orders exceeding a certain value (including taxes). To set a threshold, choose Custom, define the threshold and select the default currency. Orders using currencies without a threshold are automatically converted to the default threshold currency, using exchange rates applicable at the moment of purchase. 
  5. Select whether or not to activate the promotion as soon as you save it.
  6. Configure the discount depending on the number of unique products added to the shopping cart. Click Add rule, enter a number of unique products to be detected in the cart and set the corresponding discount. You can add multiple scenarios for different numbers of unique products. If you define multiple promotions or scenarios, 2Checkout automatically applies the one with the highest discount, provided that the order meets the promotion criteria.
  7. Assign products to the promotion. Multi-products promotions only apply to products in the shopping cart that are not subject to another regular promotion or cross-selling discount at the time of purchase!
  8. Save the promotion when you're done configuring it.

Need help?

Do you have a question? If you didn’t find the answer you are looking for in our documentation, you can contact our Support teams for more information. If you have a technical issue or question, please contact us. We are happy to help.

Not yet a Verifone customer?

We’ll help you choose the right payment solution for your business, wherever you want to sell, in-person or online. Our team of experts will happily discuss your needs.

Verifone logo