Get started with your 2Checkout account
Overview
After signing up for an account by filling in the form on the 2Checkout website, you will be able to access the Merchant Control Panel.
Before you can start selling with 2Checkout, you need to finalize a few more steps.
The steps below apply to all accounts, including those using third-party services to connect to the 2Checkout platform.
Customer journey
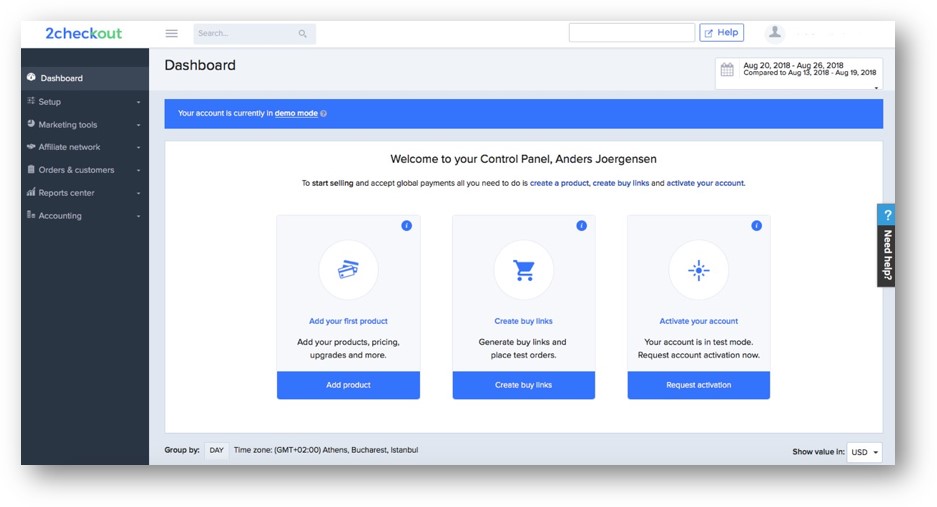
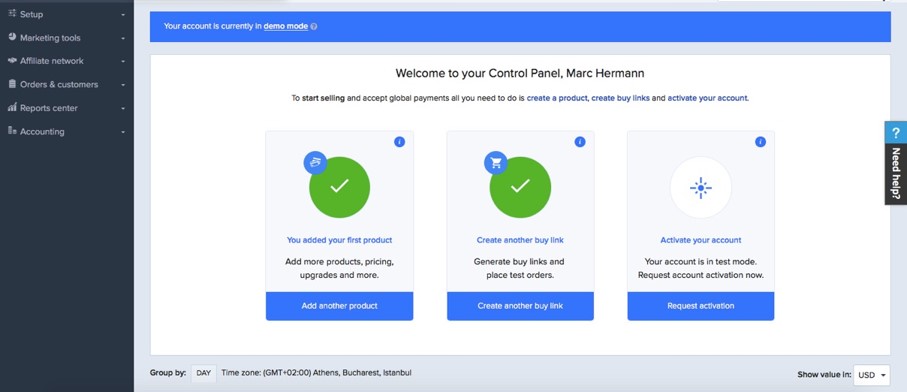
1. Add your first product or plan
To be able to use your 2Checkout account to sell your goods and services, you need to request the activation of your live account. To do this, you must first:
- Add a product/plan
- Generate a buy-link and place a test order
Product catalog management is one of the most important aspects of your online store. This guide will show you how to add the first product within your 2Checkout Merchant Control Panel. Our platform supports the creation of both electronic and physical products. Adding shipping methods will give you more control over your costs and income from tangible products.
You can add your products one by one, or do a batch import via XML files.
You can also receive payments from customers worldwide without the need of adding catalog products. ConvertPlus enables you to pass the product information dynamically to the checkout page, either by using URL parameters or via your 2Checkout Merchant Control Panel.
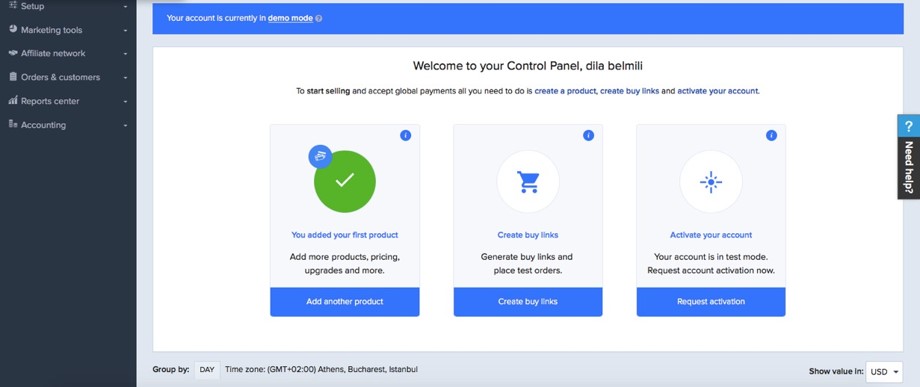
2. Generate your first buy-link and place a test order
Link your website to the 2Checkout ordering process
2Checkout offers different options for linking your website to your secure hosted 2Checkout order flows. The ConvertPlus buy-links trigger different order flows designed to suit a variety of business needs.
To see the different options available, go to Setup → Generate links. To link your website to your 2Checkout ordering page, copy and paste the checkout links you’ve generated into the web page that will host the purchase button/link.
If you’re aiming to integrate other shopping cart applications with your 2Checkout account and take advantage of an integrated solution in order to provide a superior buying experience and receive worldwide payments, you can check the available options here. Integrations with other shopping cart applications are available only for 2Checkout accounts that handle their own tax and invoice management.
Place Test Orders
No matter what option you choose when setting up your products or subscription plans, or integrating the checkout process within your website, it is important to run tests to make sure the selected settings work flawlessly. Testing is the best way to make sure that the actual user experience is the one you want. It is also a way to test how 2Checkout notifies you about the different types of transactions.
Using the 2Checkout testing system you can replicate new acquisitions and trial purchase scenarios, as well as automatic renewals, trial conversions, manual renewals, and upgrades.
To generate a test link and place a test order using the test billing information, click here.
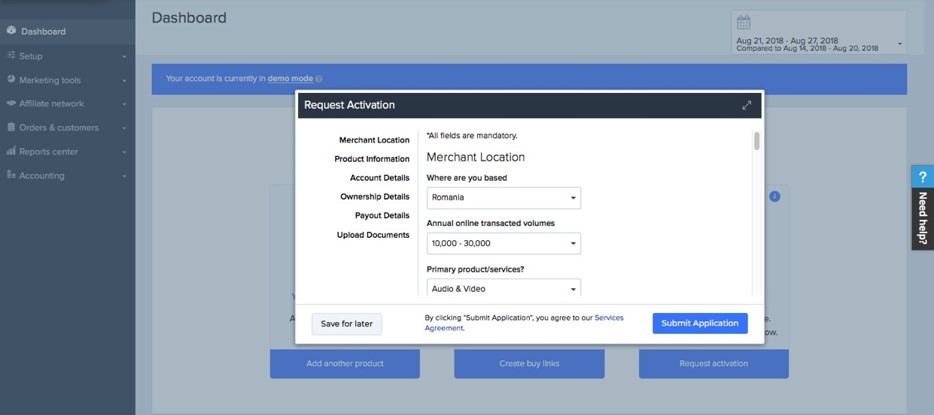
3. Request the activation of your live account
When you log into your account (until your application is approved), you will see a blue banner at the top of your account that says, “Your account is currently in demo mode”. Even though your account is in demo mode, everything is completely functional. You can set up products, renewals, and fulfillment or delivery information, as well as test and use all the other available features. This mode allows you to test your setup to make sure everything works as expected, prior to launching your 2Checkout store.
To finalize your account setup, so that your 2Checkout live transactions can be processed, you must submit your application for approval, as explained here.
The 2Checkout's underwriting team will review your application right away and will get in touch with you to either request additional information, if required, or notify you about the resolution.
Once your application is approved, your 2Checkout account is live and you can start using it to process real orders. Your Dashboard will continue to display sample data until you register your first real transaction.

Discover the 2Checkout platform
These are the main areas you'll navigate to set up your account, run your business, get support, and more:
- Merchant Control Panel: The 2Checkout Merchant Control Panel helps you manage your store and all your day-to-day operations, from customizing your checkout experience to updating product information and reviewing orders and customers.
- Knowledge Center: Find how-to articles, videos, guides, and troubleshooting resources. You can also find expert guidance and best practices on how to increase conversion and retention rates while expanding your business globally.
- Support: 2Checkout has dedicated teams that can help you with your financial, technical, or order-related questions via email or Live Chat. Check here the full list of teams that are ready to provide support to your inquiries.
- 2Checkout Customer myAccount: Your customers will be automatically registered into 2Checkout myAccount when they first place an order on your website. They can use 2Checkout myAccount to view their order status and evolution, products or subscription details and history, as well as change their personal customer information, or request a refund.
How to get help
If you are having any difficulty with the three steps above, our support teams can help you.
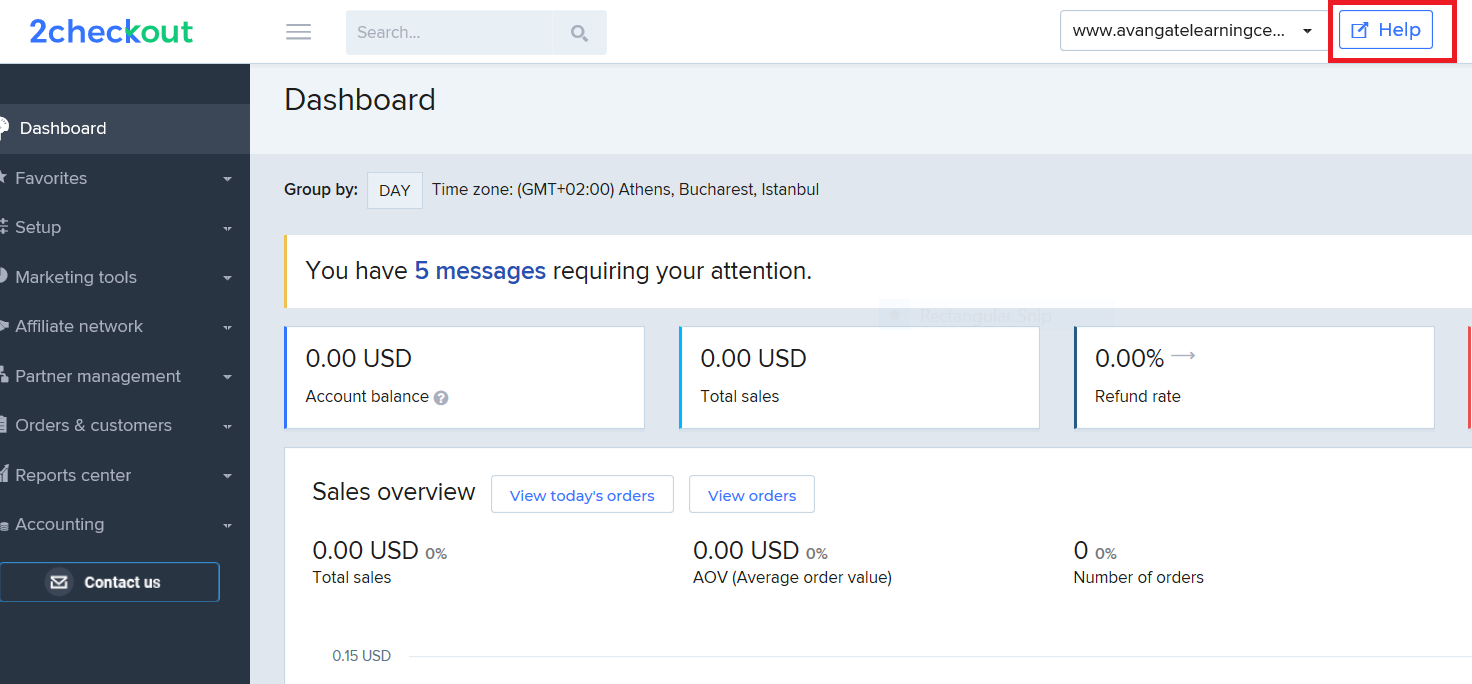
In the upper-right side of your Control Panel, you’ll find a permanent link to our Knowledge Center.
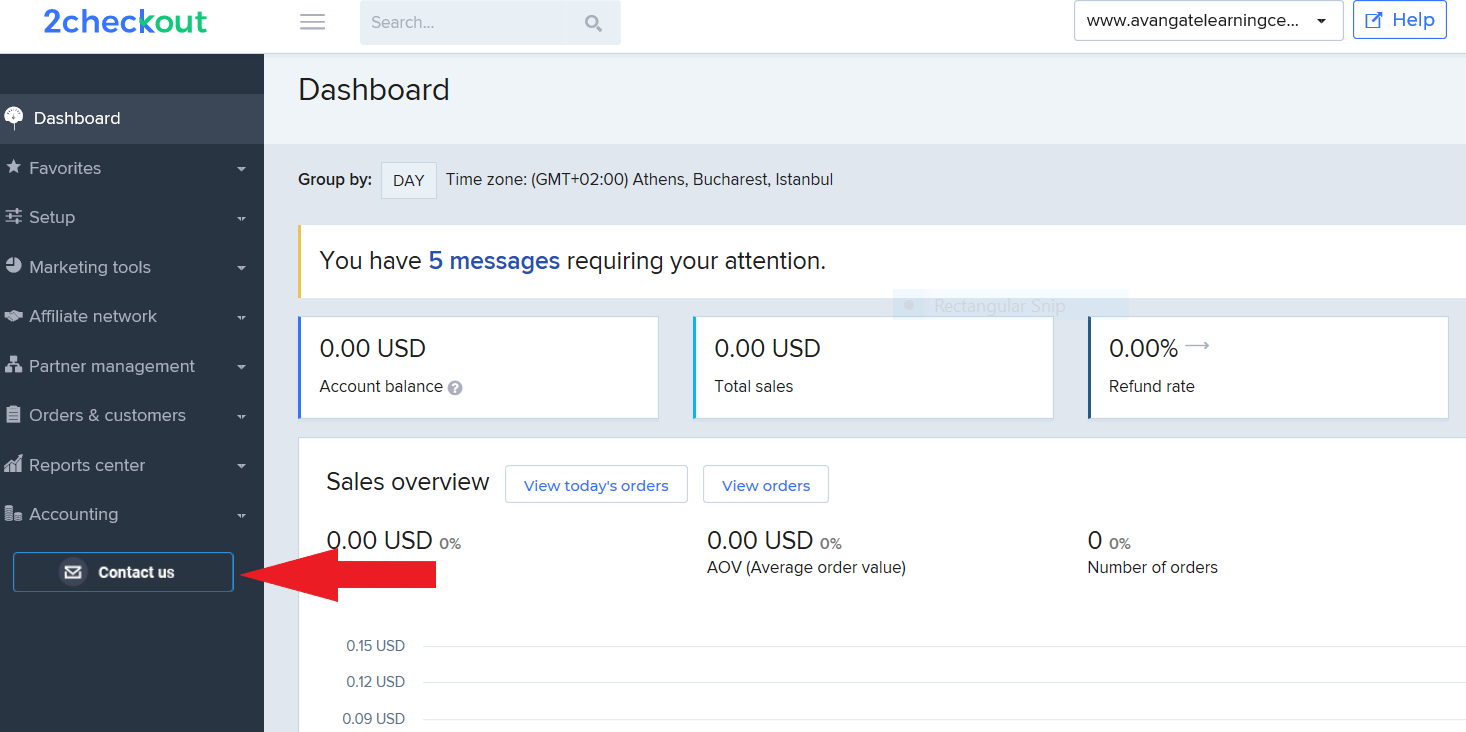
If you are still having trouble finding the right answers to your questions, the 2Checkout support team is always ready to assist. You can submit tickets or chat with members of the support team regarding your specific questions.
FAQ
1. How do I know if 2Checkout is available in my country?
2Checkout is available in most countries, but there are some territories and countries that are restricted from doing business with 2Checkout.
Persons located in, resident in, or a citizen of, or products or services originating from jurisdictions that the company has determined for various reasons, including legal, contractual, and commercial reasons, to be prohibited, including Cuba, Iran, North Korea, and Syria, and the Crimea, Donetsk, and Luhansk regions.
2. What tax identification documents do I need to create an account?
Read here about all the documents and details you need to provide to 2Checkout to create an account.
3. Can I add a second website to the 2Checkout account to get the same payment information?
If you have a 2Sell or 2Subscribe account, you can have more than 1 associated URL. The request to add a new URL on the account requires risk review and approval, and you can submit it to compliance@2checkout.com.
If you have a 2Monetize account, this is limited to pointing towards 1 URL for the process of generating sales. Any new website that generates traffic needs to have its own account, and all accounts operated by the same entity can be grouped under one multi-account. Requests for new URLs can be sent to csmsupport@2checkout.com or info@2checkout.com.
4. How can I change the website URL or business name in my account?
You cannot perform these updates on your own from your account, but you can reach out to us as additional documentation might be required.
If you have a 2Sell or 2Subscribe account, you can send your request to change the website URL/business name to compliance@2checkout.com, and our Underwriting team will help you out.
If you have a 2Monetize account, you can request the update to our CSM team's email addresses: csmsupport@2checkout.com or info@2checkout.com.
5. Can I create a 2Checkout account as an individual, without a company?
Yes, this option is currently available in the application form for any type of account you may choose to apply for.
6. How can I cancel/delete my 2Checkout account?
If you want to delete your account, contact us from the same email address on which your account is registered and our dedicated teams will help you settle and close your account.