Integrate Akeeba Subscriptions
Availability
Akeeba Subscriptions integration is available only for 2Checkout accounts that handle their own tax and invoice management (2Sell and 2Subscribe accounts).
Akeeba Subscriptions Settings:
- Login to your Joomla admin.
- Under Extensions click Plugin Manager.
- Select “Akeeba Subscriptions Payment – 2Checkout Standard Purchase Routine”
- Under Status select Enabled.
- Enter your Payment Option Title.
- Enter your 2Checkout Merchant code.
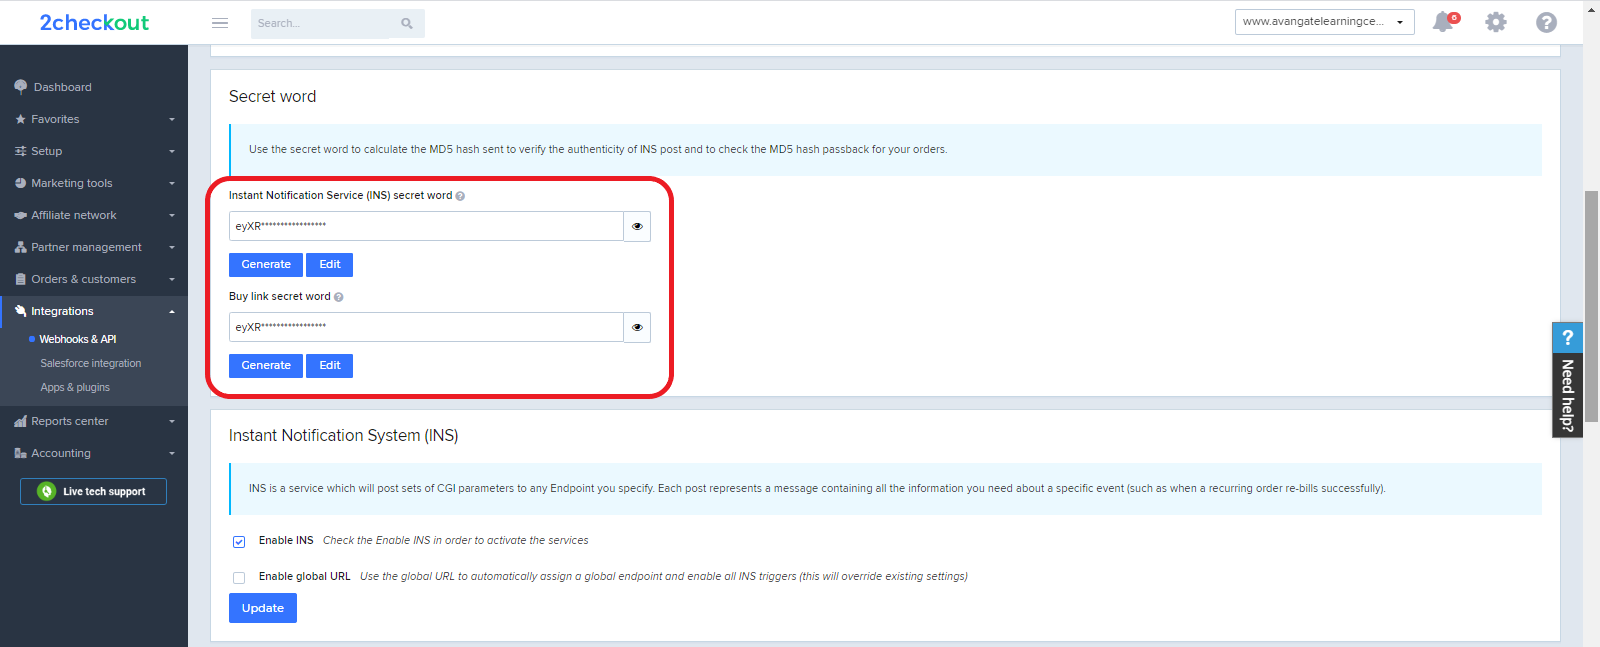
- Enter in your Secret Word (set on 2Checkout Control Panel.) To obtain the Secret Word, contact 2Checkout or, if you already have a 2Checkout account, log in to your Merchant Control Panel and navigate to Dashboard → Integrations → Webhooks & API → Secret Word → INS Secret word. Your INS secret word should be the same as the buy-link secret word (can be found under Dashboard → Integrations → Webhooks & API, scroll down to the Secret Word area, under the INS Secret Word). Edit your INS secret word and buy-link secret word to match each other, then copy and paste them into your Akeeba admin.
- Under Demo mode select No.
- Select whether or not you will be placing demo sales. (INS messages are not sent on demo sales so all demo sales will have a payment status of New and will not be enabled.)
- Select the default payment method for your buyers on the checkout page.
- Under Checkout Process select Single Page.
- Save your changes.
2Checkout Settings:
- Sign in to your 2Checkout account.
- Navigate to Dashboard → Integrations → Webhooks & API
- Follow these steps to activate Redirect URL:
- In the Redirect URL section check “Enable return after sale”
- For Return method, select Link in the Thank You Page or Header redirect
- Set the Approved URL to the URL provided in your Joomla admin (Replace http://yourdomain.com with the actual URL to your domain)
- Click Update to save your settings
- In the Webhooks and API section, under the Instant Notification Service (INS) card, check the Enable Global URL box.
- Enter “http://www.yourdomain.com/index.php?...thod=2checkout” as the Global URL (replace http://www.yourdomain.com with your actual website URL)
- Enable all triggers.
- Click Update to save your changes.
Akeeba Subscriptions
Akeeba Subscriptions is a component for the popular Joomla!™ CMS which allows you to sell subscriptions on your site, the easy way. Integrate directly with Joomla!’s built-in ACL and dozens of popular extensions. It comes with built-in support for 2Checkout’s payment processing service. Limit the displayed content based on your users’ subscription level. Be in control of your business policy with its powerful features. Integrate with the popular ccInvoices component for automatic invoicing. Use it with single- or multi-lingual sites. Comply with EU VAT laws with its powerful Tax Rules feature. And as with the best things in life, Akeeba Subscriptions is available free of charge from https://www.AkeebaBackup.com.
For more information visit: AkeebaBackup.com