Upgrade test orders
Overview
You can use these instructions to upgrade test orders.
Requirements
- Configure at least 2 products for your account.
- Set up one of the products as the upgrade of another.
- Enable the test order system.
- Place a test order with the upgradeable product.
Workflow
- Navigate to Subscription management or to Order search and search either for a test subscription belonging to or a test order involving the upgradable product.
- Click on View subscription to access the details page of the item you wish to trigger the auto-renewal process for.
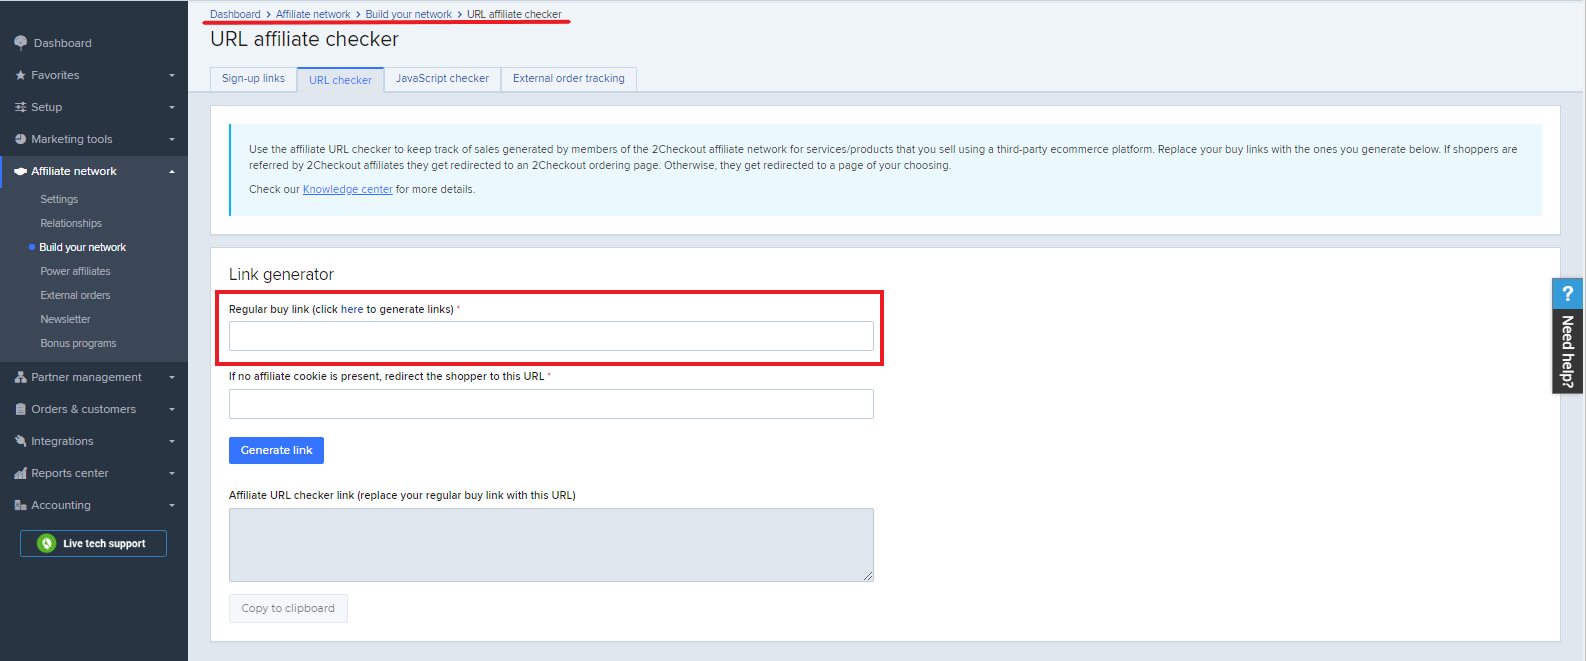
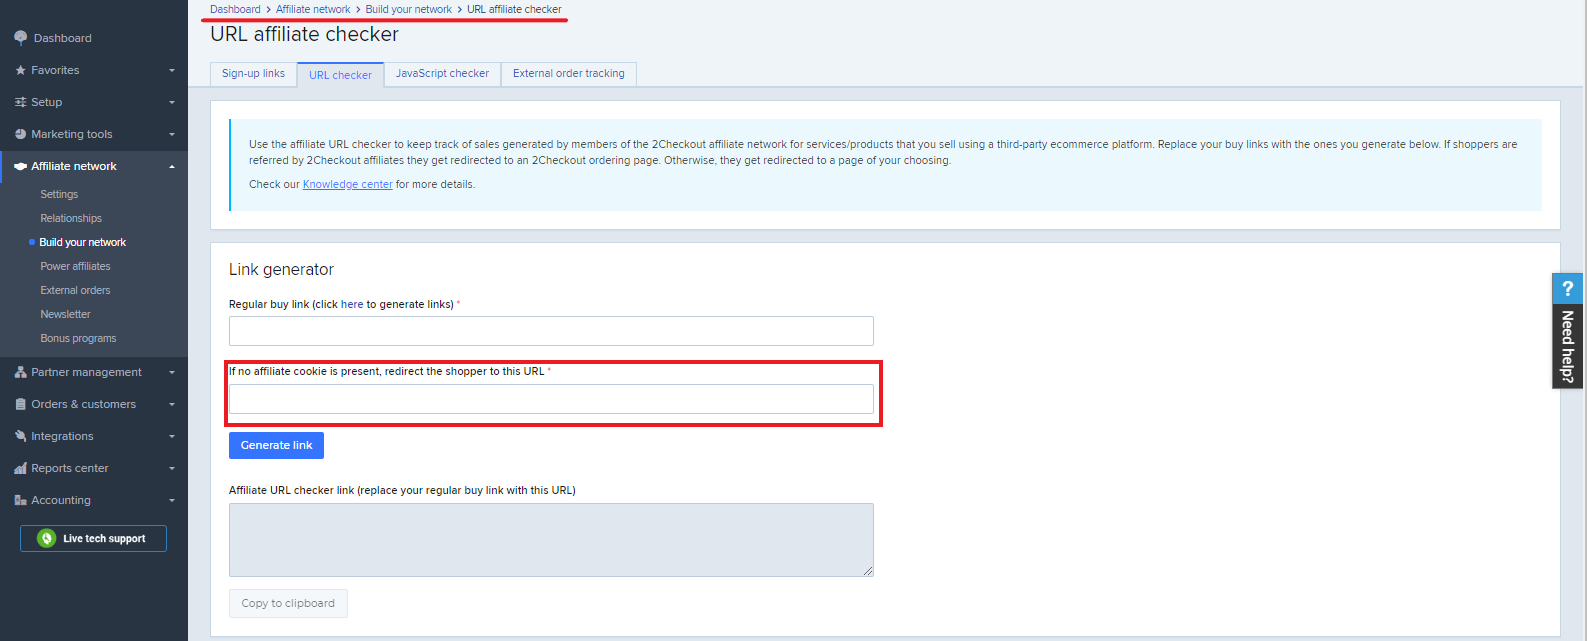
- Click on or copy & paste the Upgrade test link into your browser's address bar.
- You will land in the shopping cart where you can place an upgrade test order. The system adds the DOTEST=1 URL parameter to the Buy Link.
- The system updates the Subscription history area with the details on the upgrade test order.
Possible test order status transitions

|
Order status in search export |
Order status in Control Panel |
Approve status |
Notes |
|---|---|---|---|
|
COMPLETE |
Finished |
Finished |
The order was fulfilled. |
|
AUTHRECEIVED |
Pending approval |
Pending approval |
2Checkout is yet to approve the order. |
|
In progress / Processing |
In progress |
The order was approved. |
|
|
PENDING (for automatic authorization failures) |
Unfinished |
Unfinished |
2Checkout is yet to approve the order. |
|
TOTAL REFUND |
Refunded |
Refunded |
Full refund. |
|
PARTIAL REFUND |
Refunded |
Refunded |
Partial refund. |