Product SKU
Overview
Stock keeping unit or SKU is a number assigned to a particular product by a digital or physical retail store for easy identification and inventory tracking purposes. The SKU number is a string of alphanumeric characters that uniquely identify details such as price, product options, and manufacturer of a particular product or service. SKUs are used in order notifications, electronic delivery, export files, etc.
SKU Management
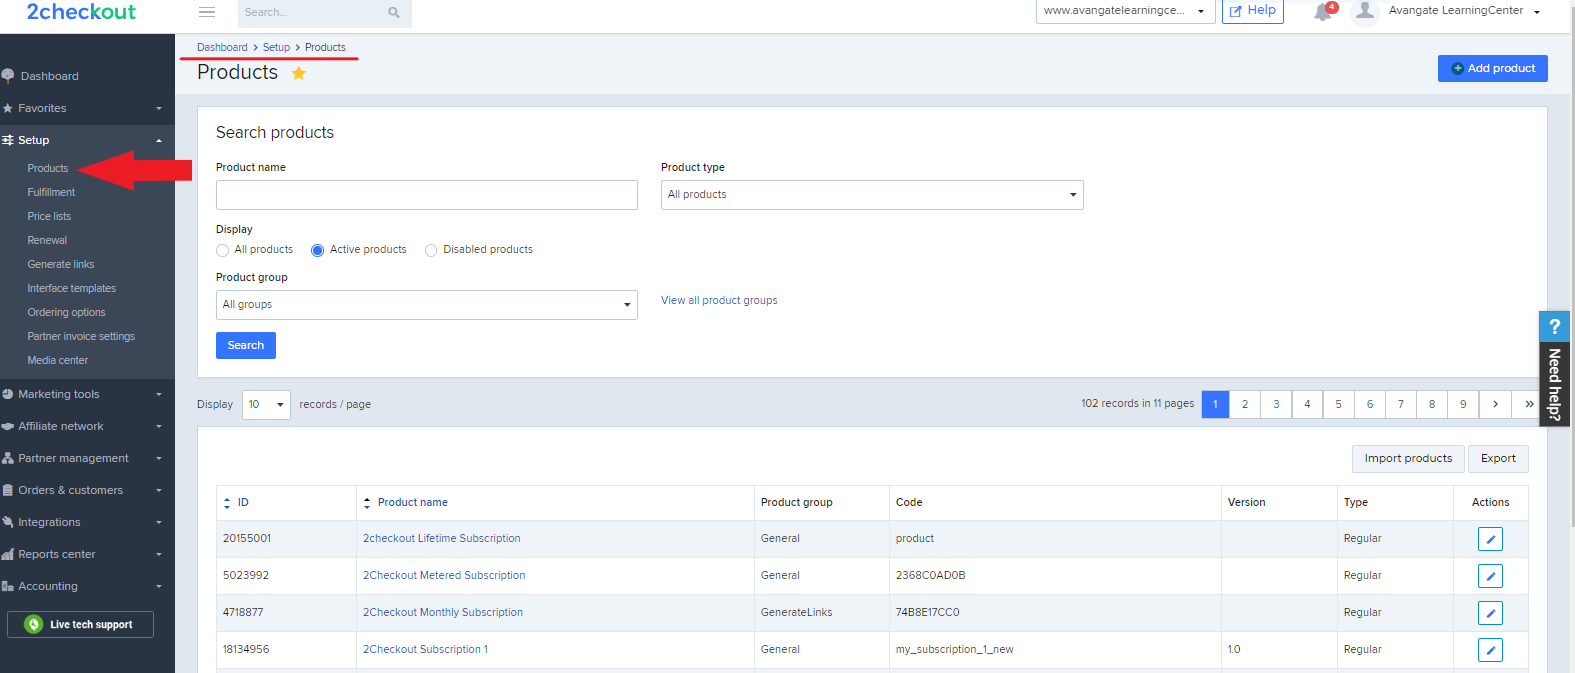
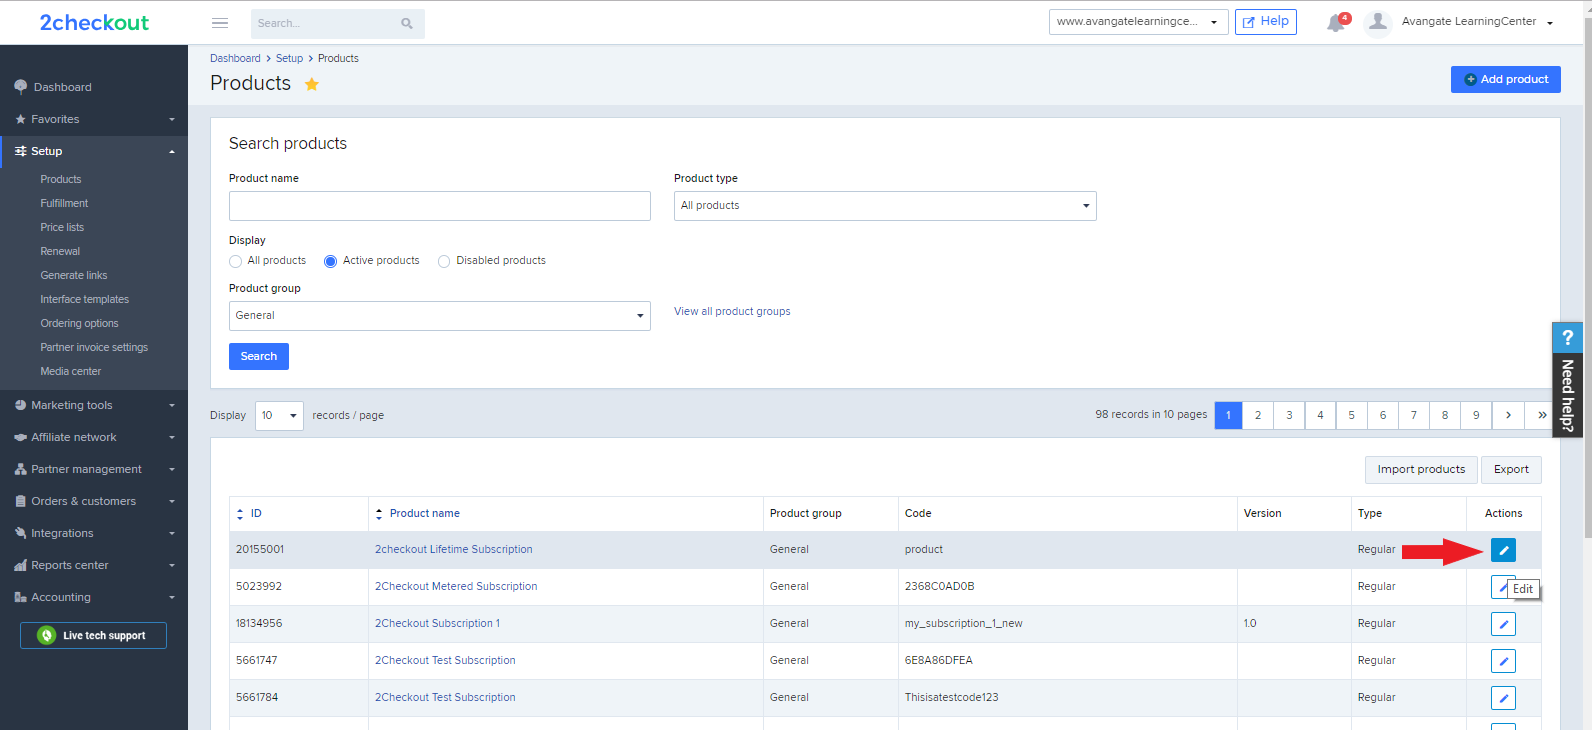
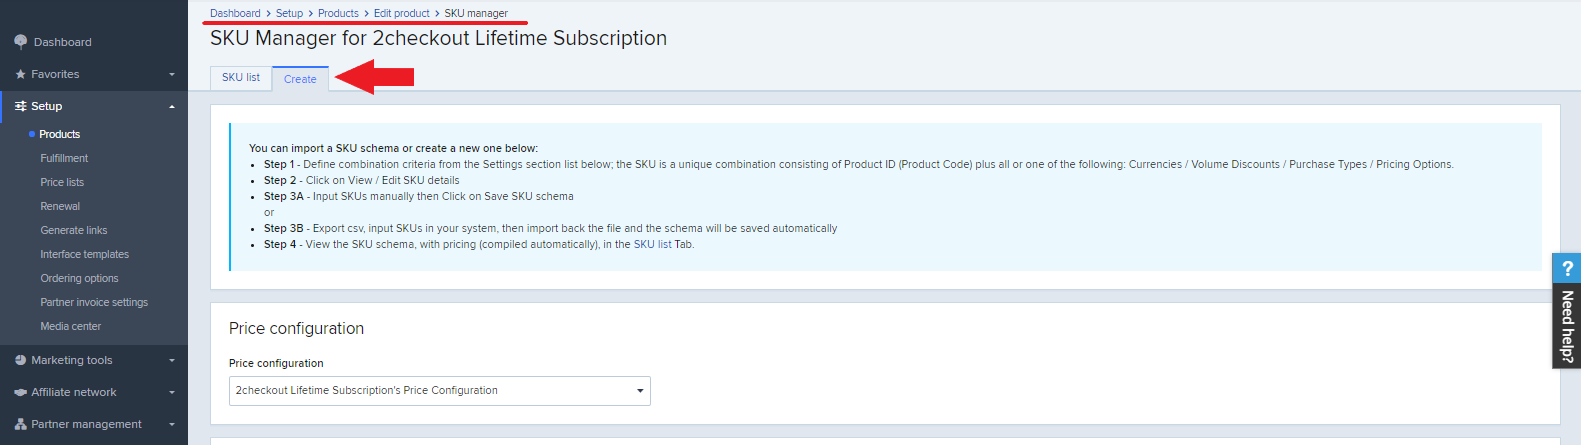
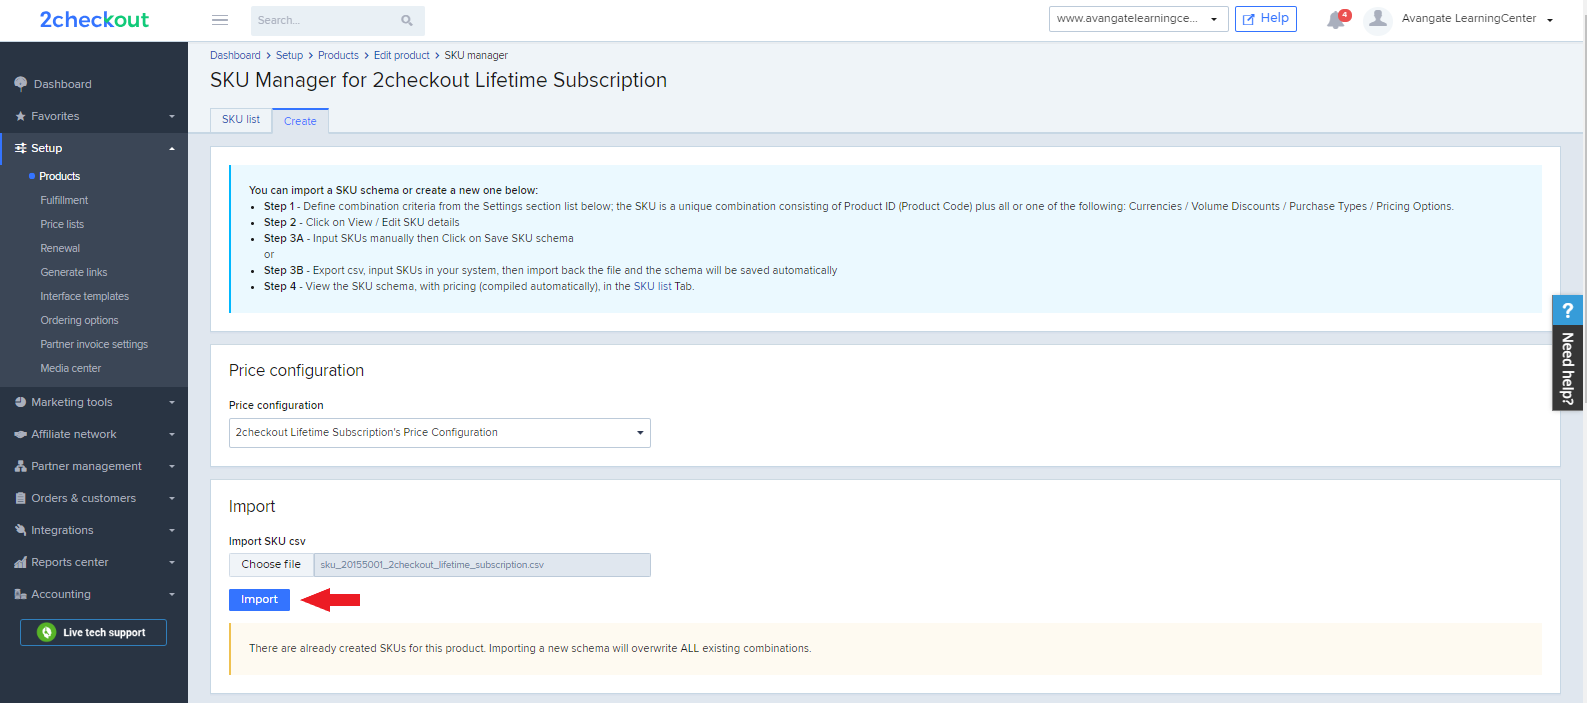
For companies that manage large product catalogs with defined SKUs and that make regular changes to their prices and products (new versions, new options), the manual process performed in the Merchant Control Panel needs to be supported by an automatic solution as well. By using an automated flow, merchants decrease the time needed for this process, and also reduce the risk of human errors associated with the manual process.
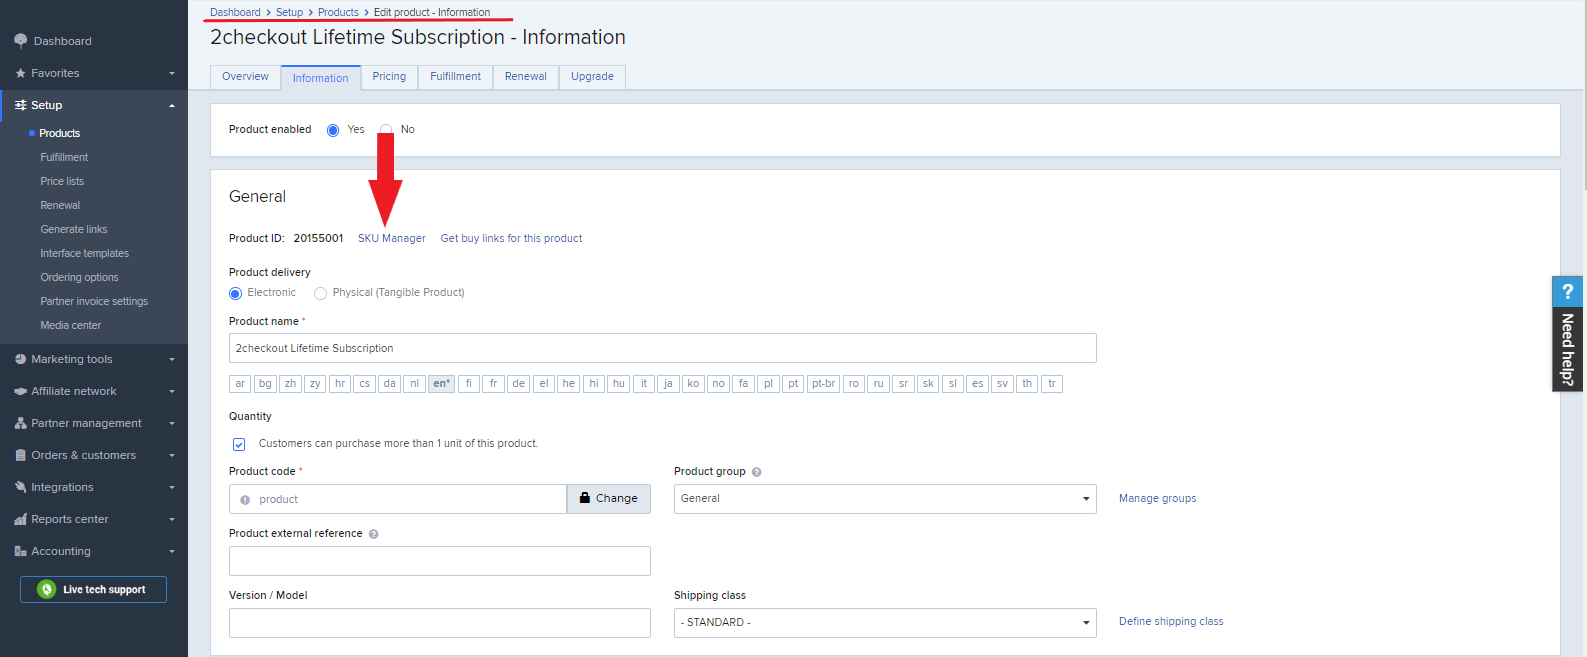
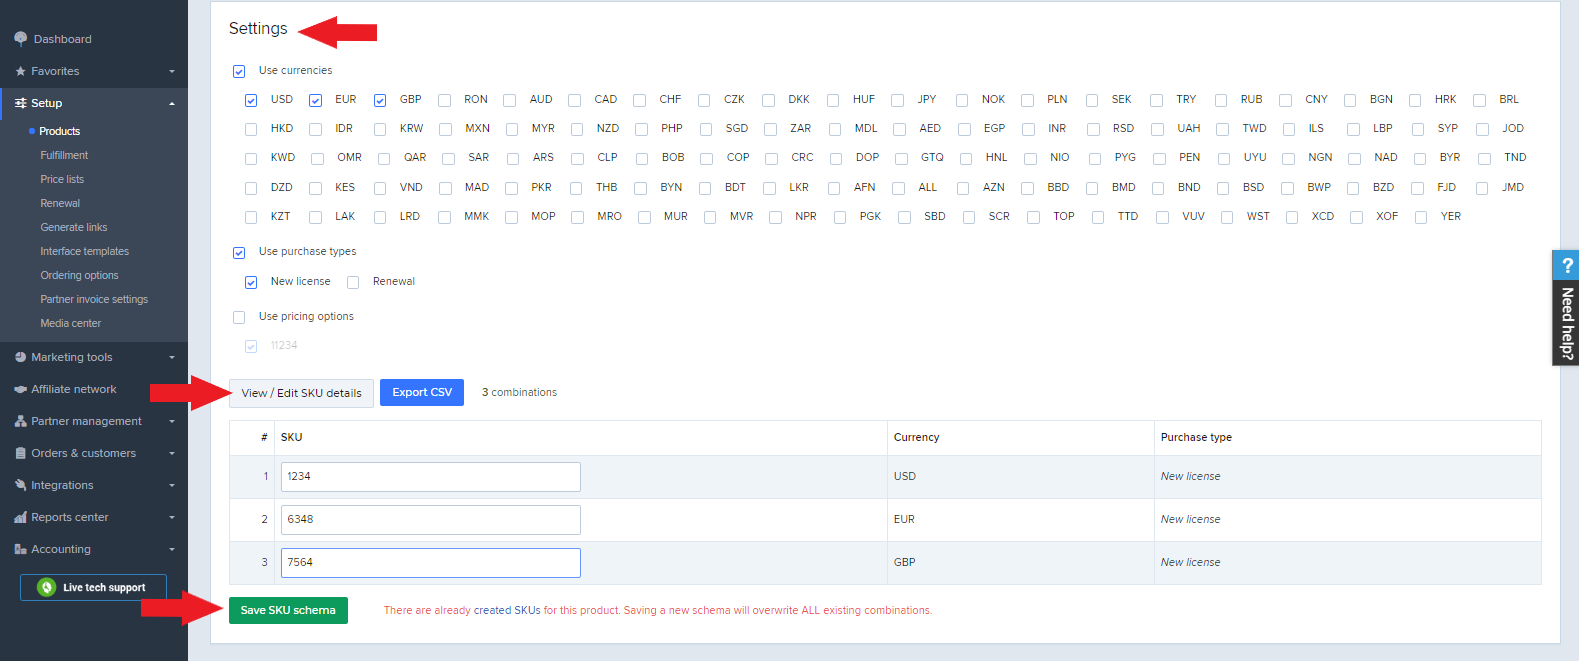
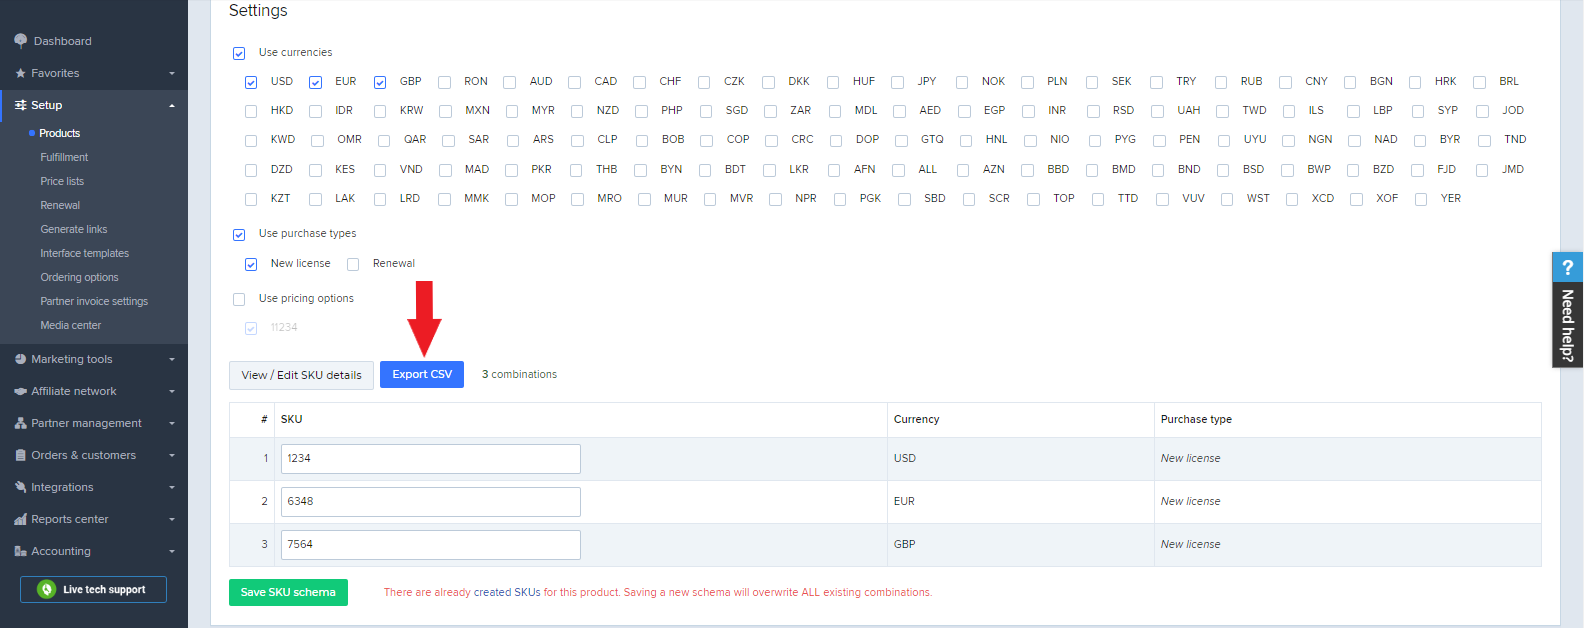
In the 2Checkout platform, SKUs can be associated with a unique combination made up of:
- Product identification element
- Pricing configuration
- Plus minimum one of the following:
- Currency – defined as applicable to all currencies or only to specific ones
- Volume Discounts – defined as specific quantity or intervals (applicable only according to the volume discounts that are defined at pricing configuration level)
- Purchase Types – possible values: new purchase, renewal, upgrade, and trial
- Pricing Options – will be available considering the pricing option groups assigned to the selected pricing configuration