Accept and pay proposal
Overview
Once a proposal is created and sent to a customer, they need to perform a few steps to accept the offer.
Accept and pay proposal without net terms
Below are the steps a customer needs to perform to accept and pay for a simple proposal.
Customer flow
As a customer, you need to follow these steps to accept and pay for a simple proposal without net terms:
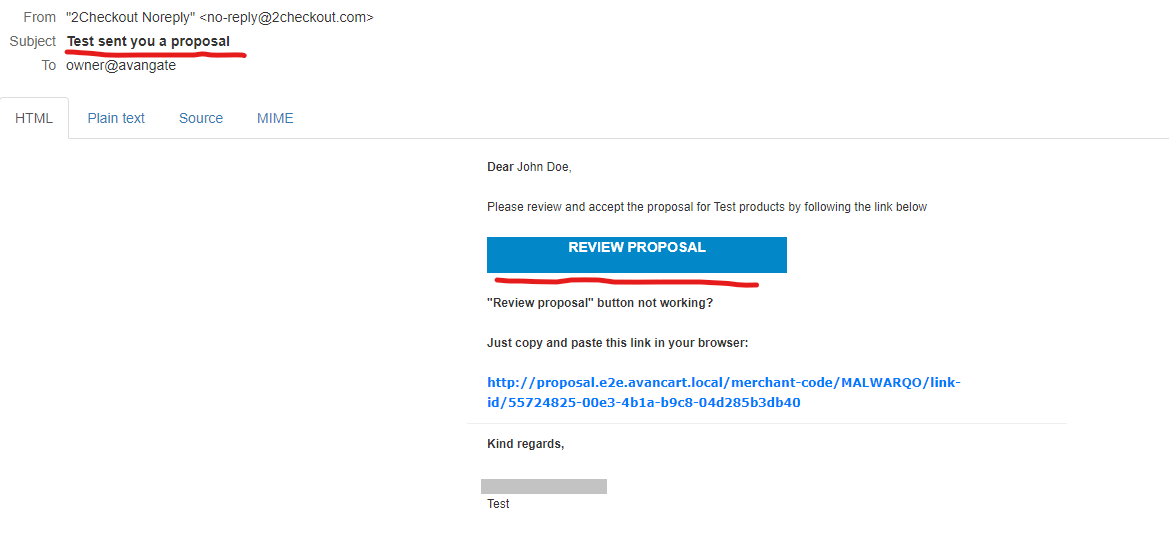
- Go to your email inbox and click on the email titled <Merchant Name> sent you a proposal.
- In the email click Review Proposal.
3. The Proposal Accept Page of the proposal will open after the previous step.
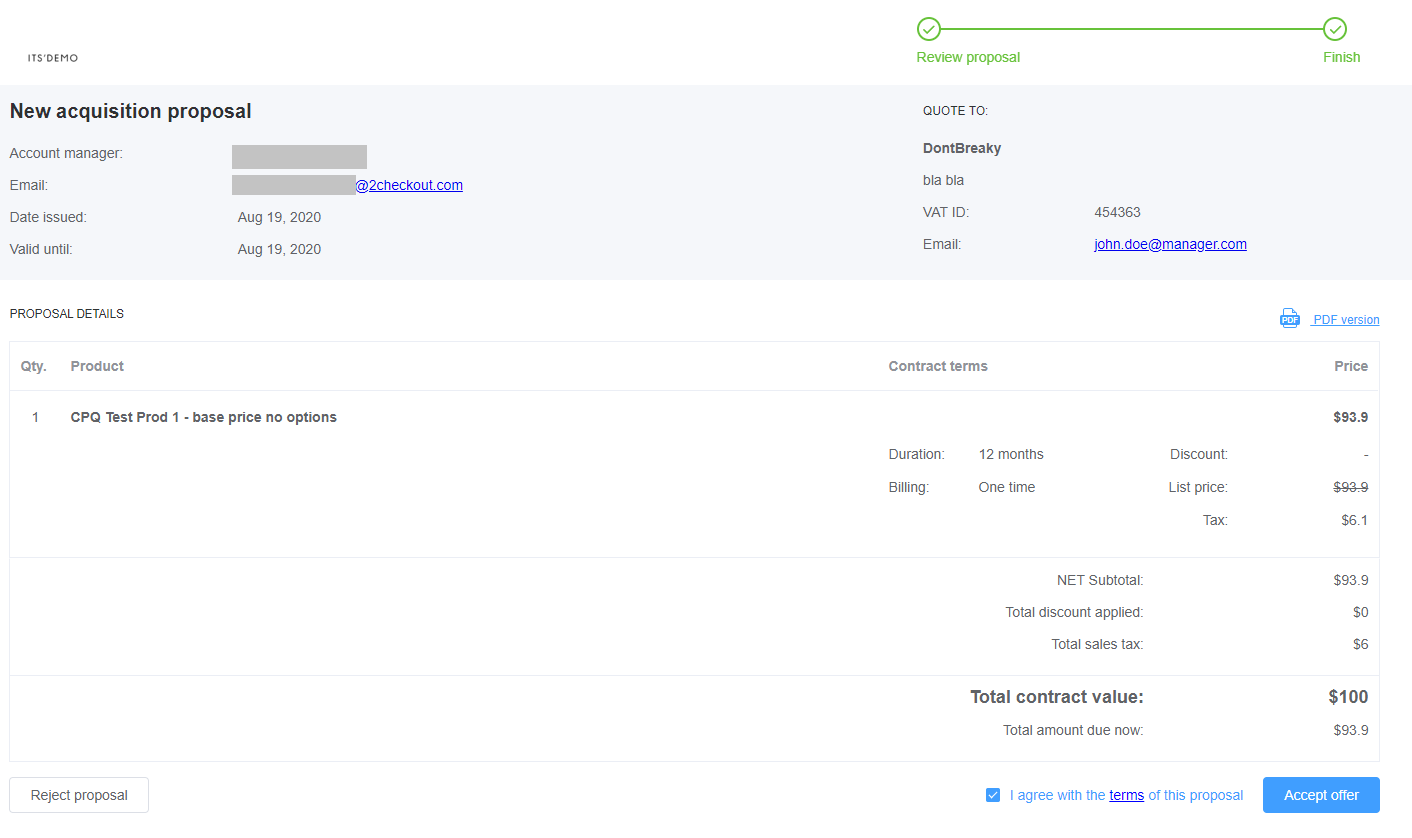
4. Preview the proposal (the prices are always NET whereas in CPQ they are a combination of net and gross).
5. Click on I agree with the terms of this proposal after checking out the terms pop-up window.
6. If your set-up is Create and send Proposal without Net Terms
- With 1 contact and Use same contact for invoicing = ON (SellTo=BillTo)
- Click Continue to Payment
- With 2 contacts and Use same contact for invoicing = OFF (SellTo<>BillTo)
- Click Accept
- You will be taken to a Thank you page
- Go back to the email editor and refresh the inbox page
- Click on the email titled Pending Payment for <Merchant Name> Proposal
- Click Finalize payment
SellTo = The contact person from the side of the client who can approve the offer line items and who is usually the main contact for the client.
BillTo = The contact that is going to receive invoices and make the payments on behalf of SellTo.
Sometimes, SellTo and BillTo can be the same person and this is shown in the offer creation page.
Test the customer experience using test payment details
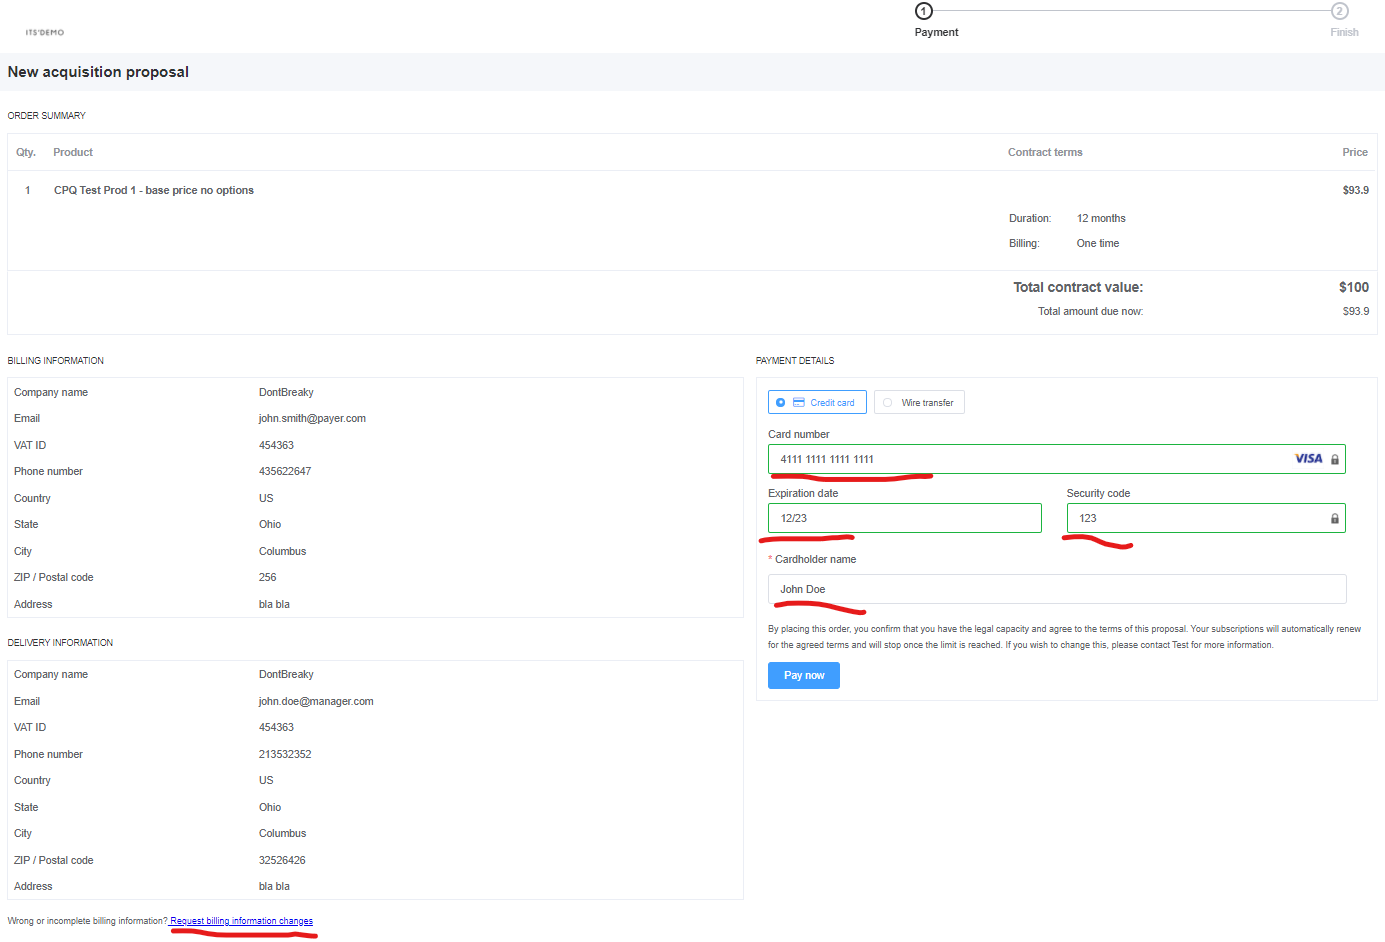
1. The Proposal Payment Page (add test to the payment page URL) will open and you can select the credit card option and use the following payment details:
- Credit card no: 4111 1111 1111 1111
- Expiration: 12/23
- CCV: 123
- Cardholder: John Doe
2. Click Request billing information changes if you want to edit the billing details.
3. Click Pay to finish the payment and get a confirmation screen.
Merchant flow
CPQ check status
In the CPQ app you will be able to see the progression of the offer as follows:
- Click on the offer you have sent to the customer.
- After each of the above steps, click Refresh and check the Offer status field on the top section.
| Offer Status | Description |
|---|---|
| Sent | When receiving the link for the Proposal UI. |
| Accepted | When accepting the proposal in the scenario with 2 contacts |
|
Closed Won/Pending Payment |
When finishing payment. |
| Closed Won/Paid |
Payment is finalized. After Closed Won/Paid you can also check out the first billing cycle on the Opportunity and see that it is paid |
Accept and pay proposal with net terms
This flow shows the steps a customer needs to perform in order to accept and pay for a proposal with net terms, as well as the steps you, as a salesperson, need to take in order to upload the necessary documents for net terms proposals.
Customer flow
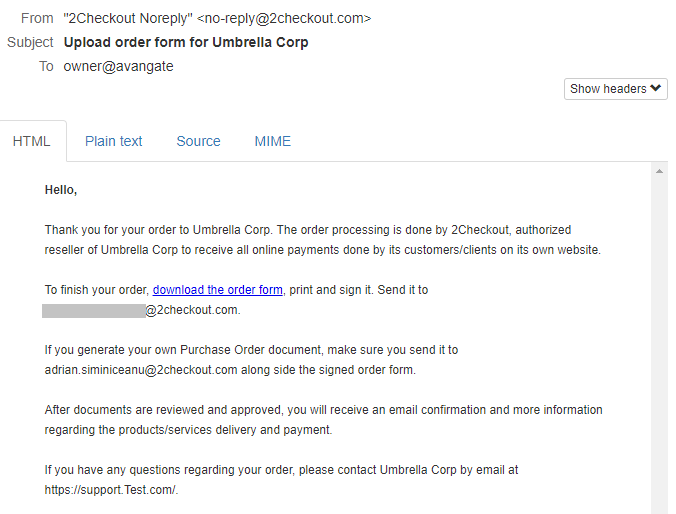
- Go to your email inbox and click on the email titled Upload order form for <Merchant name>.
- Download the PDF from the link in the email, print, sign it, and send it back to the email address mentioned in the email.
3. You can also open a Net terms payment and pay the proposal:
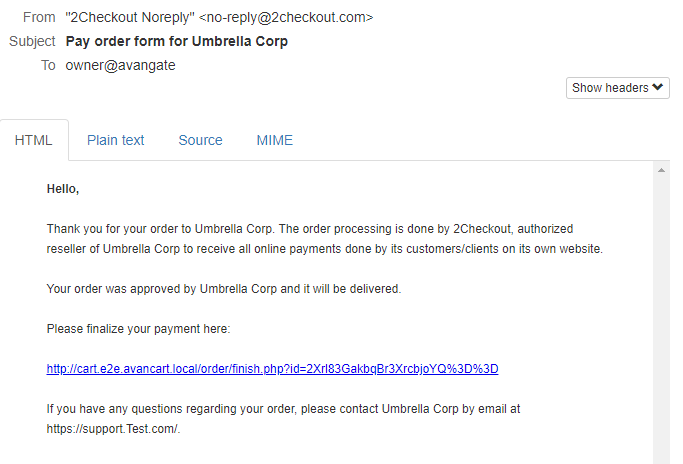
- You will receive an email to make the Net terms payment titled Pay order form from <merchant name>.
- Clicking the link in the email takes you to a payment page.
- On the Payment page, select credit card and input your details:
- Credit card number
- Expiration date
- CCV
- Cardholder name
- Finalize the payment.
Merchant Flow
Upload Order form in the CPQ app
- Go back to the Offer screen.
- In the top right corner of the section, click on Upload Documents.
- Make sure that the Offer is in status Closed Won/Pending Payment. If not, the button will not appear.
- In case the button doesn’t appear after more than 5 minutes, please contact support.
Upload Order form in 2Checkout
1. In the Upload window, select one of the "Choose a file" buttons and upload the PDF proposal.
2. Enter a PO number (optional).
- This field will be used for invoicing with a PO number.
3. Click Upload files to finish the process.
CPQ check status
In the CPQ app, you can see the progression of the offer as follows:
1. Click on the offer you have sent to the customer.
2. After each of the above steps, click Refresh and check the Offer status field on the top section.
| Offer Status | Description |
|---|---|
| Sent | When sending the proposal. |
| Closed Won/Pending payment | After uploading the documents as a salesperson on the 2Checkout page. |
| Closed Won/Paid |
When finishing payment. After Closed Won/Paid you can also check out the first billing cycle on the Opportunity and see that it is paid. |
Billing Cycles
1. When an offer is in "Placed" status, for each Offer Line Item, billing cycles are created. The number of billing cycles depends on the contract period.
2. The created billing cycles can be found on each Offer Line item of the offer by opening the Line Item and navigating to the related list.
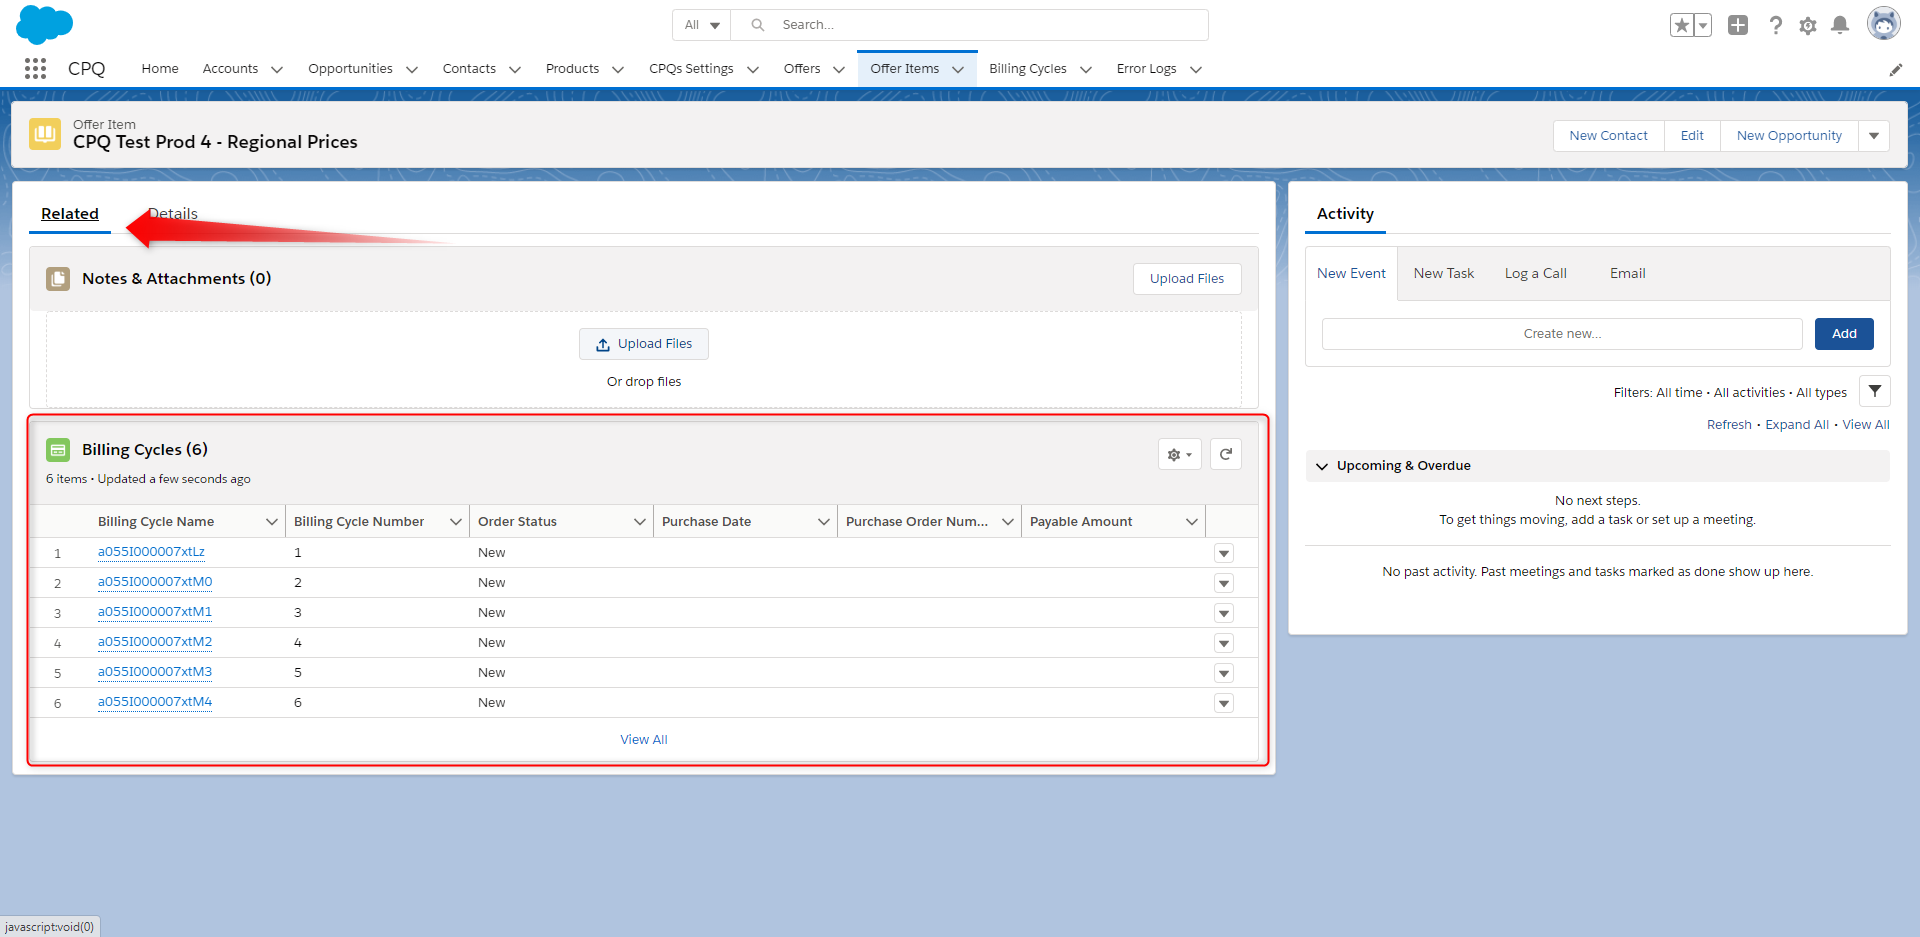
3. Fill in the information on the billing cycles. If a cycle is paid, its status will be changed to "Complete".
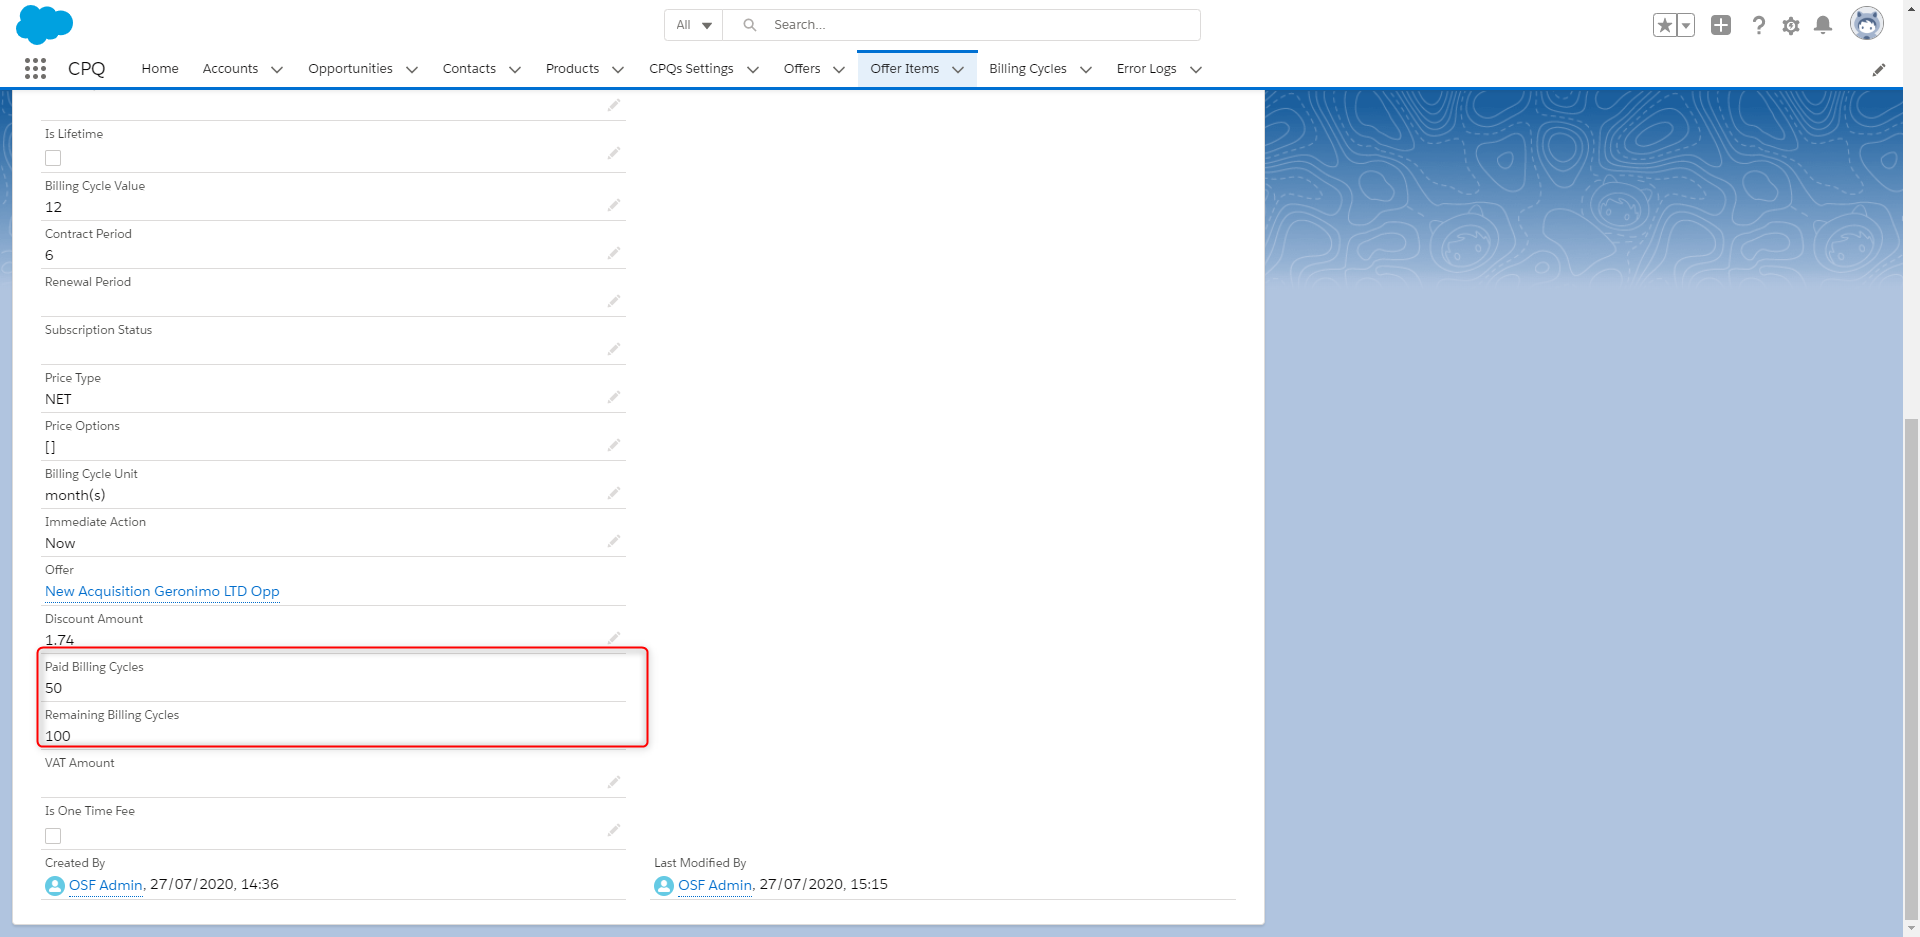
4. In order to see how much was paid and how much there is still to be paid, check the Offer Line item product and see the Paid Billing Cycles and Remaining Billing Cycles fields.
