Professional Services customizations
Overview
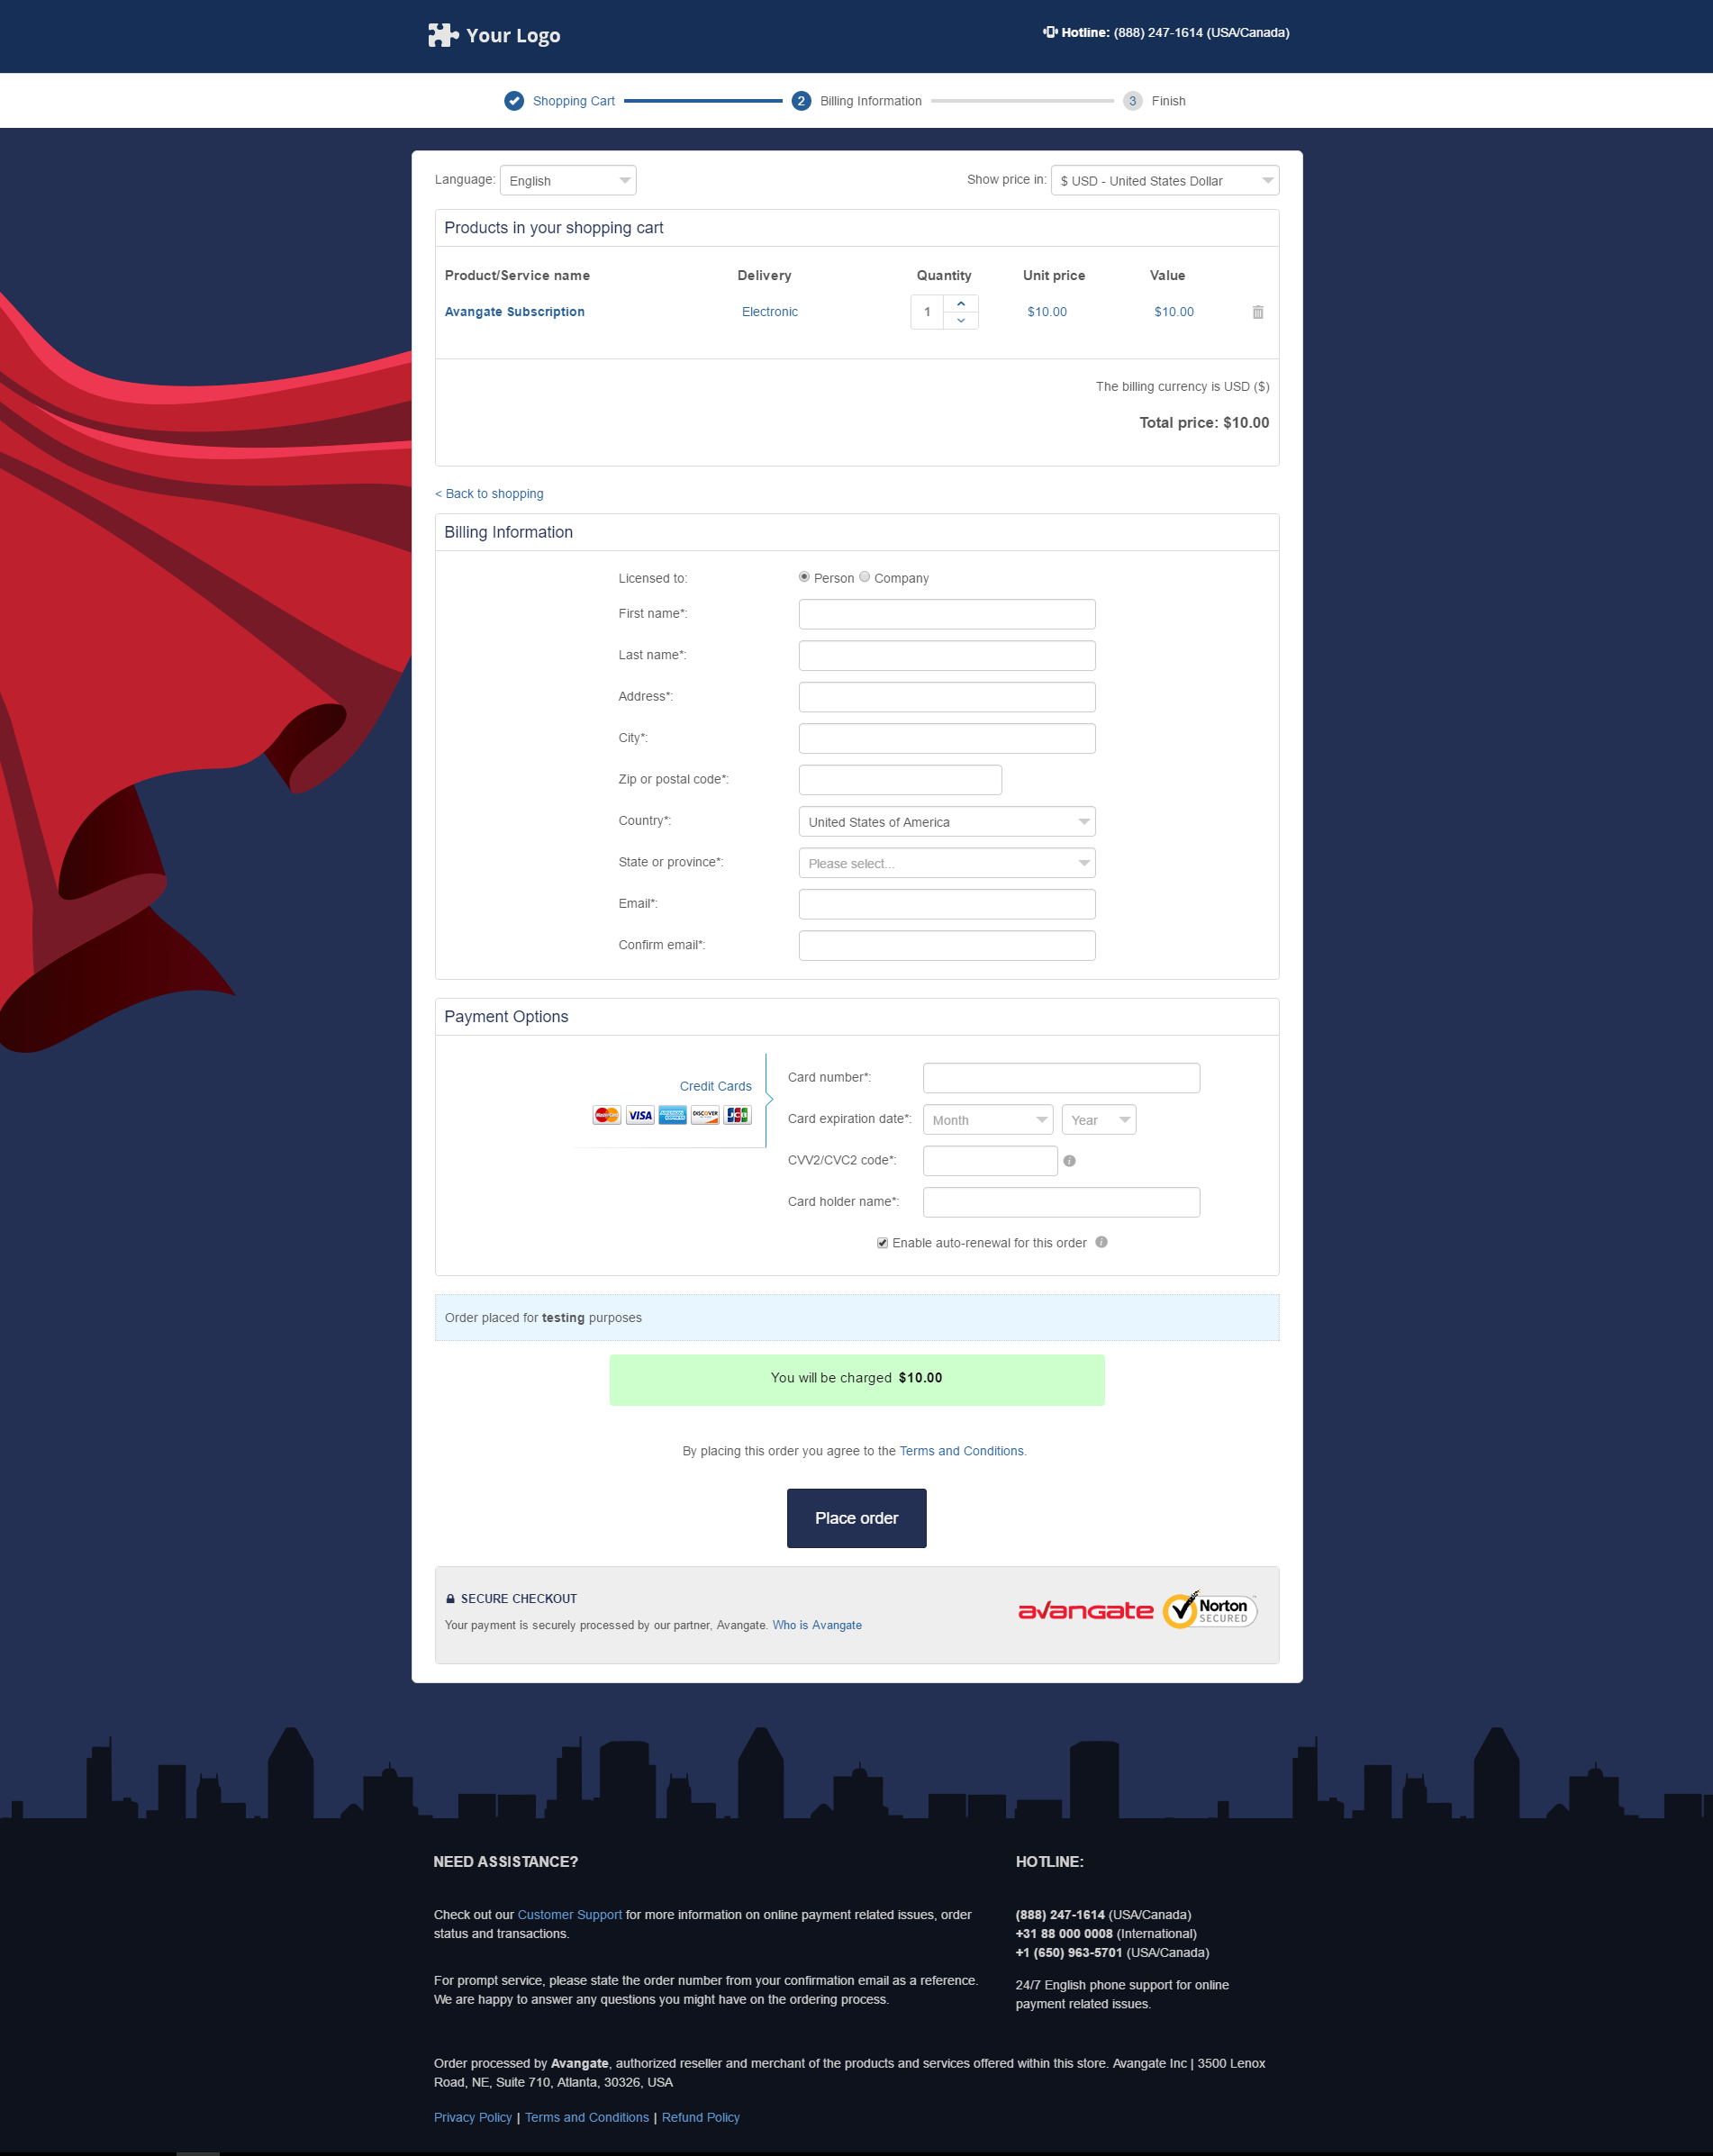
Our Professional Services team is always ready to do all the heavy lifting when it comes to customizing ordering interfaces (shopping carts). Contact 2Checkout directly to ask how the PS team can help you:
- Align the look-and-feel of your cart with the rest of your web properties
- Include tried and tested conversion optimization best practices into the design
- Create shopper experiences such as cross-sell and upsell to drive Average Order Value (AOV) up
- Build custom events that cut your abandonment rate
 |
 |
 |
 |
/Calculate-the-IPN-HASH-signature/secret%252Bkey%252Bin%252Bmerchant%252Bcontrol%252Bpanel.png)