Integrate WP-Invoice
Last updated: 08-Dec-2020
Availability
WP-Invoice integration is available only for 2Checkout accounts that handle their own tax and invoice management (2Sell and 2Subscribe accounts).
WP e-Commerce Settings:
- Download or clone the 2Checkout payment module at https://github.com/craigchristenson/2checkout-wp-invoice
- Upload the files under the “wp-invoice” directory to “/wp-content/plugins/wp-invoice” on your web server.
- In your WordPress admin select Invoice -> Settings to open your WP Invoice settings.
- Under Payment select 2Checkout.
- Enter Display Name. Example: Credit Card (Visa, MasterCard, American Express, Discover, JCB, PIN Debit) and PayPal
- Enter your 2Checkout Merchant Code.
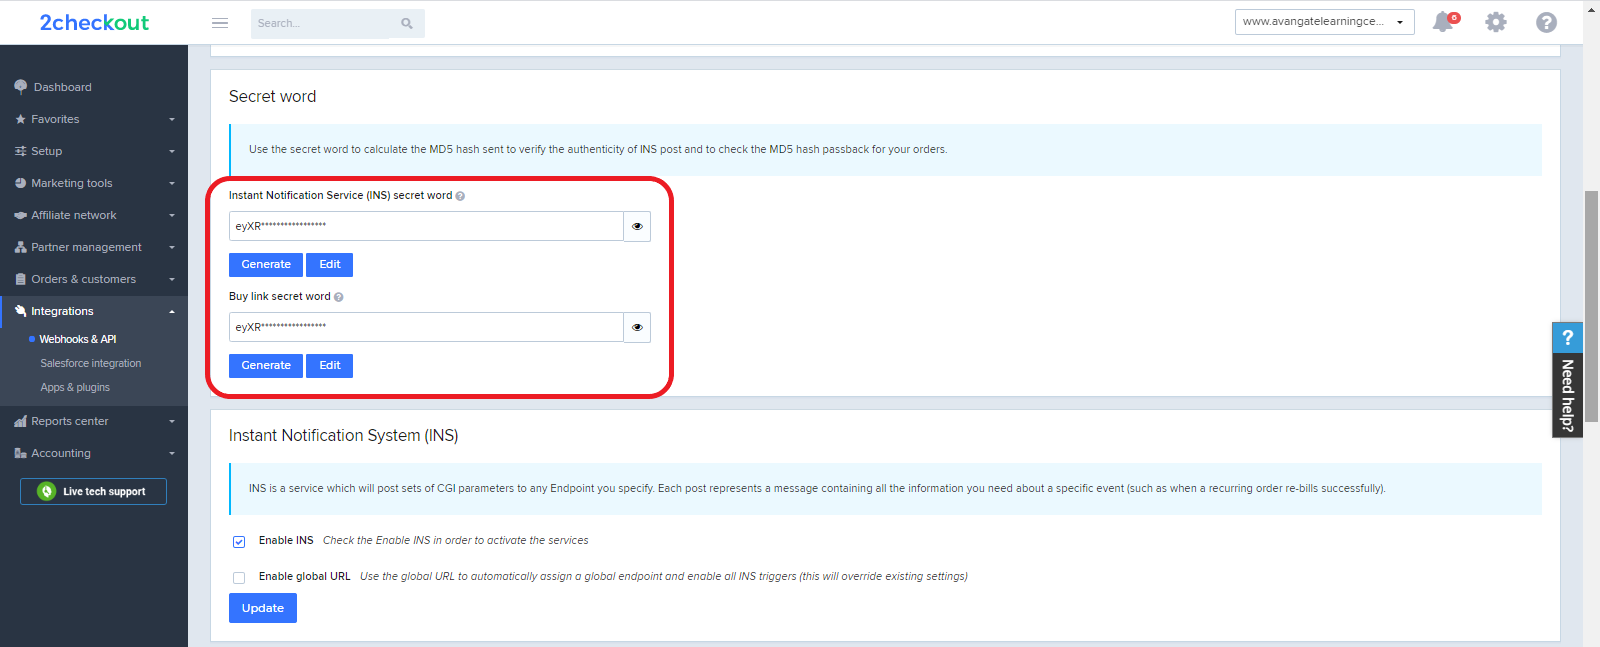
- Enter your 2Checkout Secret Word. (Must be the same value entered on your 2Checkout Control Panel.) To obtain the Secret Word, log in to your 2Checkout Merchant Control Panel account and navigate to Integrations → Webhooks & API → Secret Word → INS Secret word. Your INS secret word should be the same as the buy-link secret word (can be found under Dashboard → Integrations → Webhooks & API, scroll down to the Secret Word area, under the INS Secret Word). Edit your INS secret word and buy-link secret word to match each other, then copy and paste them into your WP-Invoice admin.
- For demo sales set Demo Mode to Yes. For live sales keep Demo Mode at No.
- Under Direct Checkout select Yes.
- Copy the URL provided under “2Checkout Approved URL/INS URL”.
- Click Save All Settings.
2Checkout Settings:
- Sign in to your 2Checkout account.
- Navigate to Dashboard → Integrations → Webhooks & API
- Follow these steps to activate Redirect URL:
- In the Redirect URL section check “Enable return after sale”
- For Return method, select Link in the Thank You Page or Header redirect
- Set the Approved URL to the URL provided in your WP Invoice settings (Replace http://yourdomain.com with the actual URL to your domain)
- Click Update to save your settings
- In the Webhooks and API section, under the Instant Notification Service (INS) card, check the Enable Global URL box.
- Enter the Approved URL (it must be the same value entered in your WP Invoice settings) as the Global URL (replace http://www.yourdomain.com with your actual website URL)
- Enable all triggers.
- Click Update to save your changes.
About WP-Invoice
WP-Invoice lets WordPress blog owners send itemized invoices to their clients. Ideal for web developers, SEO consultants, general contractors, or anyone with a WordPress blog and clients to bill. The plugin ties into WP’s user management database to keep track of your clients and their information.
For more information visit: http://wordpress.org/extend/plugins/wp-invoice/