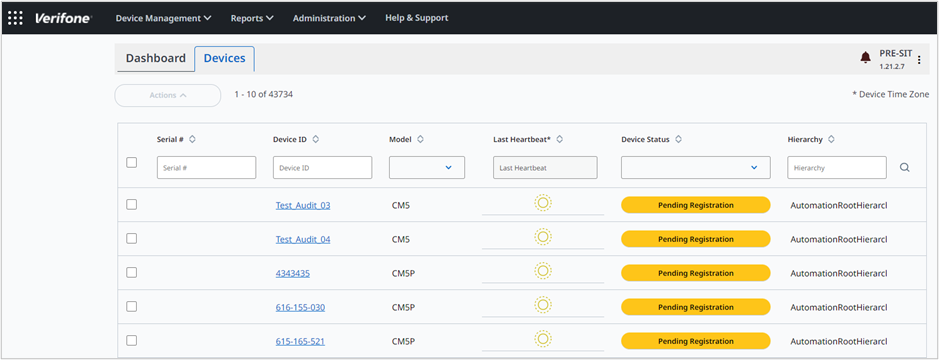
View Devices
The View Devices screen is displayed when you log on to Verifone Central - Device Management. View Devices lists managed devices under the estate, etc. Actions dropdown has the option to delete a device, move a device from one hierarchy to another, create a Rollout for the devices under the current estate, and configure hierarchies and groups.
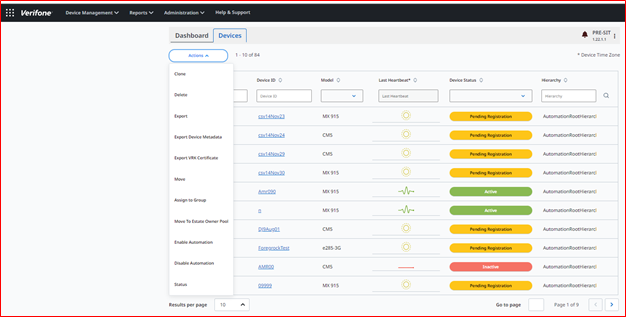
View Devices feature allows you to perform the following user tasks:
- Search a particular device.
- Clone the device details.
- Delete a device.
- Initiate Export request to export the details to XML or CSV format
- Initiate Export request to export the Device Metadata
- Initiate Export request to export VRK Certificate
- Move the devices under one entity to another
- Assign to Group
- Move to the estate owner’s pool
- Enable Automation
- Disable Automation
- Change the status of the device to Active or Inactive
To View devices.
- Once you sign in to <Verifone Central -> Device Management>.
- Go to Device Management -> Devices -> View Devices.
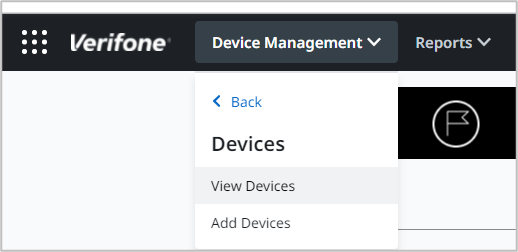
View Devices screen is displayed.
Actions
Select the device and Click Actions.
Actions - > Clone
Clone Device feature under Actions is an accelerated two-step process of onboarding the device on Verifone Central – Device Management. First, the device profile of the existing device is cloned as a template using the Clone Device option. The download management, key management, and software management details are also cloned. The second step is to enter the Serial Number and Device ID. The device information of the newly added device can be viewed on the respective Device Profile screen.
Follow the option sequence below to clone a device.
Device Management -> View Devices -> Actions -> Clone Device
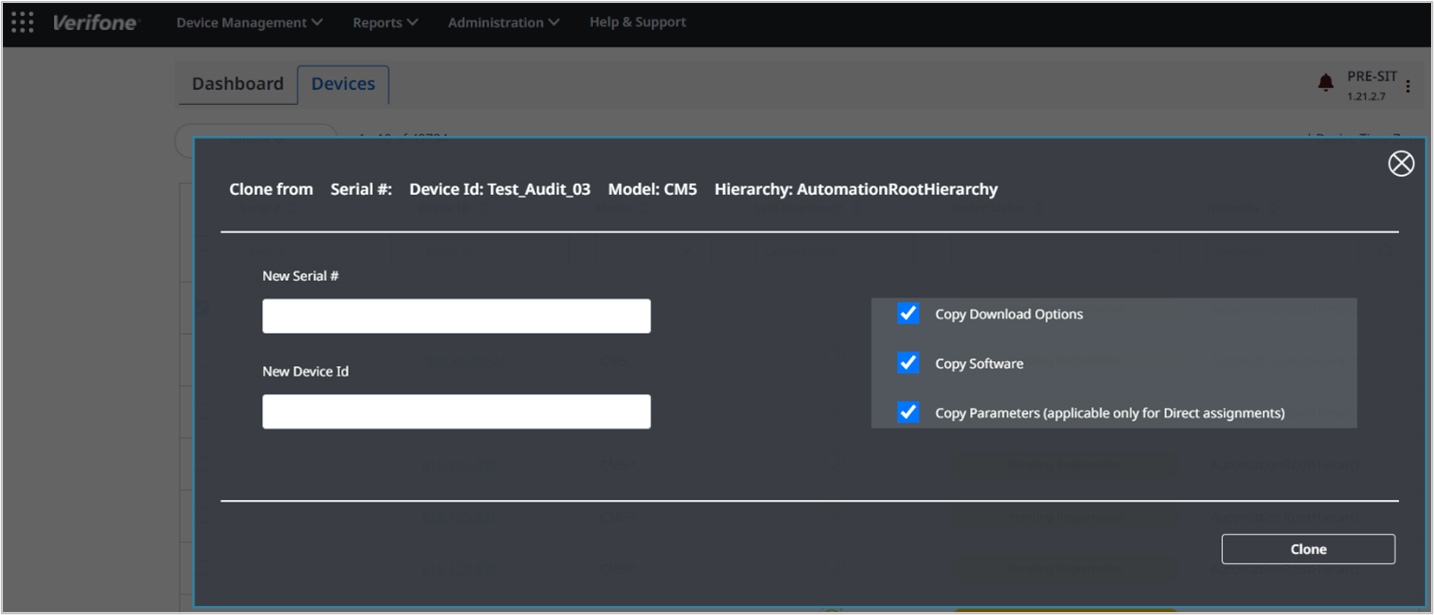
Enter the New Serial Number and New Device ID and clone the device details from the existing device. So that a new device is created with the cloned details along with the entered serial number and device ID.
Note: the following option sequence is also used to clone a device Device Management -> View Devices -> Device Details -> Actions.
Actions -> Delete
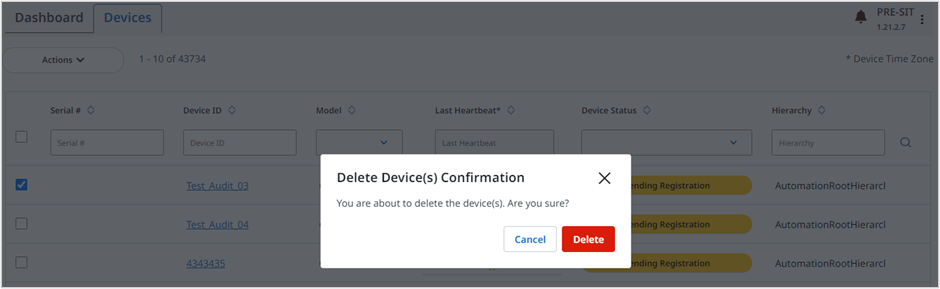
Select the device checkbox.
Select Delete option to delete the device. A confirmation popup screen is displayed. Upon confirmation, a Success message is displayed to confirm that the device is deleted.
Note: Once the device is deleted, the server will not accept any messages from the deleted device and Deleted device contacting alert is generated when the deleted device tries to send a message to the server. Refer to the Device Details section for more details on the steps to use the Delete option.
Actions -> Export
Export feature enables exporting the device details into CSV and XML formats and exporting the VRK Certificates into a zip file. Exporting the data is a two-step process, initiating the export request and then downloading the export-data file.
Follow the option sequence below to Export the device details.
Verifone Central -> Device Management -> View Devices -> Devices -> Actions -> Export
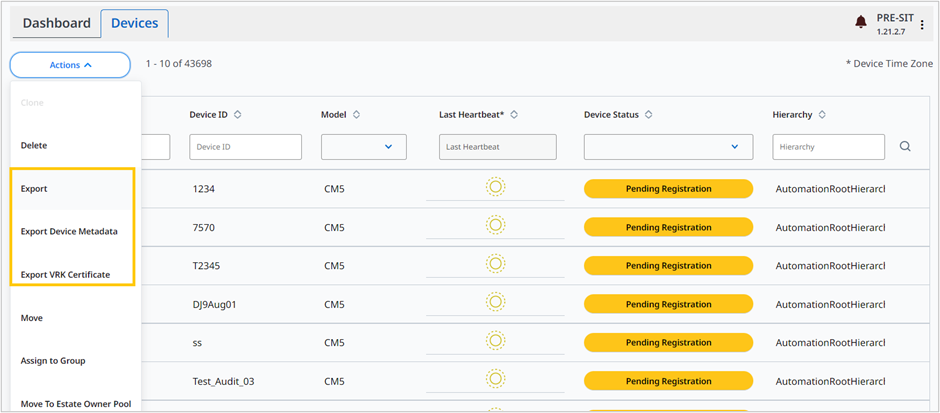
Select the devices that you want to export and select the Export option from Actions Dropbox.

A confirmation popup message is displayed saying that the Request to export the data has been submitted.
Follow the option sequence below to download the export-initiated file.
Verifone Central -> Device Management -> View Devices
Click the Notification icon to view all the requests.

Download the export-initiated file.
Actions -> Export Device Metadata
Follow the option sequence below to Export the Device Metadata.
Verifone Central -> Device Management -> View Devices -> Devices -> Actions -> Export Device Metadata

Select the devices that you want to export and select the Export Device Metadata option from Actions Dropbox. Export Options screen will be displayed.
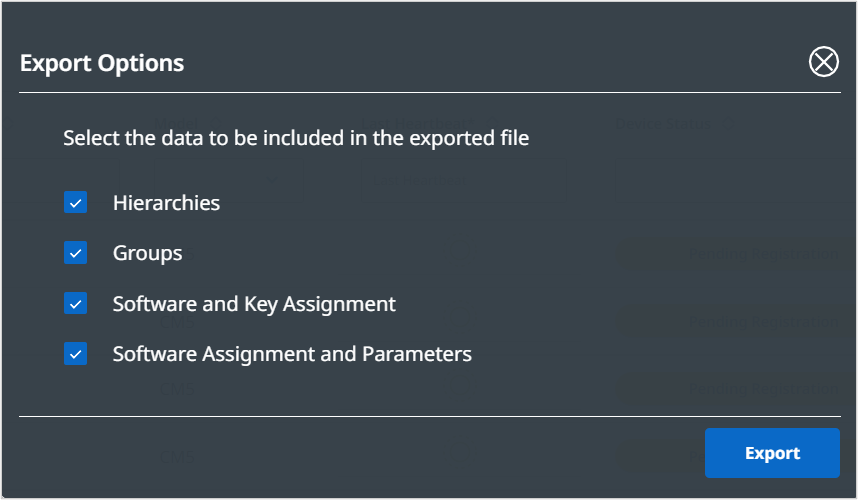
Enter the preference of data to be included in the export file and click Export to continue.

A confirmation popup message is displayed saying that the Request to export the data has been submitted.
Follow the option sequence below to download the export-initiated file.
Verifone Central -> Device Management -> View Devices
Click the Notification icon to view all the requests.

Download the export-initiated file.
Actions -> Export the VRK Certificate
Follow the option sequence below to Export the VRK Certificate.
Verifone Central -> Device Management -> View Devices -> Devices -> Actions -> Export VRK Certificate

Select the devices that you want to export and select the Export VRK Certificates option from Actions Dropbox. Export VRK Certificate Options screen will be displayed.
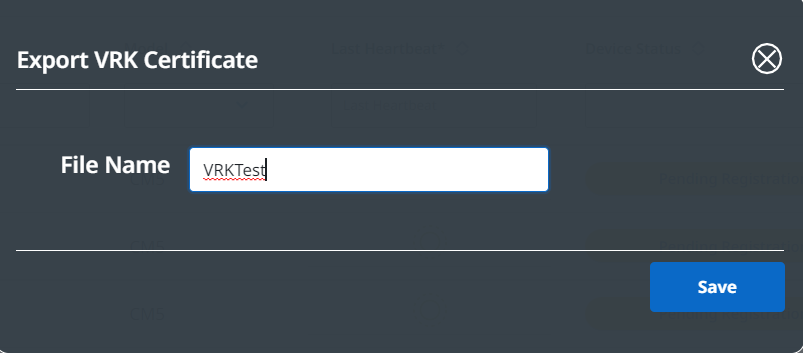
Enter the file name and click Save to continue.
Follow the option sequence below to download the export-initiated file.
Verifone Central -> Device Management -> View Devices
Click the Notification icon to view all the requests.
Download the export-initiated file.

A confirmation popup message is displayed saying that the File is successfully downloaded.
Actions -> Move
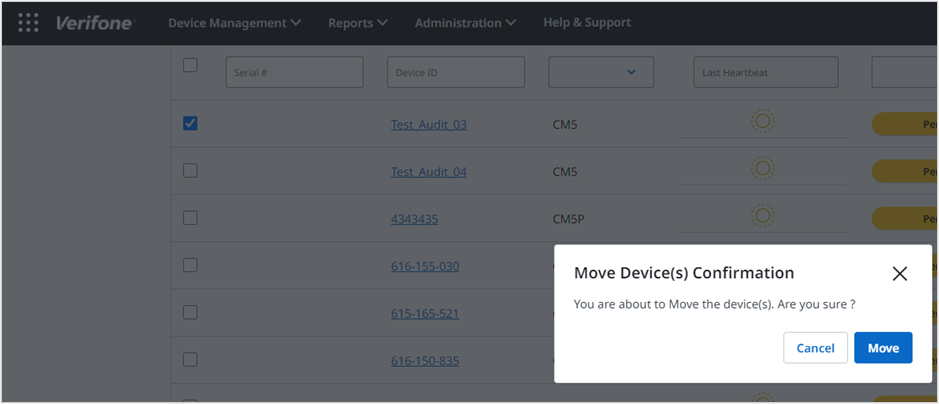
Select the device checkbox.
Select Move option to move the device from one hierarchy to another under the estate. A popup screen is displayed.
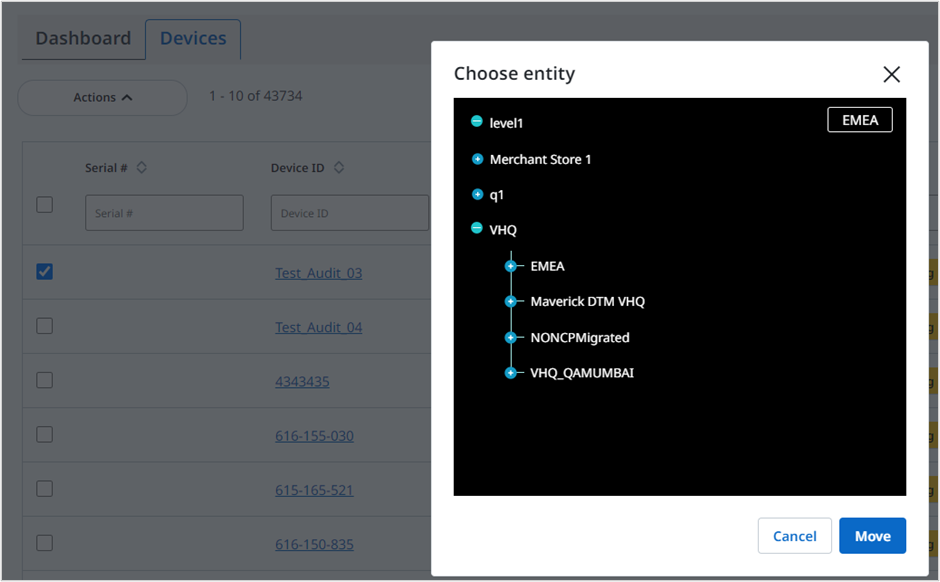
Select the hierarchy to which the selected device to be moved.
Select Move to continue.
Actions -> Assign to Group
Group is another way of categorizing devices other than Hierarchies. The devices belonging to a group can also be assigned to a Hierarchy. Groups icon is used to perform operations on a specific group of devices.
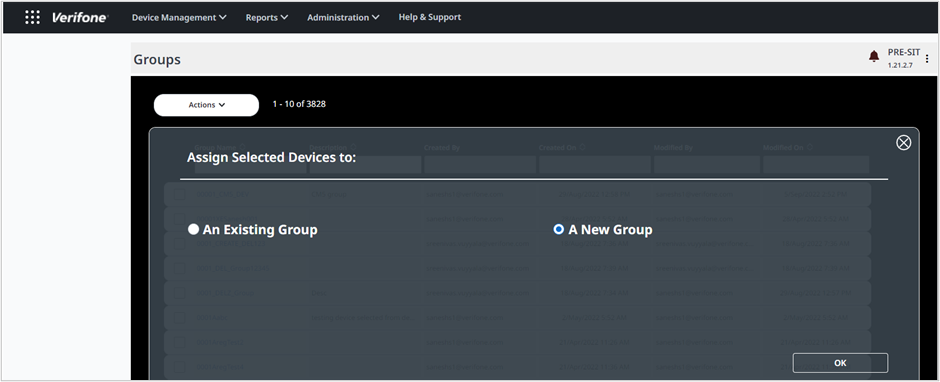
Assign Selected Devices to screen is displayed.
To assign the selected device to the existing group.
Select An Existing Group radio button. Existing group list box is displayed.
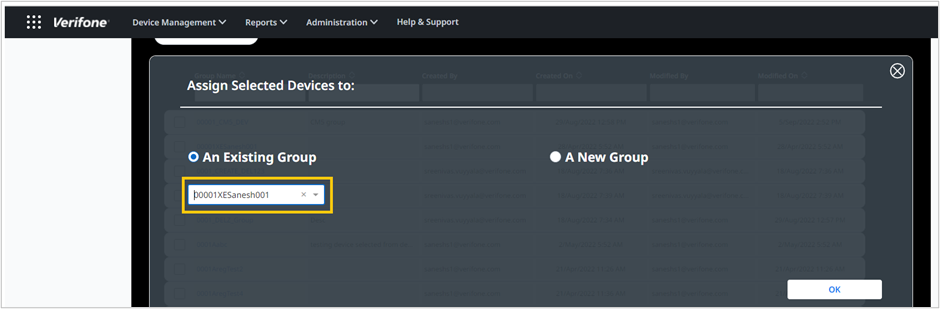
Select the existing group and click OK.
To assign the selected device to a new group.
Select A New Group radio button. Create a New Group screen is displayed
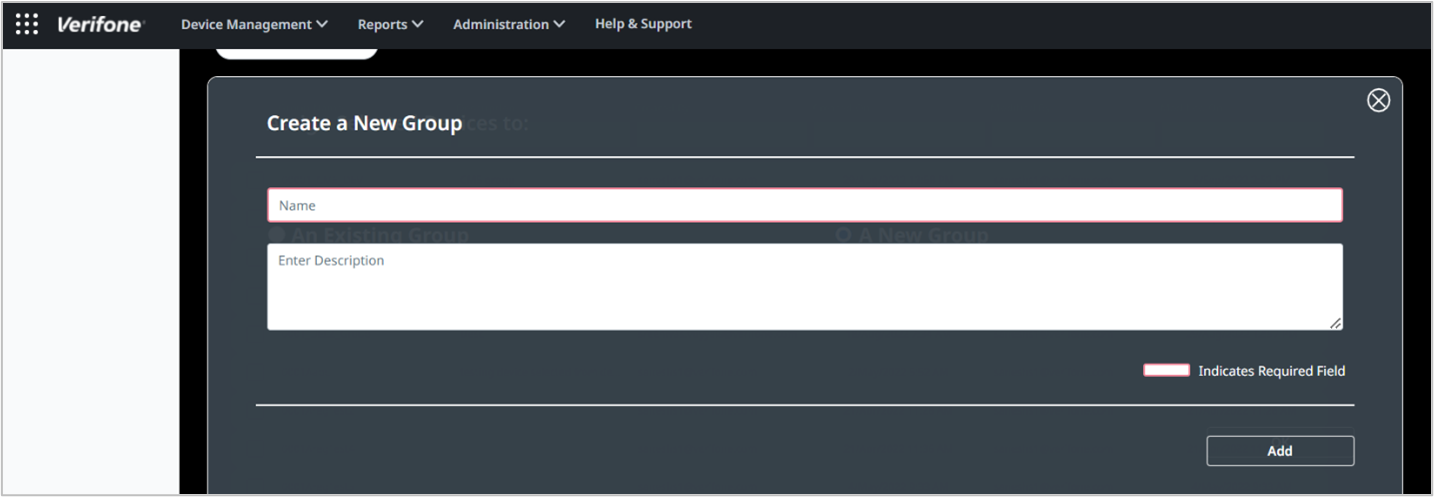
Enter the details to create a new group and click Add.
Actions -> Move to Estate Owner Pool
Select the device checkbox.
Select Move to Estate Owner Pool option to move the device to the root level hierarchy. A confirmation popup screen is displayed.
Click Move to confirm.
Actions -> Enable for Download Automation
The Device Management has the ability to efficiently download software packages and provides users with a powerful and customized way to manage changes to the devices in their estate automatically.
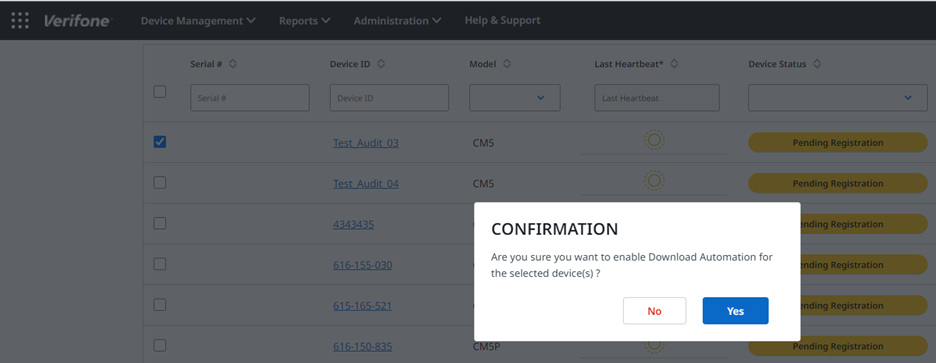
A confirmation popup message is displayed. Click Yes to proceed.
Actions -> Disable for Download Automation
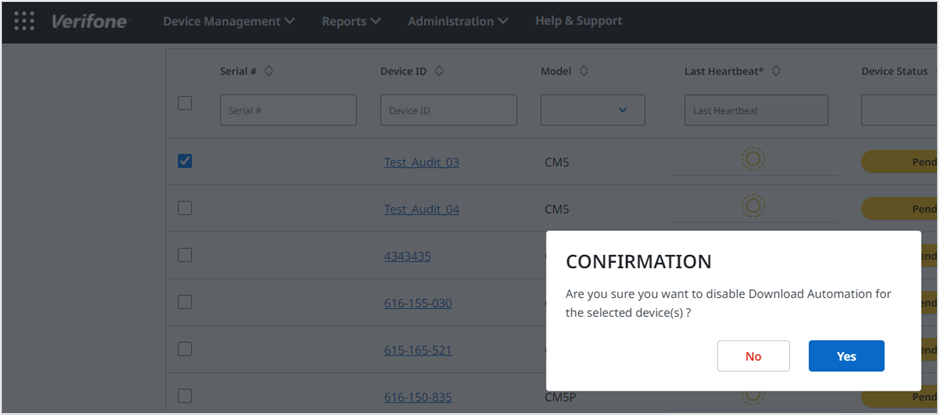
A confirmation popup message is displayed to confirm to disable the device for download automation. Click Yes to proceed.
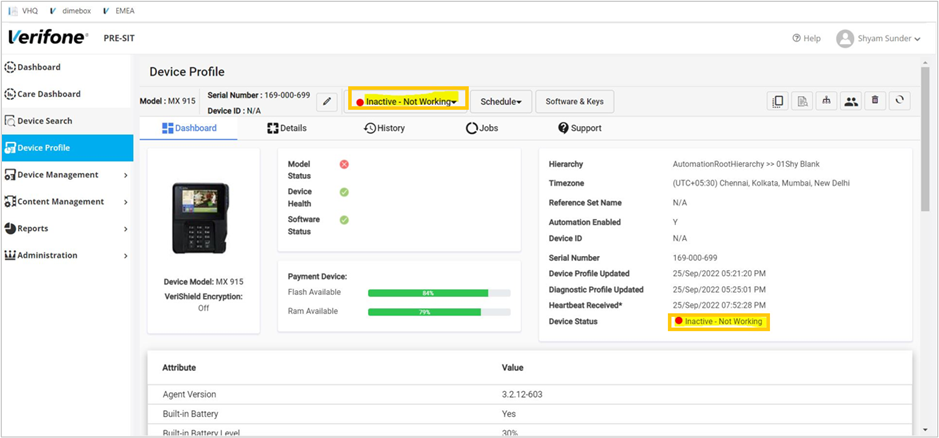
Actions -> Status
Device Status Change feature displays option to change the device state to Active or Inactive. A validation messages is displayed when the device status is changed:
- When the device status is changed from Active state to Active state, “Selected Device is already an Active device” error message is displayed.
- When the device status of two devices is changed to Active state, one device from an Active state and another device from Inactive state to an Active state, “Devices with Pending Registration Status will not be affected, are you sure you want to continue” message followed by the “Device status successfully changed” message is displayed.
When the device status is changed for multiple devices to Active state, a device in Active state, a device in an Inactive state, and a device in Pending Registration state changed to Active state, the “Device status successfully changed” message is displayed.
The Device status feature also displays the device status along with the sub-status.
Device Search
The device search feature allows you to search for a particular device quickly. The search is based on the criteria provided.
|
Model |
Select the model(s) from the Model list box as a criterion for device search and click Go. |
|
Device Status |
Select the device status as a search criterion and click Go.
See Device Status section for more details. NOTE: See Device Status section for more details on types of device status. |
|
Last Heartbeat |
Select the date and time of the last heartbeat received from the device to the server as a criterion for device search. See Heartbeat section for more details. |
|
Hierarchy |
Select hierarchy as a criterion for device search. |
|
Device ID |
Enter the device ID as a criterion for device search. |
|
Serial Number |
Enter the serial number as a criterion for device search. NOTE: The devices with the charging base will have the same serial number. |
