Estimated current balance
Overview
You can use the estimated current balance table to check the approximate account balance and find information on your estimated next payment.
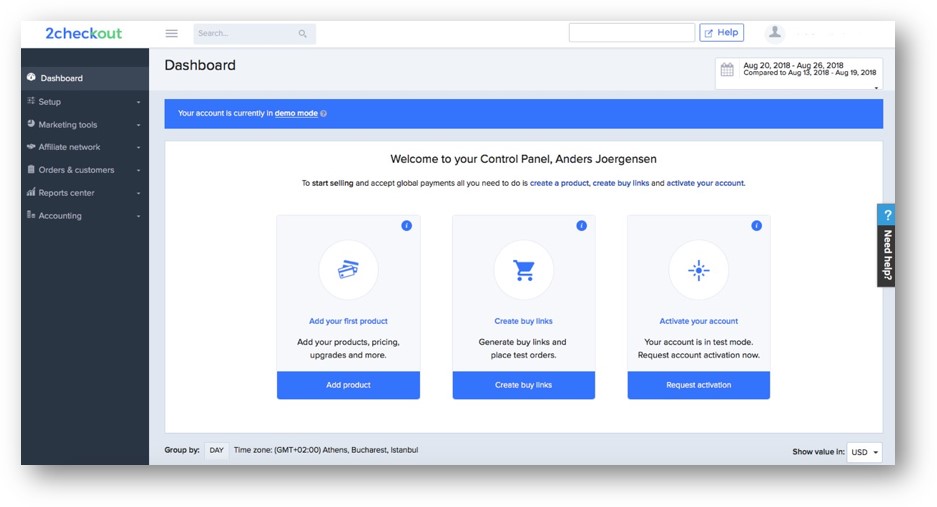
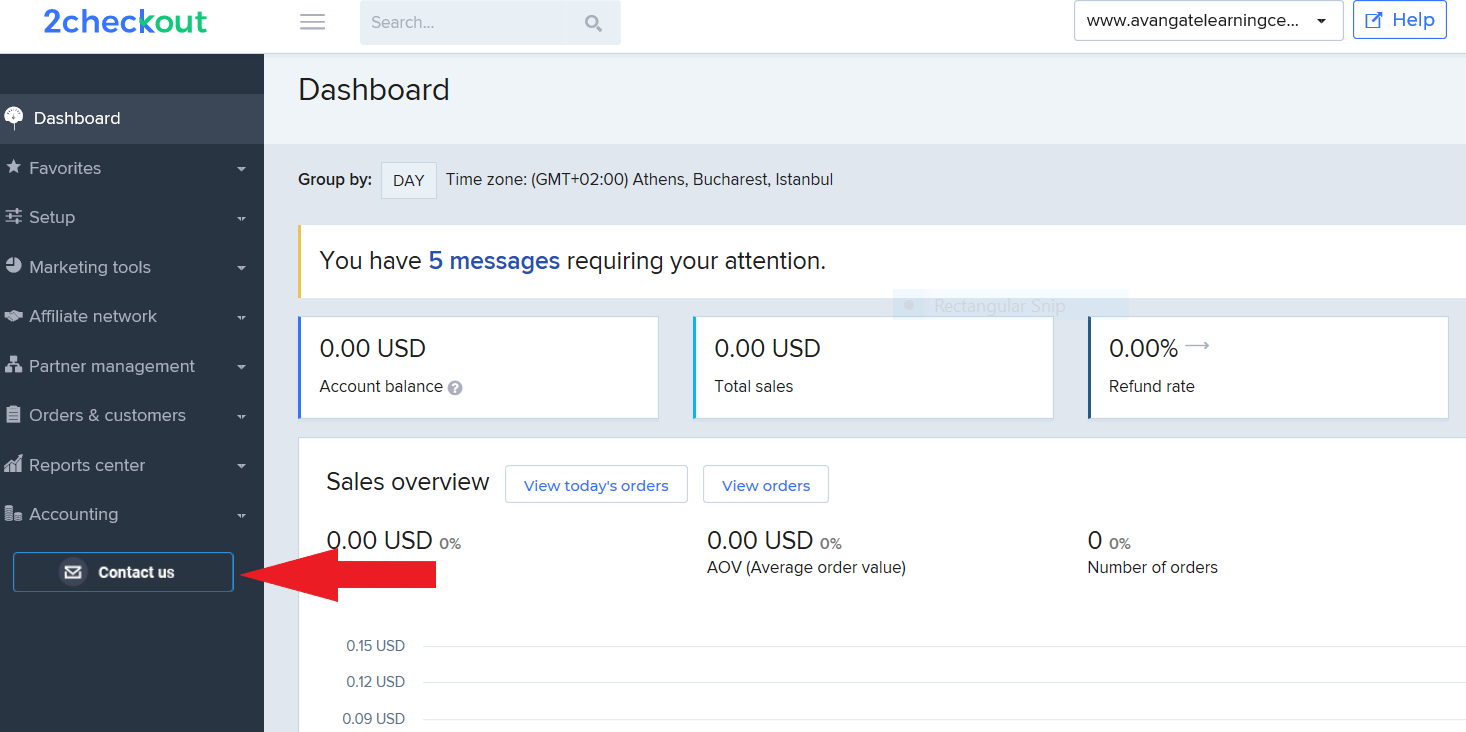
Once logged into your Control Panel, you can access the report from Accounting → Estimated balance.
The amounts expressed in this report are estimated and may change as a result of new account activity.

Account information
On the Estimated current balance page, you can see the most important financial metrics from your account. You can view the amount that will be remitted to you at the next payout, the total balance amount that 2Checkout owes you, and the minimum transfer limit set on your account.
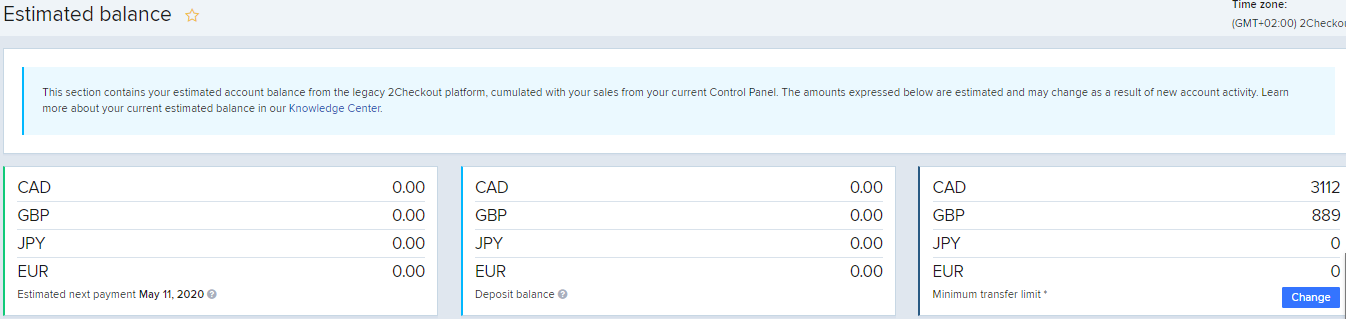
Estimated next payment
Use the Estimated next payment card to view the amount that will be remitted to you at the next payout by 2Checkout. The Estimated next payment amount is expressed in the payout currency available on your account.
Deposit balance
Use the Deposit balance card to view the total amount 2Checkout owes you for the deposits retained on your account. Your account deposit balance is computed by adding up the deposit amounts withheld in the past 90 days. Deposits are released back to you in the next payment cycle occurring 90 days from the date when the deposit was initially withheld.
The deposit balance amount is displayed in the payout available on your account.
Minimum transfer limit
Use the Minimum transfer limit card to view the amount you need to reach to receive payouts from 2Checkout.
To update/change your minimum transfer limit set for your account, click on the Change button or go to your Settings area to submit your request to our Financial Operations team.
Report information
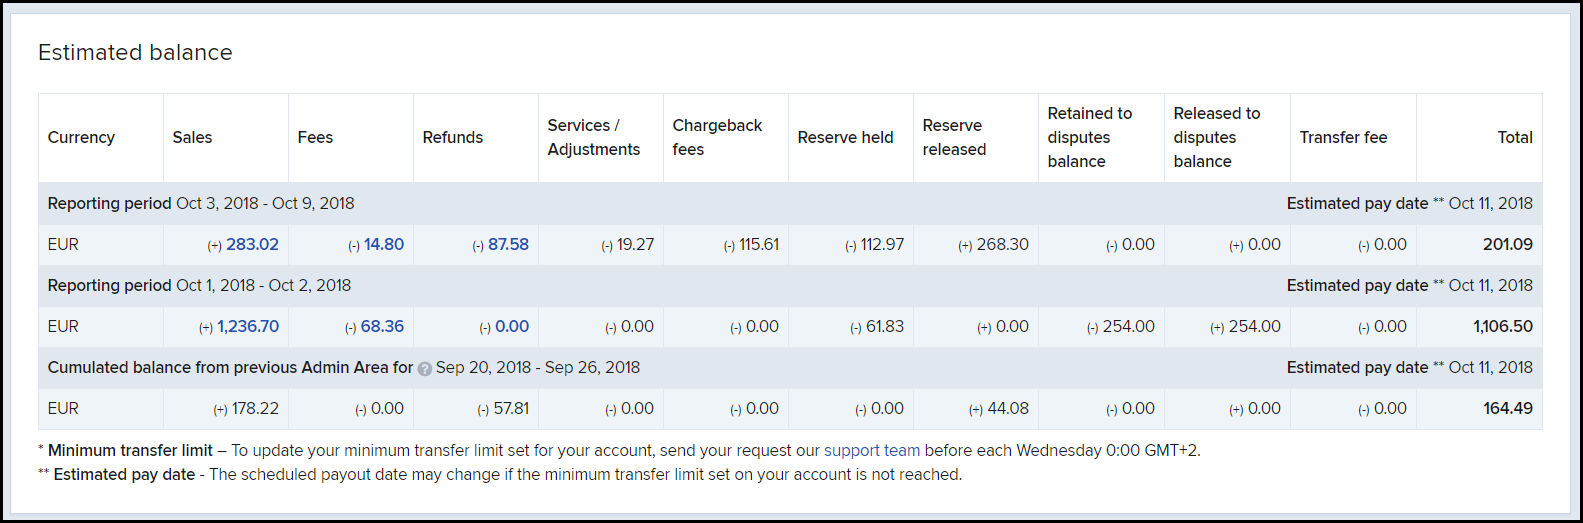
The estimated current balance report returns account balance information for each of your payout currencies. In case you have updated your payout currency, data from the table is displayed using your new payout currency.
The time zone used for displaying the data is GMT+2. Your current account balance is split based on:
- Reporting period - Sales, fees, refunds, and any activity with financial impact are displayed within the reporting period when it incurred. For each reporting period row, 2Checkout displays the estimated payout date (when your payout will be remitted). Note that the estimated payout date might change if your transfer limit is not reached.
- Amount source - Your account balance is displayed based on the amount source type (sales, fees, refunds, chargeback fees, reserves retained, reserves released, or transfer type).
Sales
Sales deposited included into payout balance. Click on the Sales amounts to be redirected to the Order search and view the data underlying the amounts displayed in the Estimated current balance page.
To extract detailed information on your sales, follow these steps:
- Log into your Control Panel.
- Navigate to Orders & customers → Order search.
- Run a report for your completed sales (status Finished) for the period reported in the estimated current balance.
- Export the information and check the total sales amount.
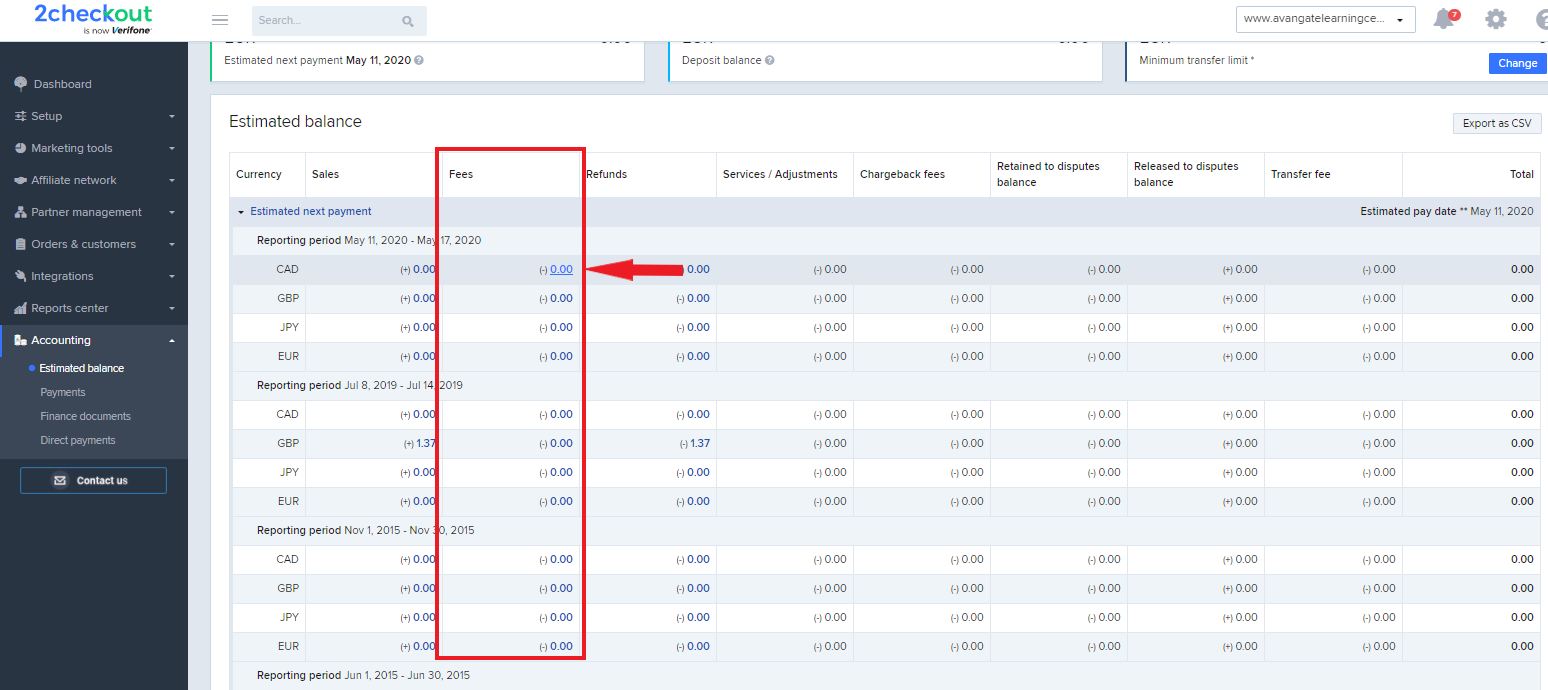
Fees
To see the processing fees charged by 2Checkout for the sales included in the balance, click on the Fees amounts to be redirected to the Order search and view orders for which 2Checkout applied processing fees.
To retrieve additional information on your fees, follow these steps:
- Log into your Control Panel.
- Navigate to Orders & customers → Order search.
- Run a report for your completed sales for the period reported in the estimated current balance.
- Export the information and check the processing fee amounts in your payout currency.
Refunds
This amount represents the orders refunded in the reported period. Click on the Refunds amounts to be redirected to the Order search and view orders for which 2Checkout applied processing fees.
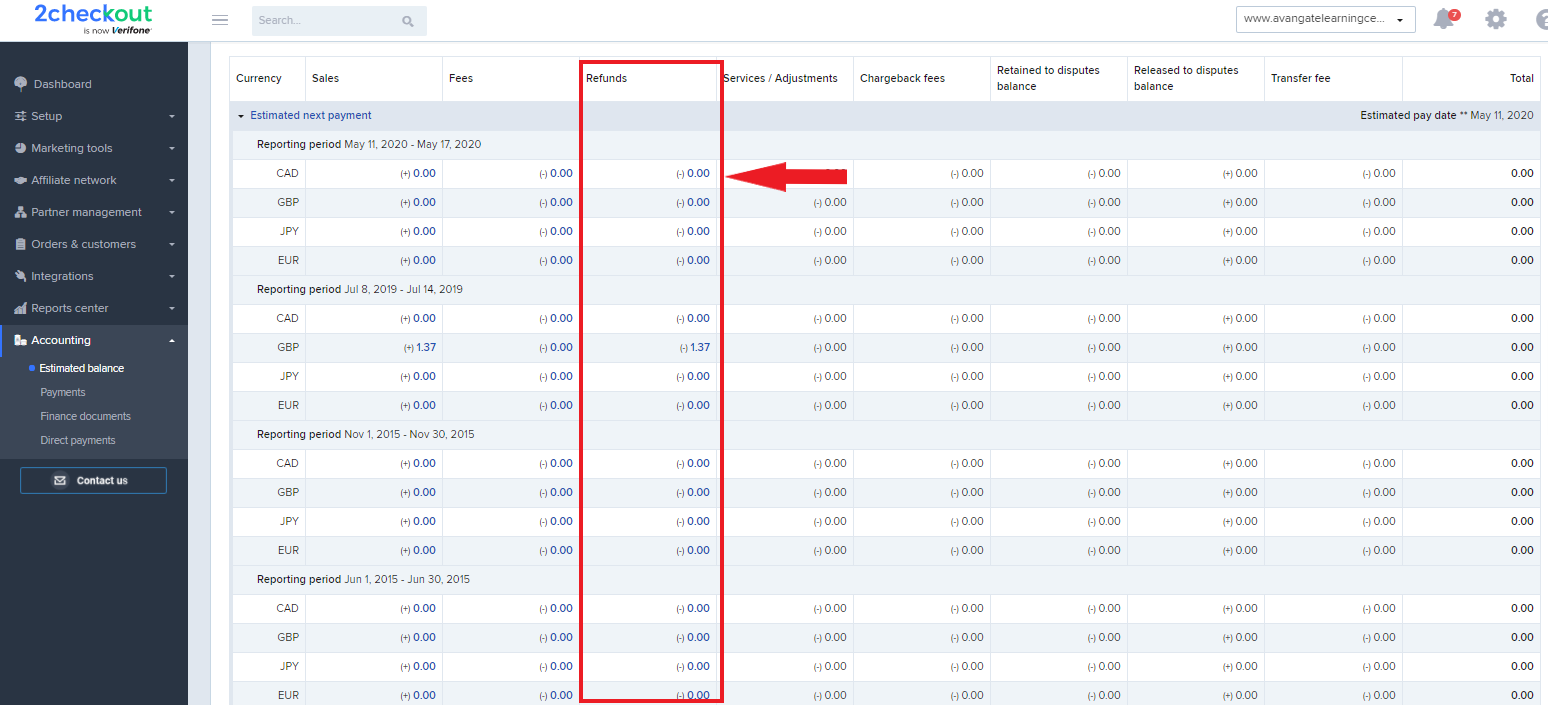
To retrieve additional information on your refunds, follow these steps:
- Log into your Control Panel.
- Navigate to Orders & customers → Order search.
- Run a report for your processed refunds (status Refunded) for the period reported in the estimated current balance.
- Export the information and check the refund amounts in your payout currency.
Services/Adjustments
Various adjustments refer to the collection of a negative balance, the return of fees on a canceled sale, or any other special requests.
Contact 2Checkout's Financial department for additional information regarding the amounts retained as adjustments.
Chargeback Fees
Chargeback fees are the fees applied by 2Checkout for chargebacks opened in the reported period.
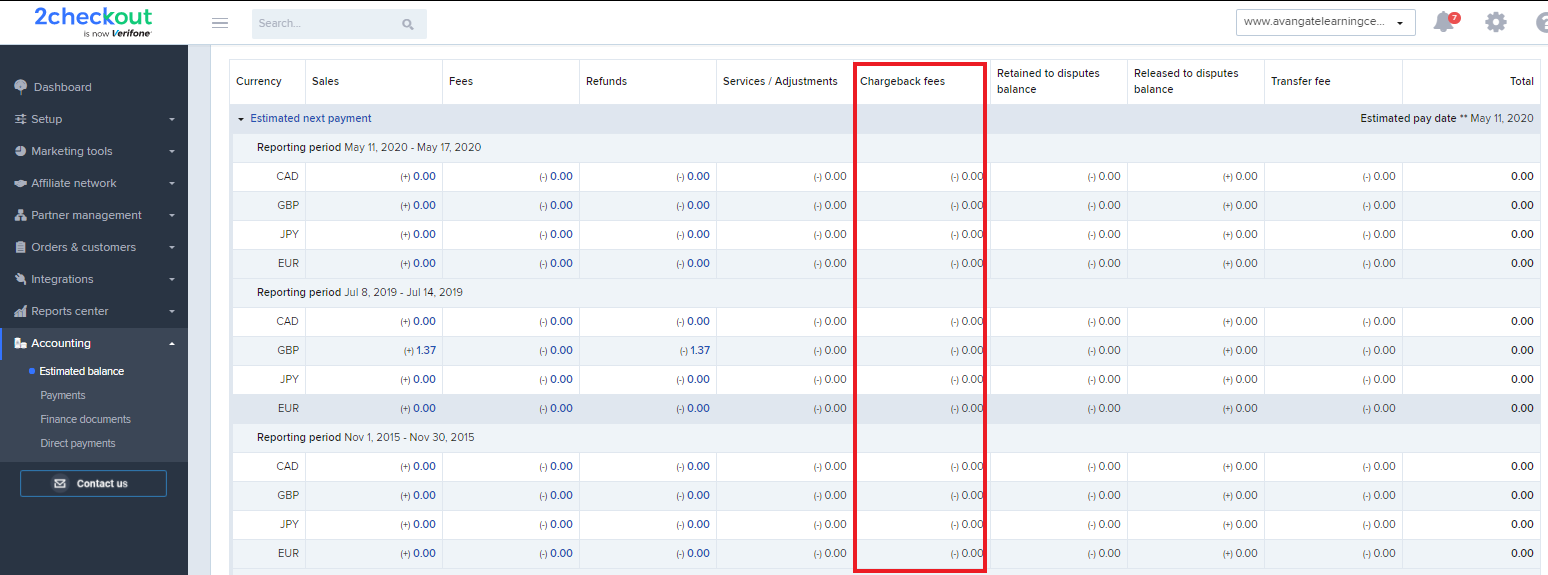
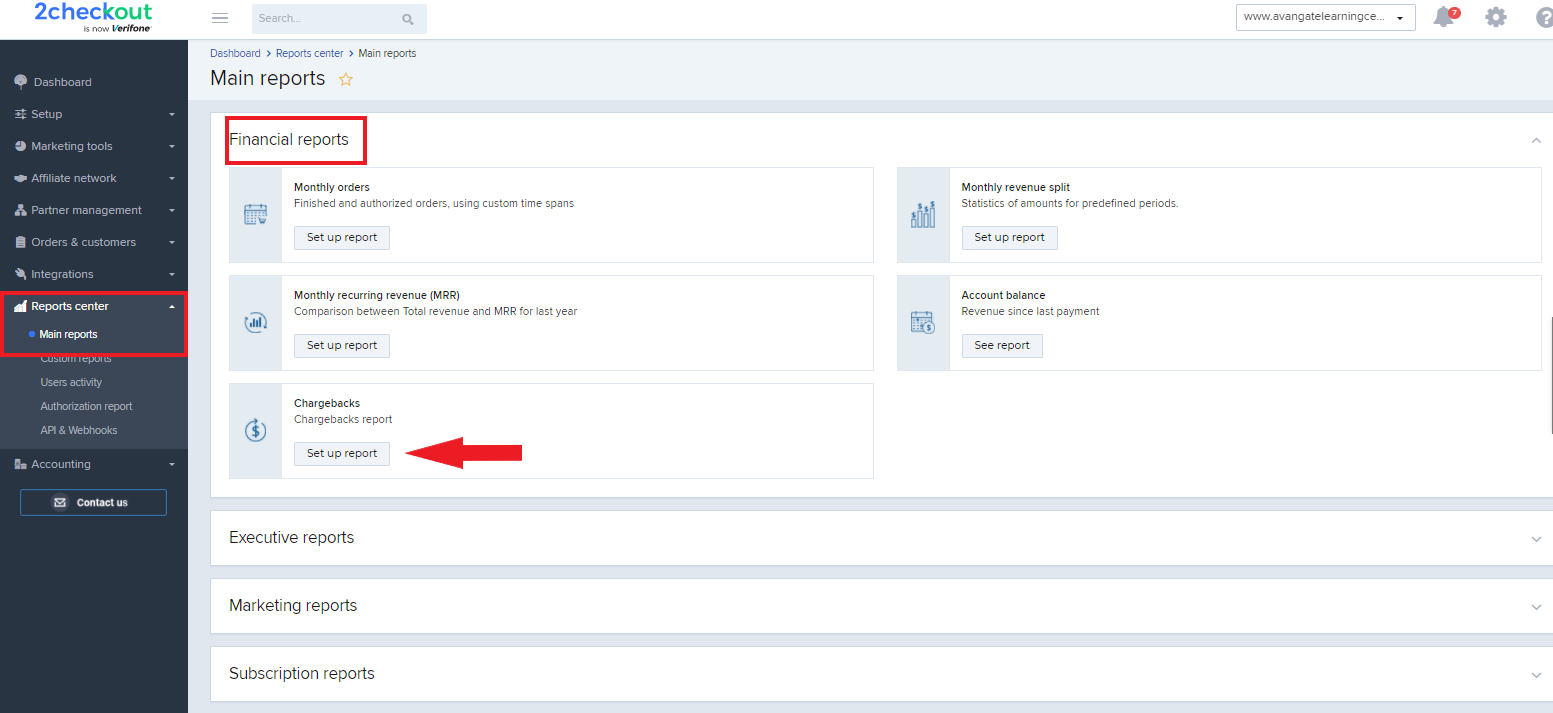
To retrieve additional information on your chargeback fee, follow these steps:
- Log into your Control Panel.
- Navigate to Reports Center → Main reports.
- Expand the Financial reports section and select Chargeback reports.
- Run a report for your disputes opened in 2Checkout for the previous reporting period.
- Check your total dispute rate used for calculating the chargeback fee.
Retained to disputes balance
This is the amount retained for orders with chargeback requests initiated.
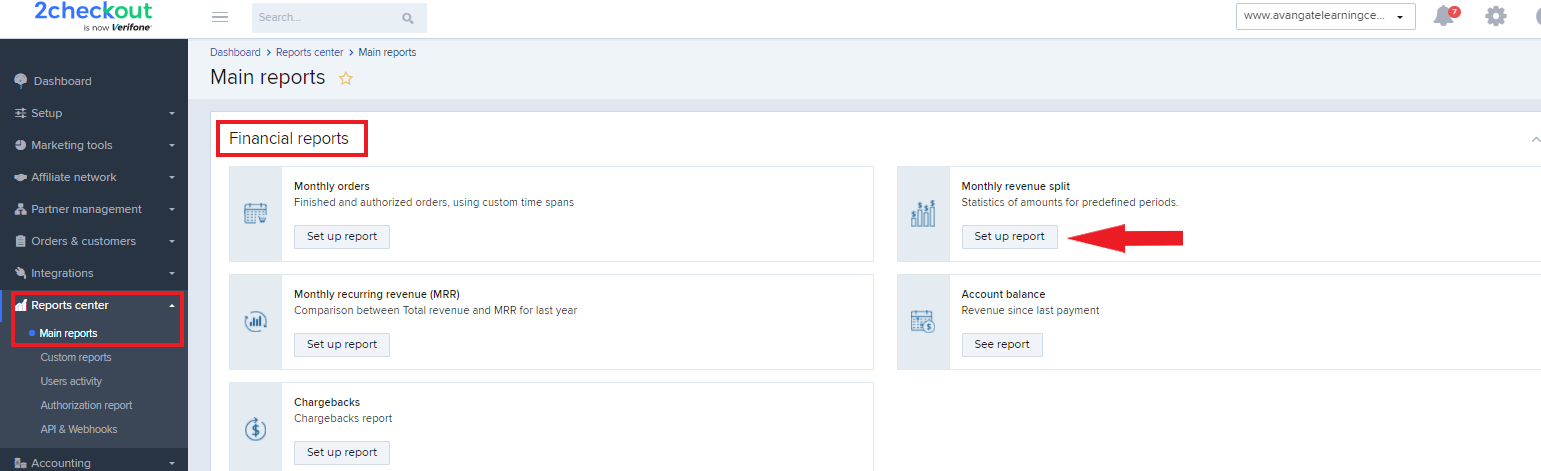
To retrieve additional information regarding the dispute balance retained amounts, follow these steps:
- Log into your Control Panel.
- Navigate to Reports Center → Main reports.
- Expand the Financial reports section.
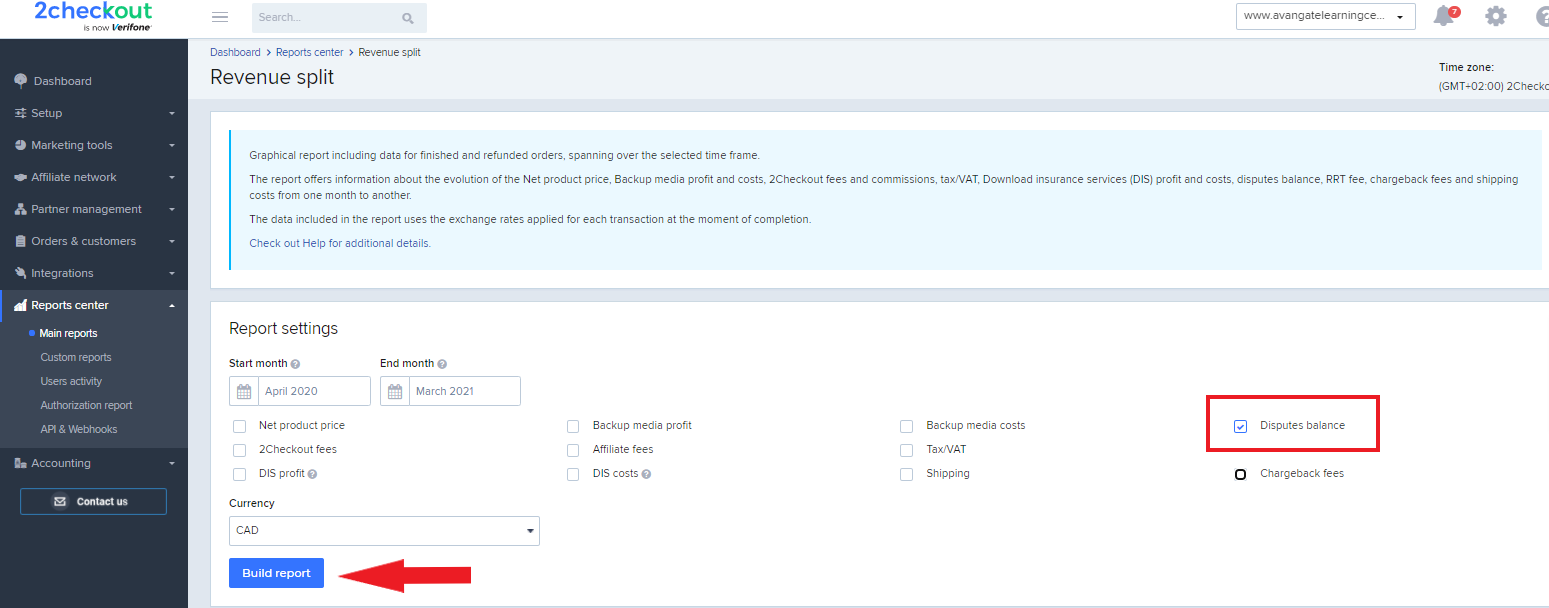
- Go to the Monthly revenue split report and click on Set up report.
- On the Revenue split page, select the period for which you want to run the report.
- Select the Disputes balance checkbox.
- Click on the Build report button.
- On the next page you'll be able to see both the Retained to disputes balance as well as the Released from disputes balance.
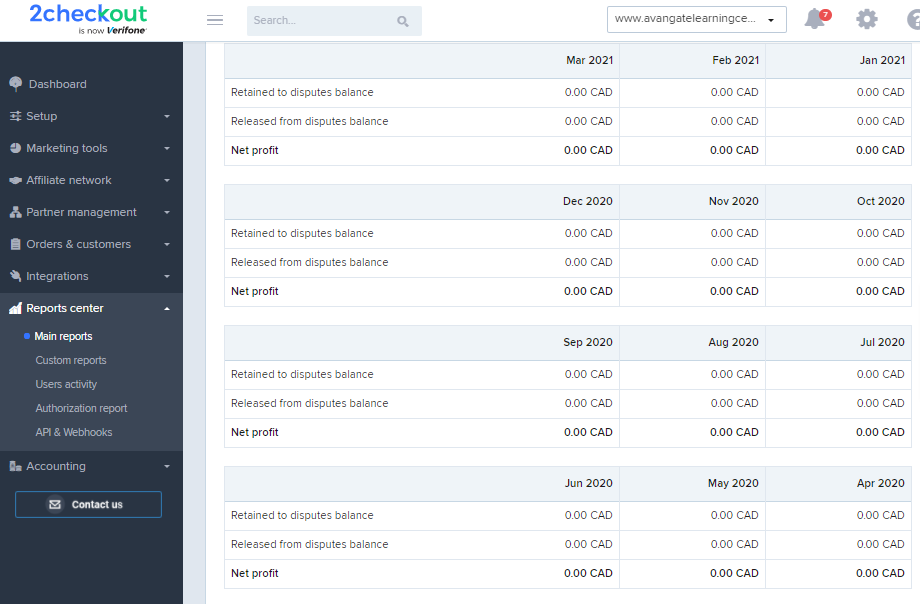
Released to disputes balance
This is the amount released for orders with closed chargeback requests. To retrieve additional information regarding the dispute balance released amounts, follow the same steps as those for the retained to disputes balance.
Transfer fee
Transfer fees are amounts charged by 2Checkout for the payment transfer. Transfer fees are charged only for the payout method International Wire.
Contact 2Checkout's Financial department for additional information regarding the transfer fees charged for your payouts.