Hosted Checkout API
Overview
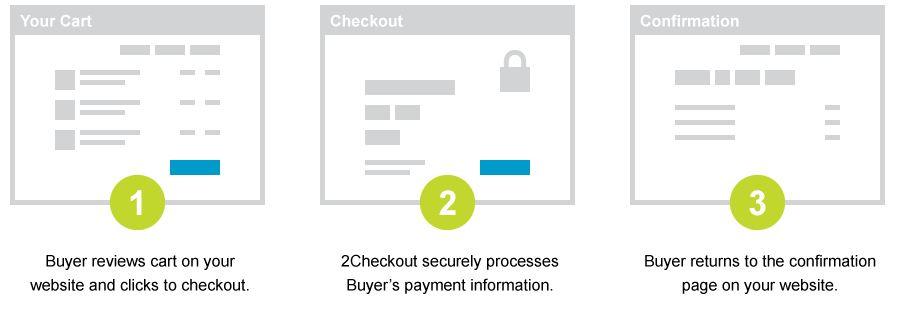
2Checkout sales are placed by the buyer through our secure checkout. You can pass the buyer to our Standard Checkout or for more seamless integration, you can display the payment form on your website using our Inline Checkout. You can easily customize the look and feel of the Standard Checkout page or Inline Checkout form using our Custom Checkout feature. By integrating with either checkout option, you automatically become PCI compliant as all sensitive card details are handled by us on our Level 1 PCI compliant servers. (Please Note: Our Inline Checkout option is presented in an iframe so we recommend that you use an SSL certificate on your checkout page. This way the buyer will be able to see that they are on a secure connection.) Integration can be completed by using our Hosted Checkout parameters which allow you to dynamically pass in both recurring and non-recurring product, shipping, tax, and coupon lineitems.
Creating a Sale
You can initiate a new sale from your website or application by creating an HTML form or link to pass the buyer and sale parameters from your website to our checkout URL.
Example form
<form action='https://www.2checkout.com/checkout/purchase' method='post'>
  <input type='hidden' name='sid' value='1303908' />
  <input type='hidden' name='mode' value='2CO' />
  <input type='hidden' name='li_0_type' value='product' />
  <input type='hidden' name='li_0_name' value='Monthly Subscription' />
  <input type='hidden' name='li_0_price' value='1.00' />
  <input type='hidden' name='li_0_recurrence' value='1 Month' />
  <input name='submit' type='submit' value='Checkout' />
</form>
The buyer will then be able to enter their billing information and complete the checkout process using their preferred currency and payment method. Please review our Hosted Checkout parameters documentation for more information.
Handle the Passback
When the sale is completed, we will return the buyer and sale parameters back to the approved URL that you defined. The approved URL can be defined at the account level (under the Account tab and the Site Management sub-tab), at the product level (Plug and Play products only), or at the sale level (by passing in the x_receipt_link_url parameter). This way you can validate the passback and display your confirmation to the buyer. If no approved URL is defined, the buyer will be presented with a default order confirmation page providing an order summary, as well as a confirmation indicating that the payment is being processed.
Example Passback Validation
<?php
$hashSecretWord = 'tango'; //2Checkout Secret Word
$hashSid = 1303908; //2Checkout account number
$hashTotal = '1.00'; //Sale total to validate against
$hashOrder = $_REQUEST['order_number']; //2Checkout Order Number
$StringToHash = strtoupper(md5($hashSecretWord . $hashSid . $hashOrder . $hashTotal));
if ($StringToHash != $_REQUEST['key']) {
  $result = 'Fail - Hash Mismatch';
} else {
  $result = 'Success - Hash Matched';
}
echo $result;
Each of our community-supported libraries provides a binding to validate the hash on the passback to your approved URL.