Add an electronic/physical product to your catalog
Last updated: 06-Mar-2025
Overview
Whether you add electronic or physical/tangible goods to your catalog to sell and deliver to your customers, the process is the same. You need to use the 2Checkout Control Panel to define the details of your product. For physical products, you need to define the weight and the handling fees associated with your tangible products.
Availability
Selling physical goods is available upon request. Contact 2Checkout for additional details.
Requirements
Make sure to have the mandatory physical product info on hand.
Set up an electronic/physical product
To add a product (either electronic or physical) to your catalog, log in to your 2Checkout Control Panel.
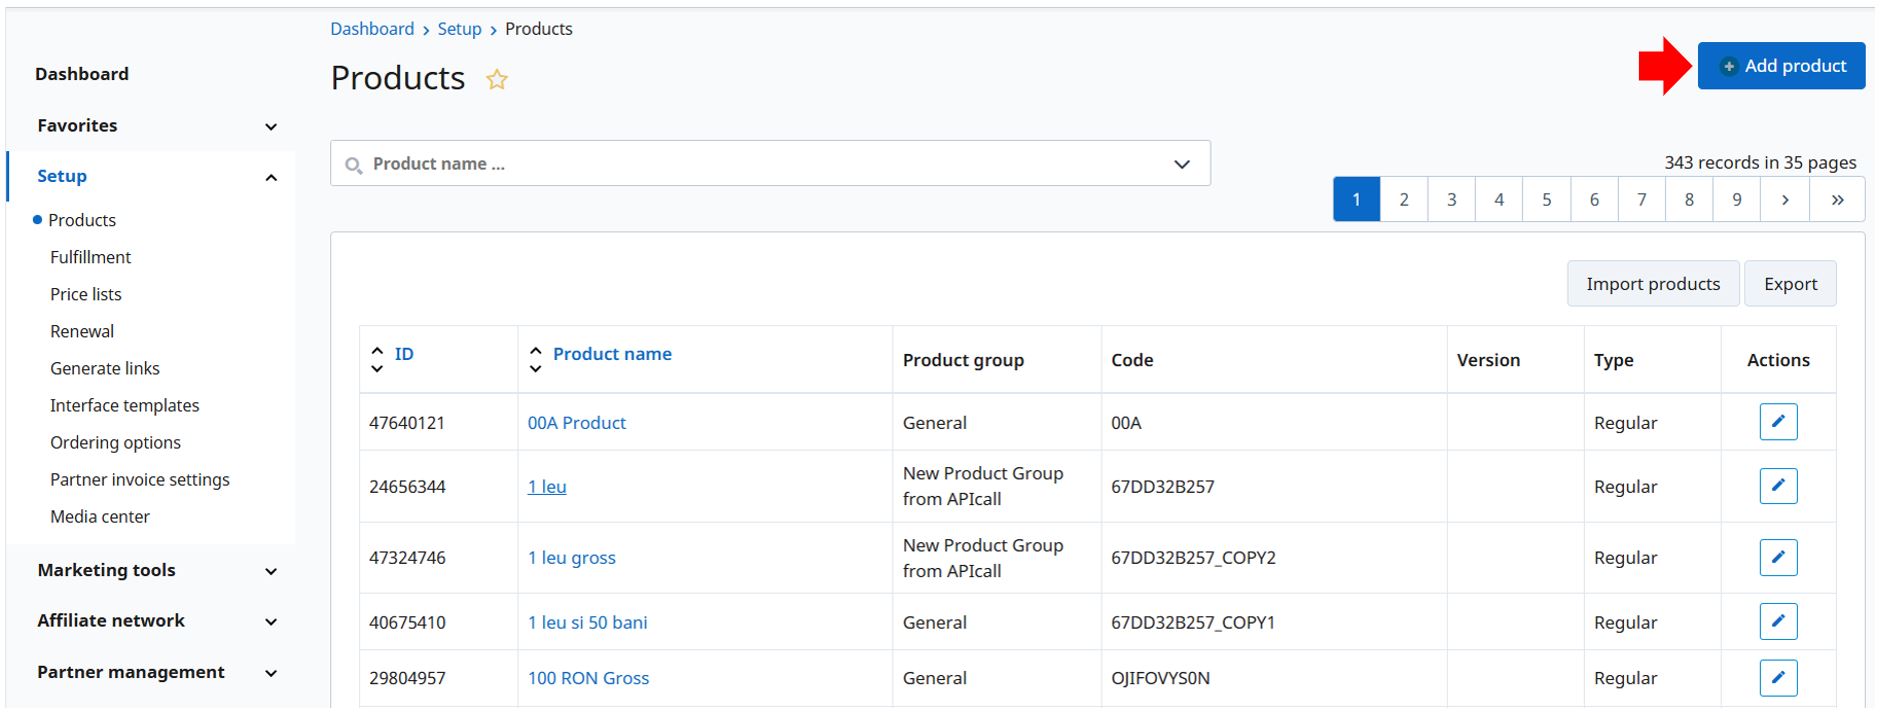
- Navigate to Dashboard → Setup → Products.
- Click on the Add product button.
- Fill in the details of your product:
- Select the product type: electronic or physical/tangible (for physical products you need to fill in the physical setup as well).
- Select the Product tax category from the drop-down menu to help you with tax determination.
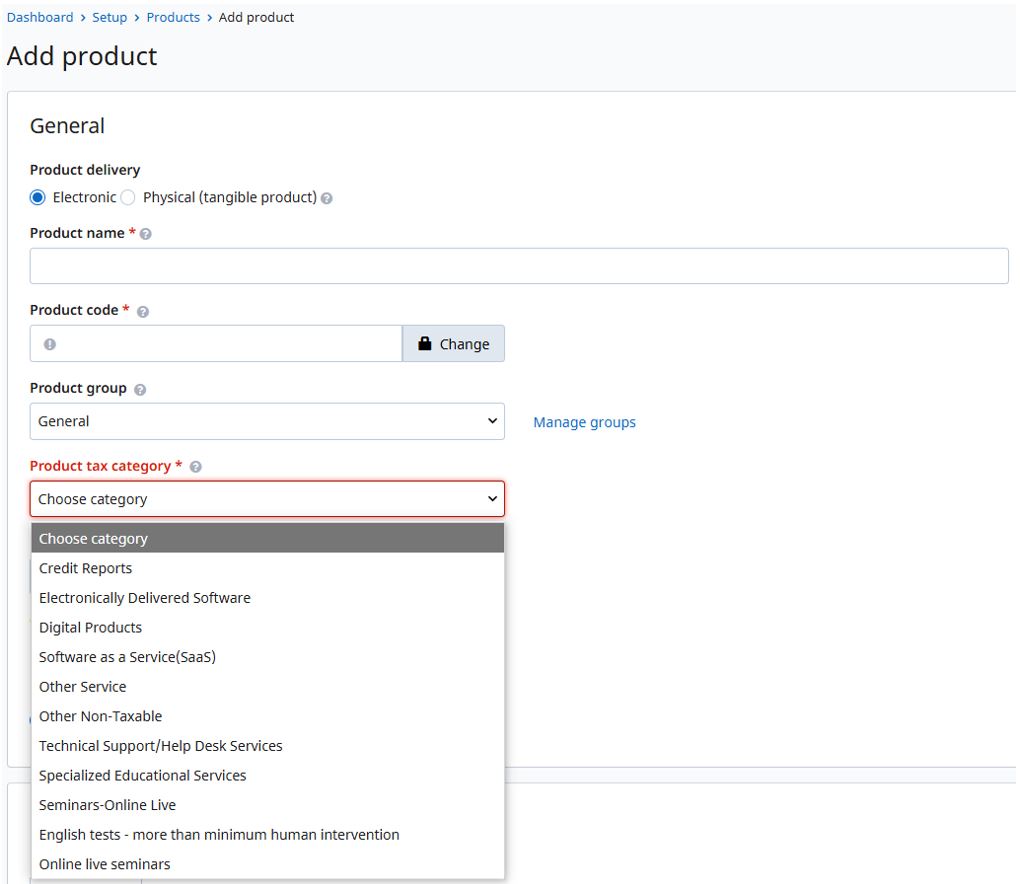
- Fill in the Product name, Product code, Product group, Product external reference, Quantity, and select whether the product is sold as a standalone (Regular) or in a combo (Bundle).
- Set the price and the billing cycle (for electronic products sold on a subscription basis).
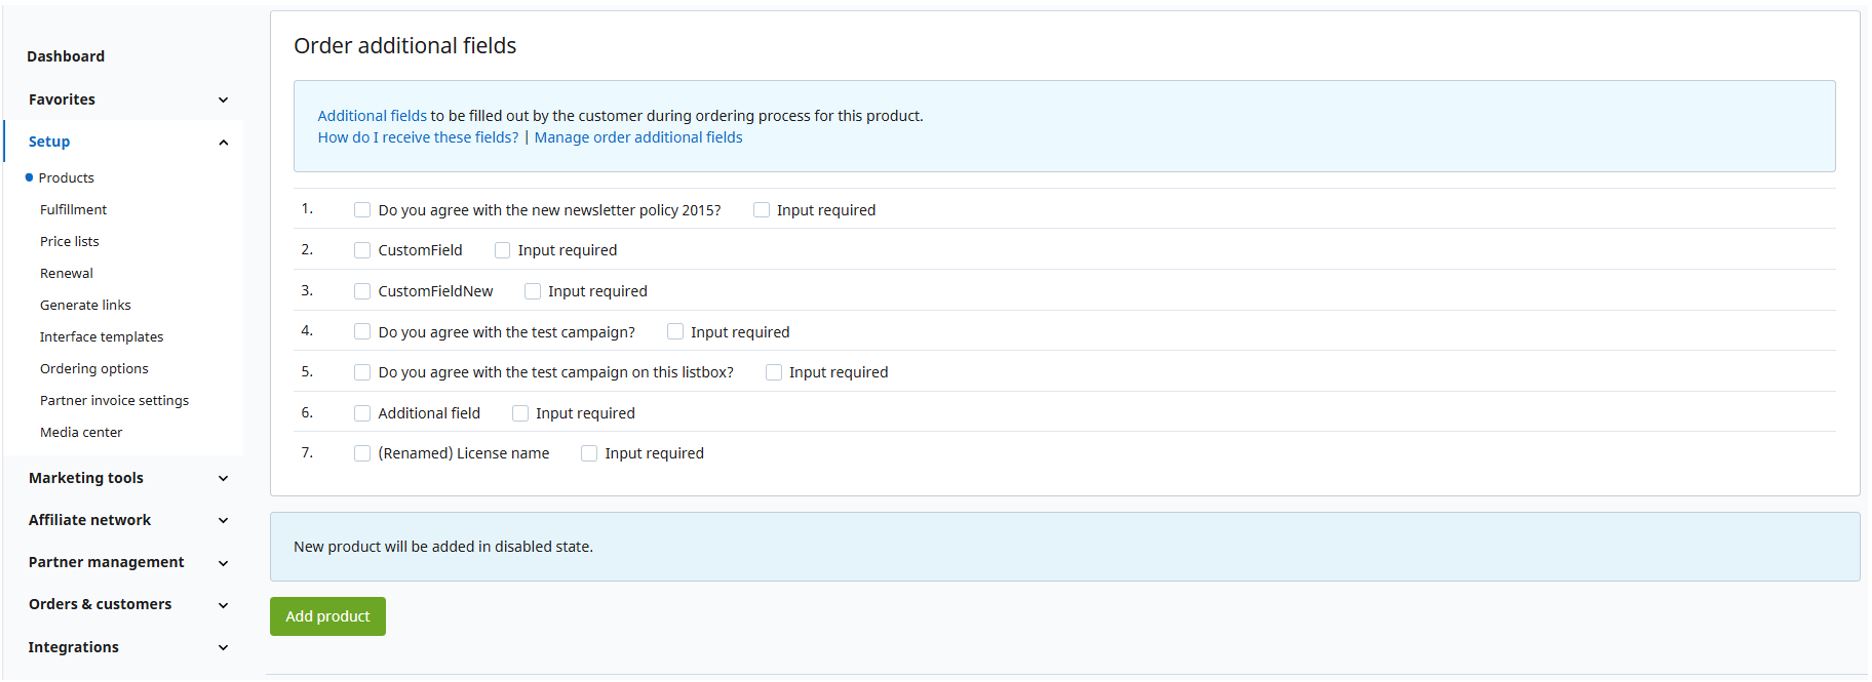
- Add the marketing details (product description, system requirements, category, and check additional fields if necessary).
-
Click the green Add product button at the bottom of the page to save your product.
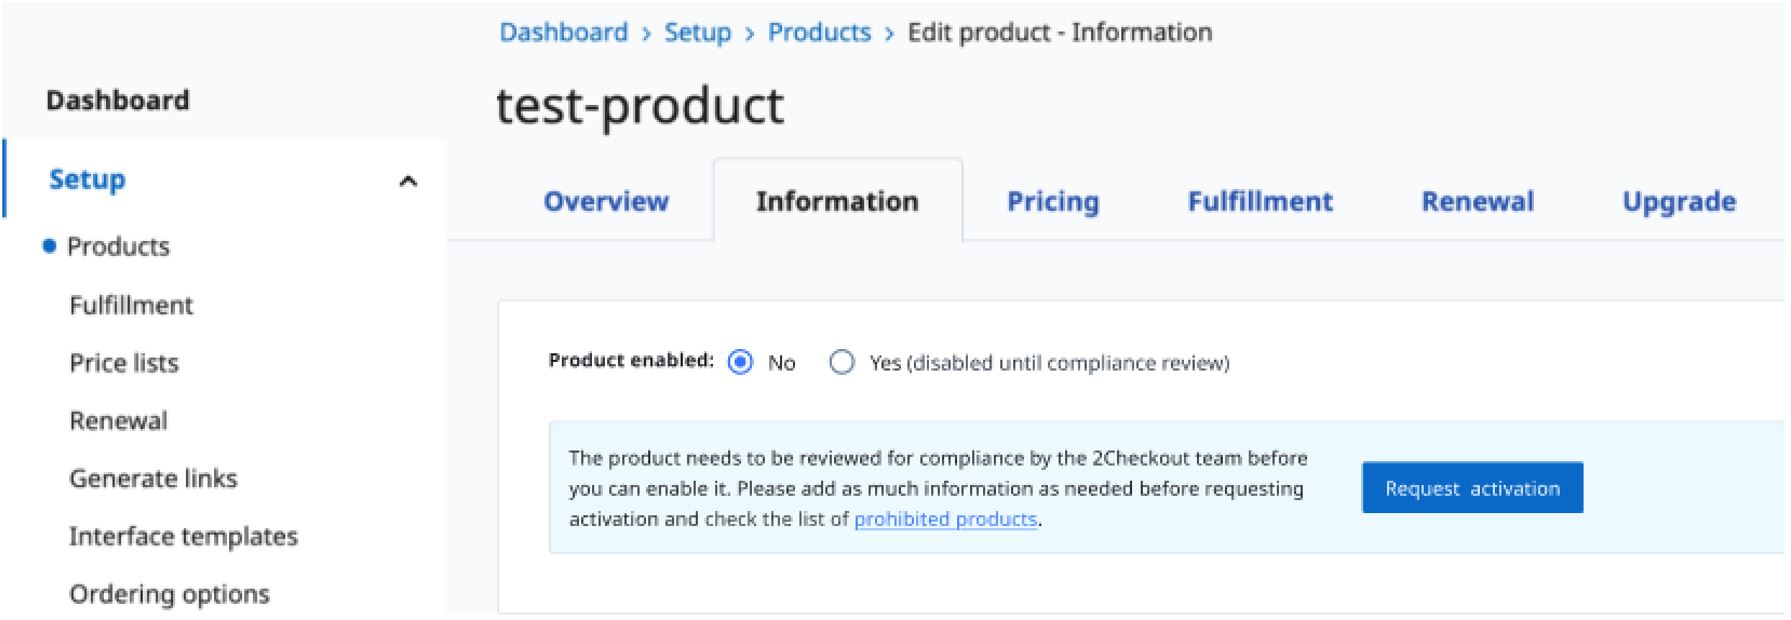
Request product activation
- Add all product information so that your product is ready for sale, such as description, price and renewal price, renewal settings, fulfillment settings, etc.
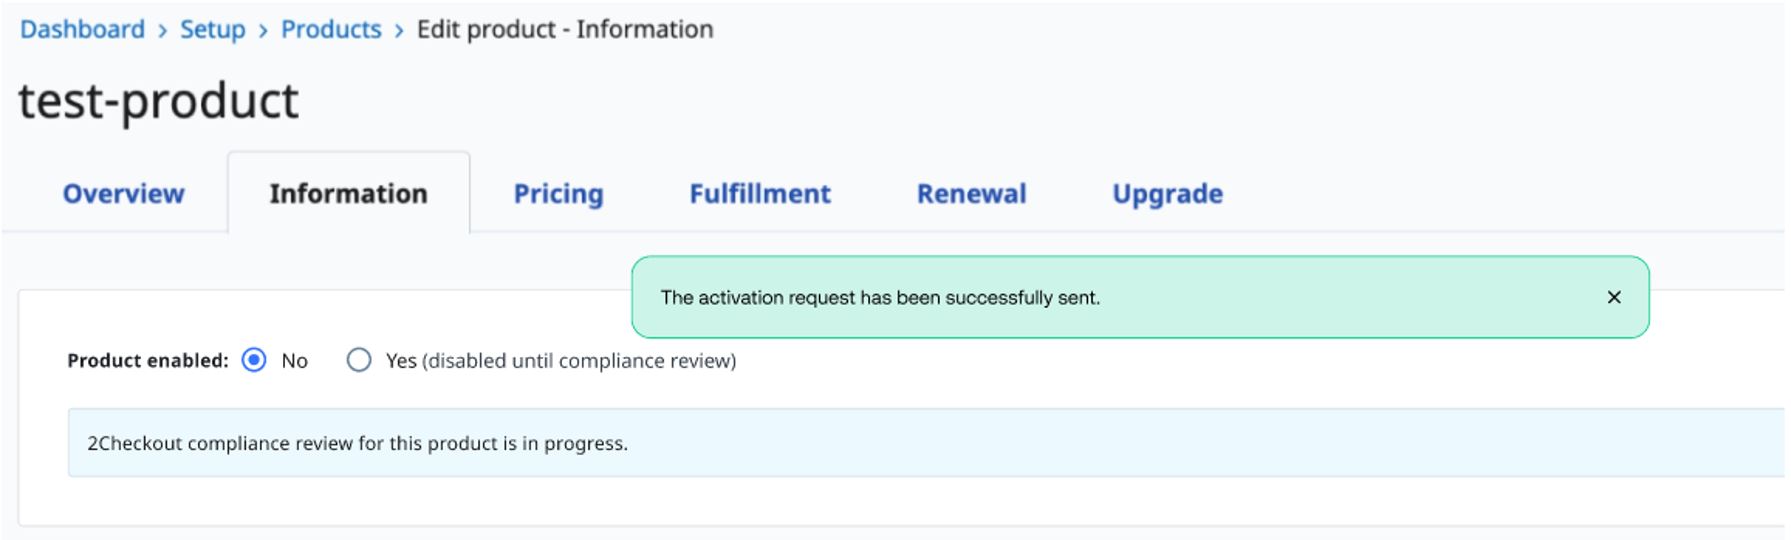
- When ready, go to Information tab in the product editor and click the Request activation button.
- You will be prompted to enter the Product URL (required) and additional information (optional) such as authentication details for the page, if protected.
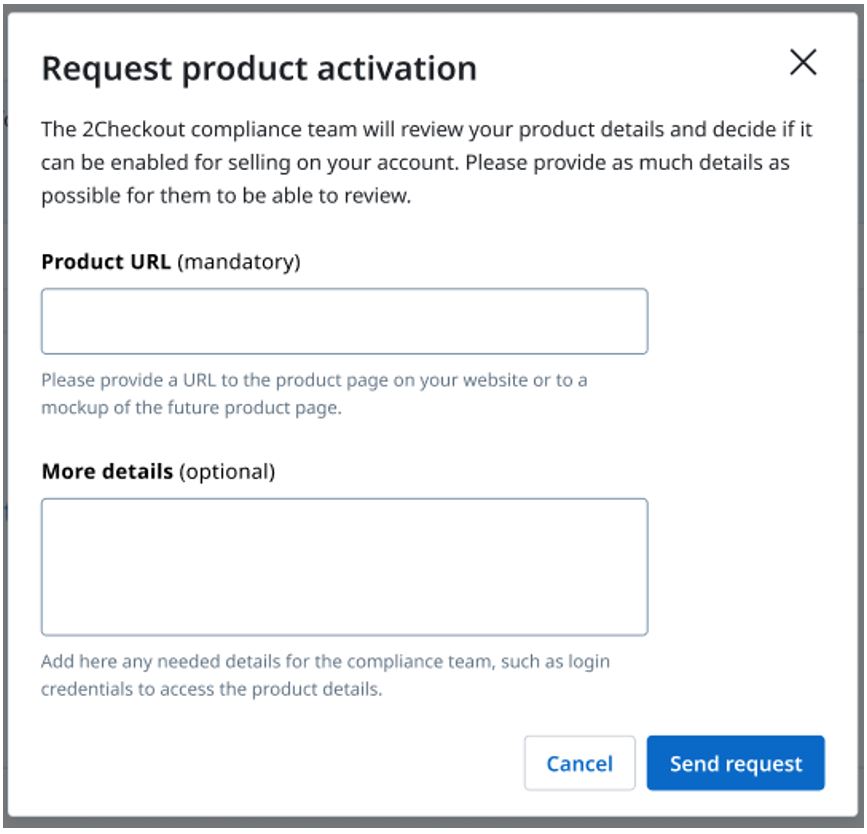
- Once you have provided the necessary info, click the Send request button.
- Wait for your product to be reviewed by 2Checkout. If your product is approved, it will immediately become active and you can start selling it.