How to configure churn prevention campaigns
Overview
Configure churn prevention campaigns for your shoppers and offer them discounts for keeping their subscription auto-renewals active. 2Checkout offers an easy way to configure churn prevention campaigns so that you can:
- Solidify your recurring revenue by offering discounts to customers who want to cancel recurring billing, incentivizing them to keep auto-renewal enabled for their subscriptions.
- Engage and collect feedback from your customers to optimize your products, marketing campaigns, and business operations.
Set up a new churn prevention campaign
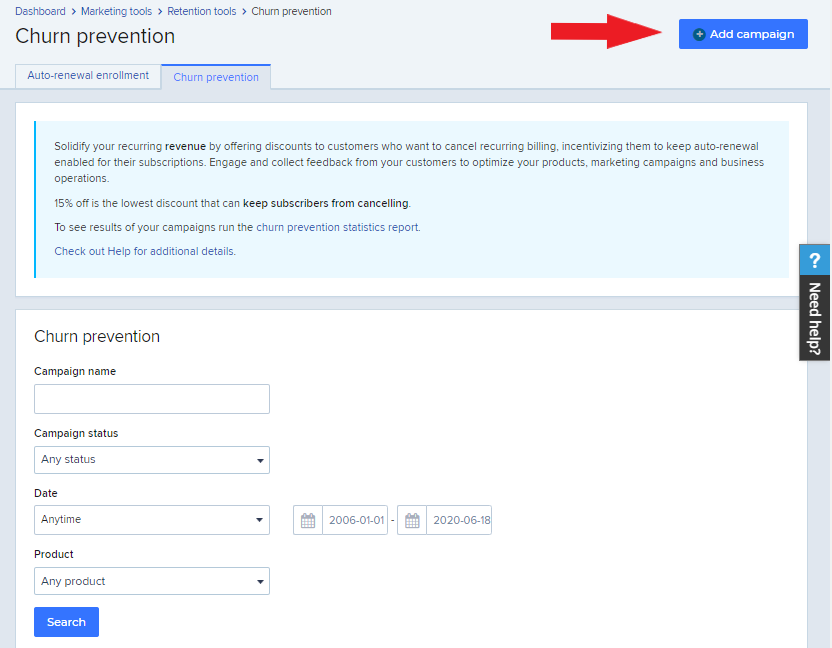
- In your Merchant Control Panel, navigate to Dashboard → Marketing tools → Retention tools → Churn prevention and click on Add campaign.
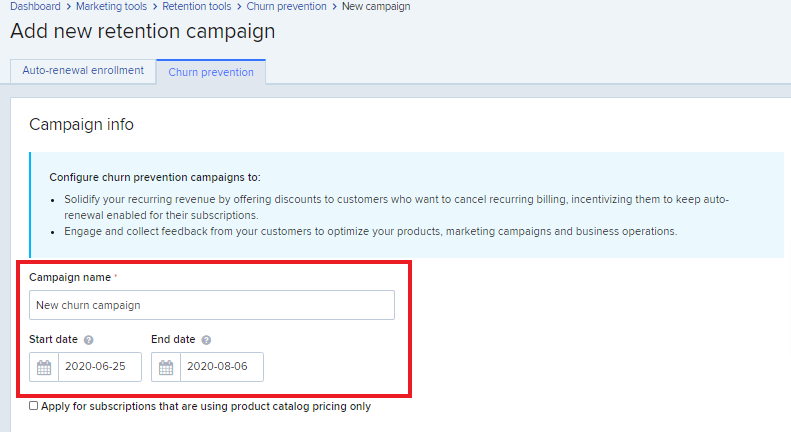
- Fill in the details of the campaign: name and running interval. You can also choose whether or not to apply this campaign to subscriptions with custom price by checking or unchecking the Apply for subscriptions that are using product catalog pricing only option.
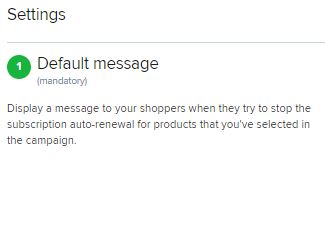
- Select the campaign settings that will be displayed to the shopper:
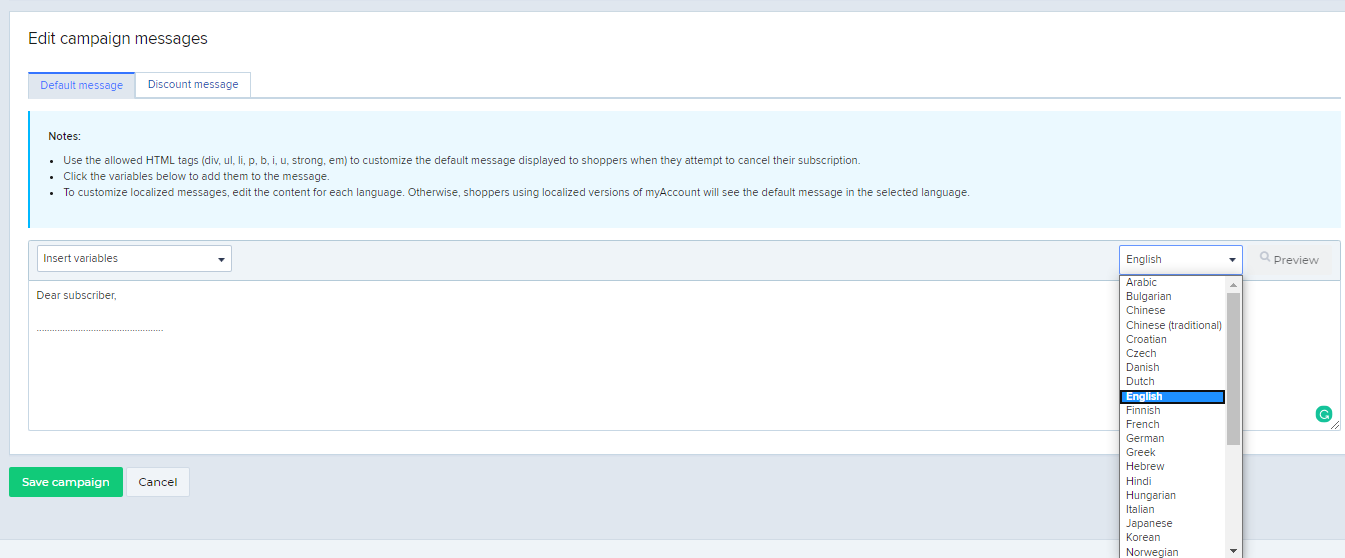
- Create a message to display to your shoppers when they try to stop the subscription auto-renewal for products that you've selected in the campaign. The default message is mandatory but can be customized from the Edit campaign message section, as shown below. You can customize the default message for each shopper language to make it as personalized as you wish.
-
You can also request shoppers to give you a cancelation reason (optional).

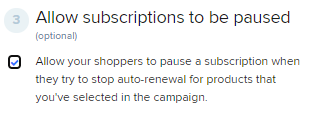
- Allow your shoppers to pause a subscription when they try to stop auto-renewal for products that you've selected in the campaign.
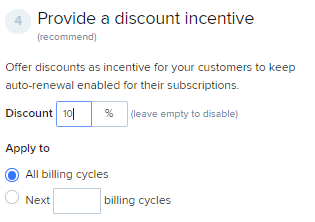
- Provide a discount incentive (this step is optional, but recommended) for your customers to keep auto-renewal enabled for their subscriptions and customize the discount message that you want shoppers to see during their cancelation attempts. This message is only displayed if you have set a campaign discount.

- Create a message to display to your shoppers when they try to stop the subscription auto-renewal for products that you've selected in the campaign. The default message is mandatory but can be customized from the Edit campaign message section, as shown below. You can customize the default message for each shopper language to make it as personalized as you wish.
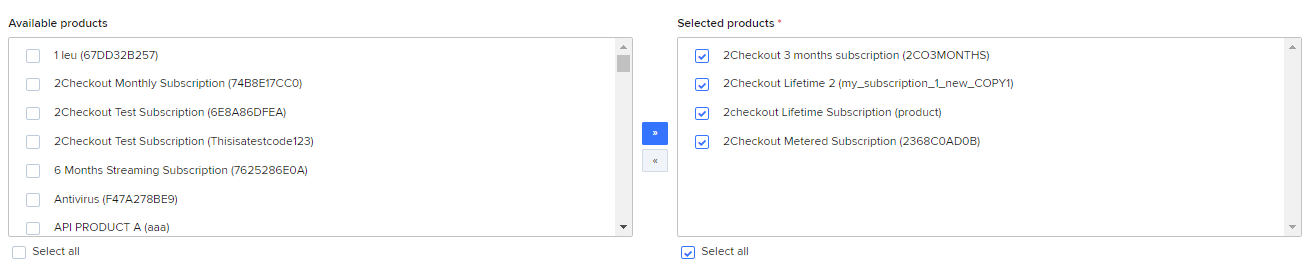
- Select the products that you want the campaign to be applied to from the Available products list and add them to the Selected products list. You can add products to a campaign after it starts running.
- Click on the Save campaign button at the bottom of the page.
-
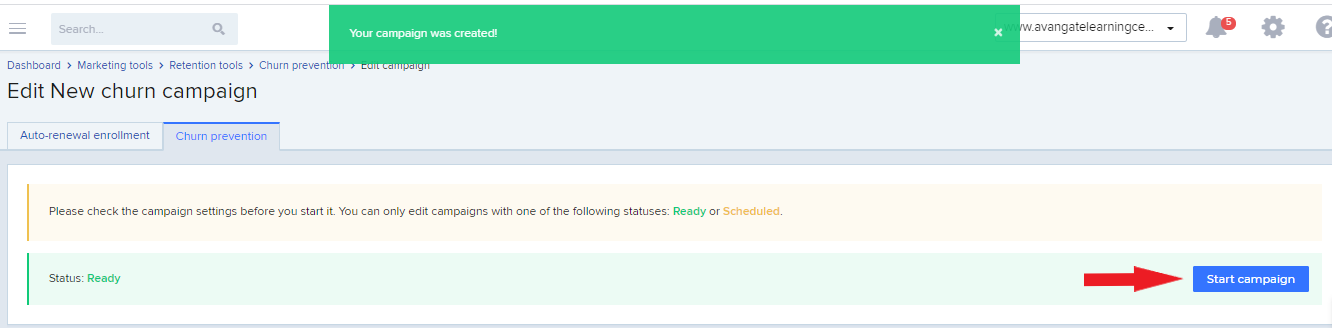
The campaign is now created and displayed as Ready. Click Start campaign to start it.
You can see the status of your campaign in the Retention tools → Churn prevention page. A churn prevention campaign can have the following statuses:- Scheduled - a campaign that didn't reach Running status yet. You can edit or stop it from running in the future.
- Ready - a campaign that you have not started or one that you've stopped before its start date. You can edit it.
- Running - a campaign that is currently running. You can stop it or view its settings. You can still add products to a running campaign.
- Finished - a campaign that passed its end date. You can view its settings but you cannot edit it.
If the campaign is Scheduled, click Edit if you want to modify its settings.
You can only edit Ready and Scheduled campaigns. You cannot edit campaigns that reached the Running status.
What shoppers see in their 2Checkout myAccount platform
Once you've started the campaign, your shoppers are notified in myAccount whenever they try to stop the subscription auto-renewal for the products that you've selected in the campaign.
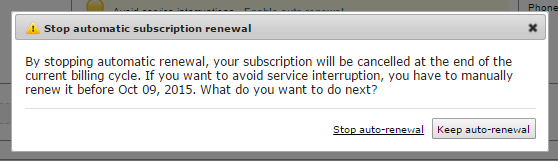
- The first pop-up displays either the default message (in the screenshot below) or the message that you customized before.
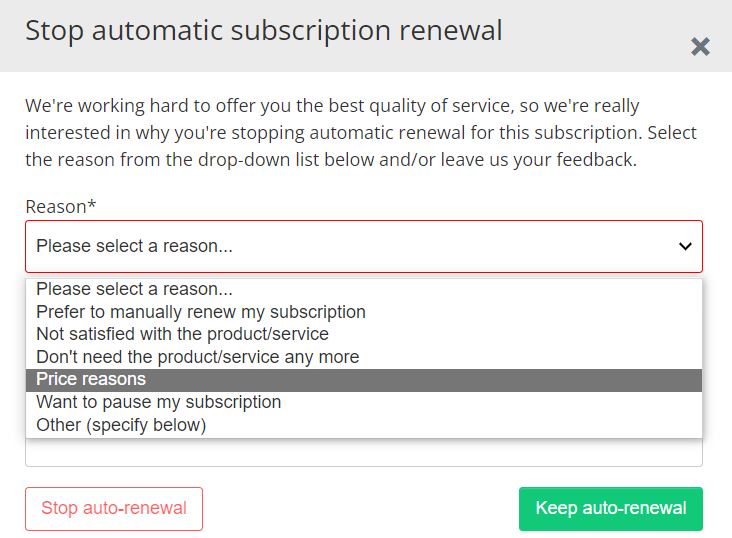
- The next pop-up asks for the cancelation reason (if you've checked the Request cancelation reason box) while setting up the campaign. Cancelation reasons are listed in the image below and they cannot be customized. After selecting the cancelation reason shoppers can provide additional comments/feedback in the Comment text box.
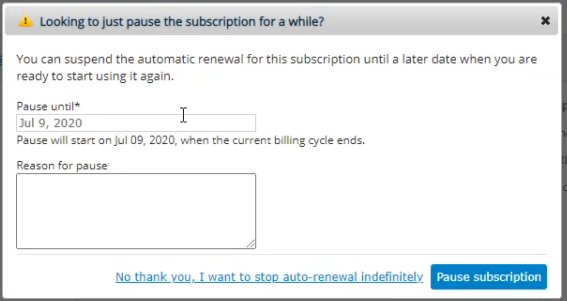
- The next pop-up asks the shopper to select the date until they want to pause the subscription and the reason for pausing the subscription. Note that a subscription cannot be paused for a period longer than 3 years.
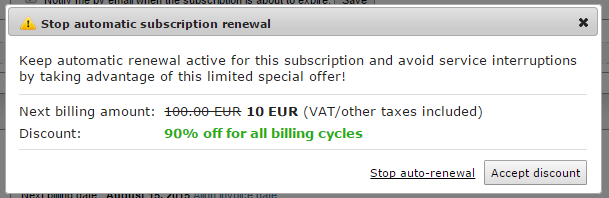
- The last pop-up shows the discount that you offered your shoppers for keeping the auto-renewal. You can customize this message by changing the discount message while configuring the campaign.
How to search for existing churn prevention campaigns
Use the churn prevention search filters to find specific campaigns that you have previously set. You can search for campaigns by:
- Name
- Status
- Starting date
- Product applied to
Click Search when you're done configuring the filters. You'll see the search results in the table at the bottom of the page along with possible actions that you can take on the campaigns. You can edit Ready and Scheduled campaigns, and view details of Finished campaigns.
How to configure cancellation reasons
You can configure your own churn cancellation reasons in Control Panel, by:
-
Adding or editing your own custom reasons;
Go to Setup > Renewal > Cancellation reasons and select the Add reason option. Fill in the cancellation reason label in English (and in any other languages you're using).
If you have multiple accounts and want to reuse an existing cancellation reason, copy the cancellation reason code from an account where you've previously defined it. This helps ensure consistency in reporting across all your accounts.
After completing all fields, click Add reason.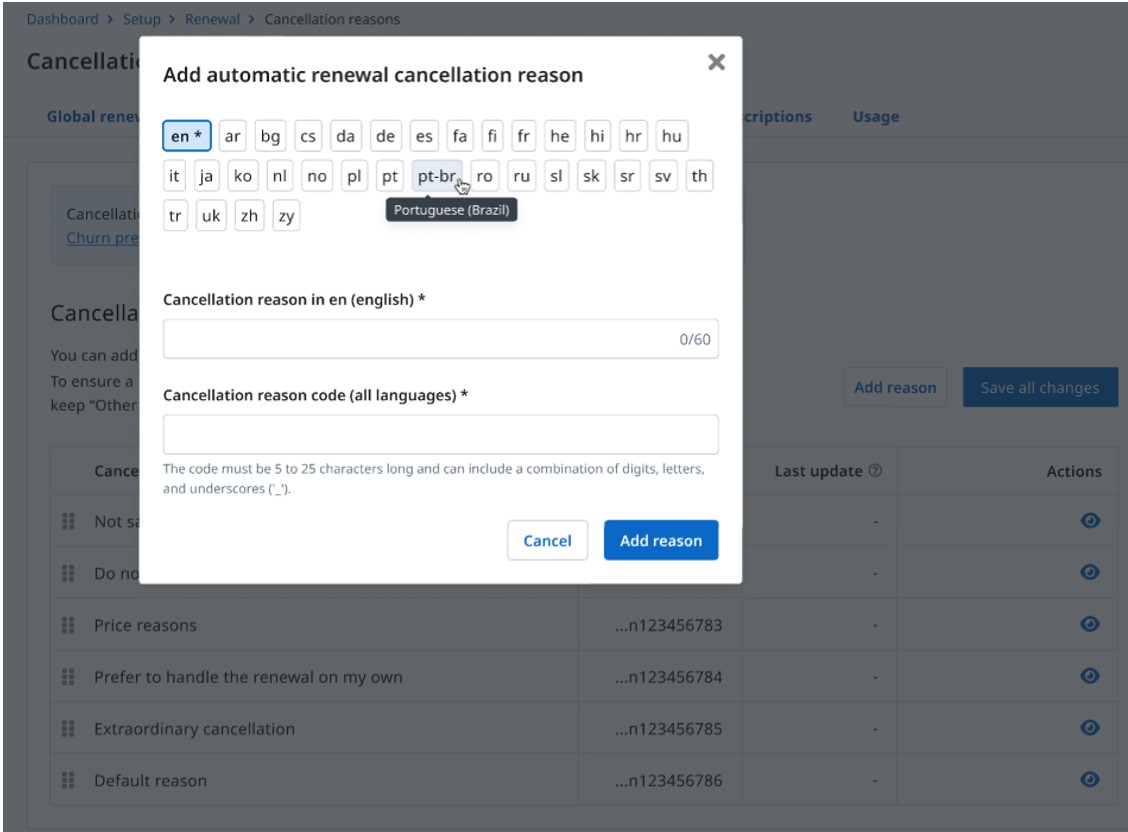
When you add a cancellation reason, you can edit it by clicking on the Edit button. Once all changes are done, select the Apply changes button.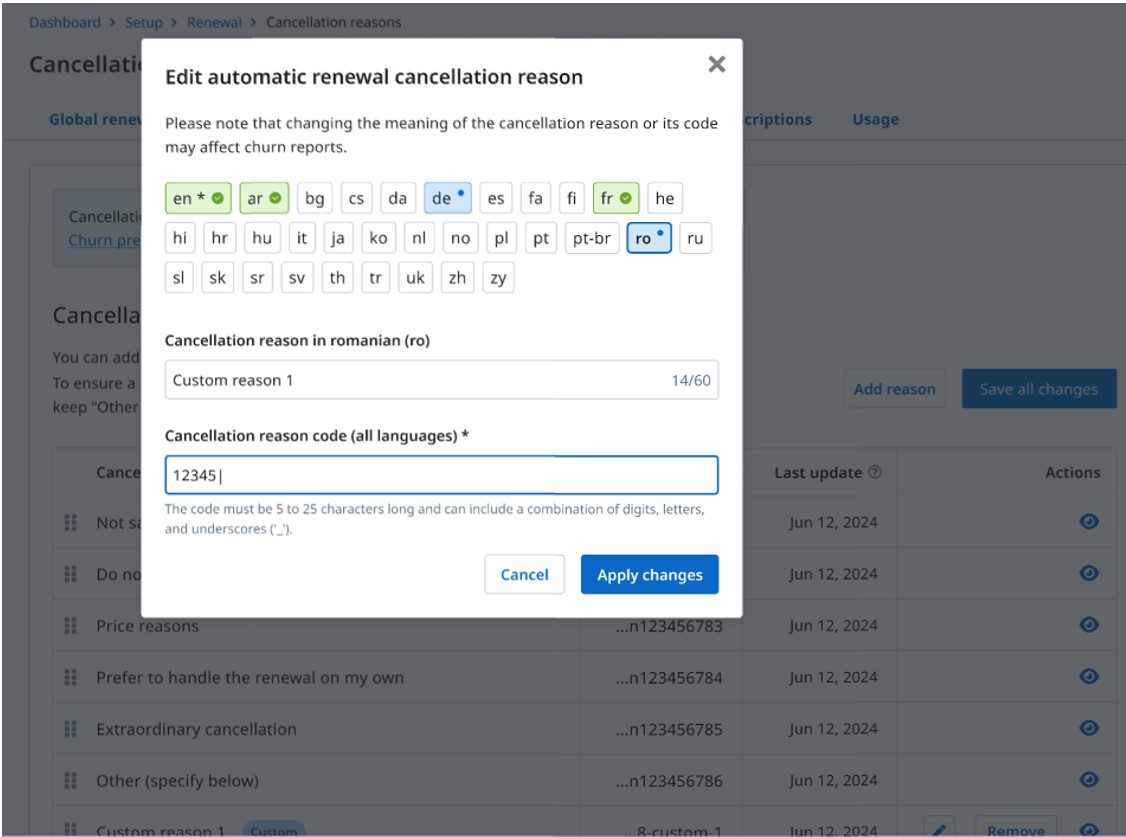
-
Reordering and/or showing/hiding the pre-defined cancellation reasons;
Reorder reasons
Go to Setup > Renewal > Cancellation reasons and select the needed reason, that needs to be moved.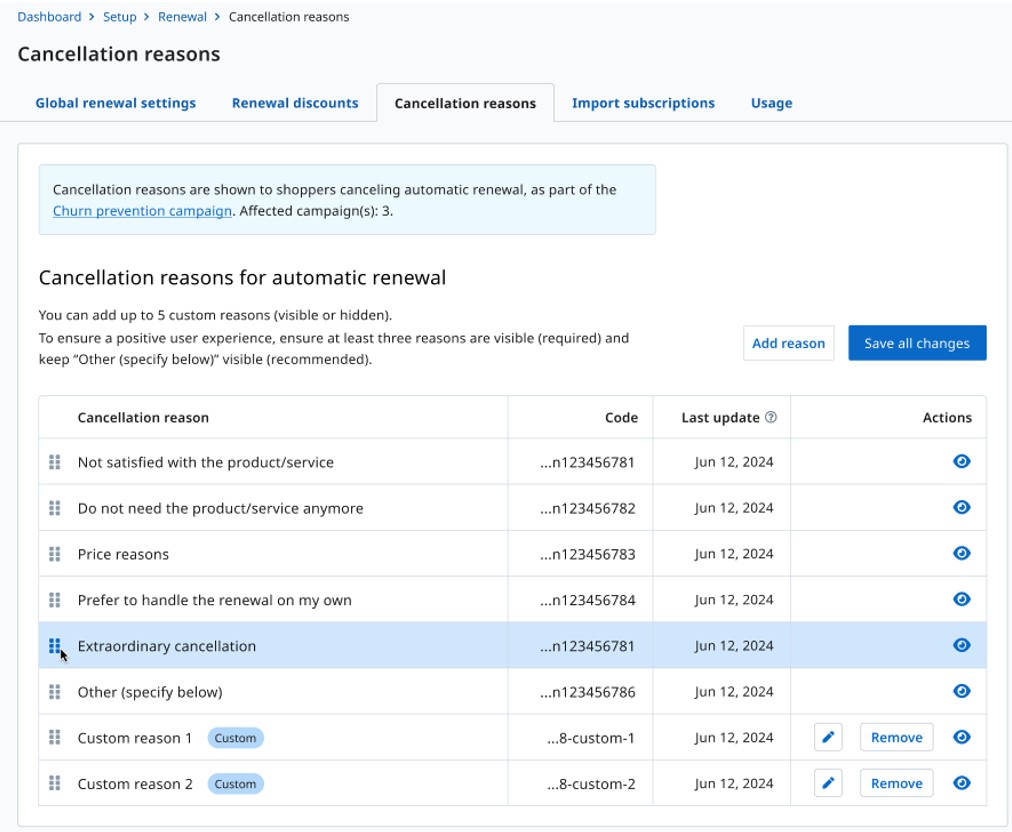
Drag and drop the reasons to arrange them in your preferred order. When you're finished, click Save all changes. After clicking this button, the reasons will be displayed to shoppers in the updated order.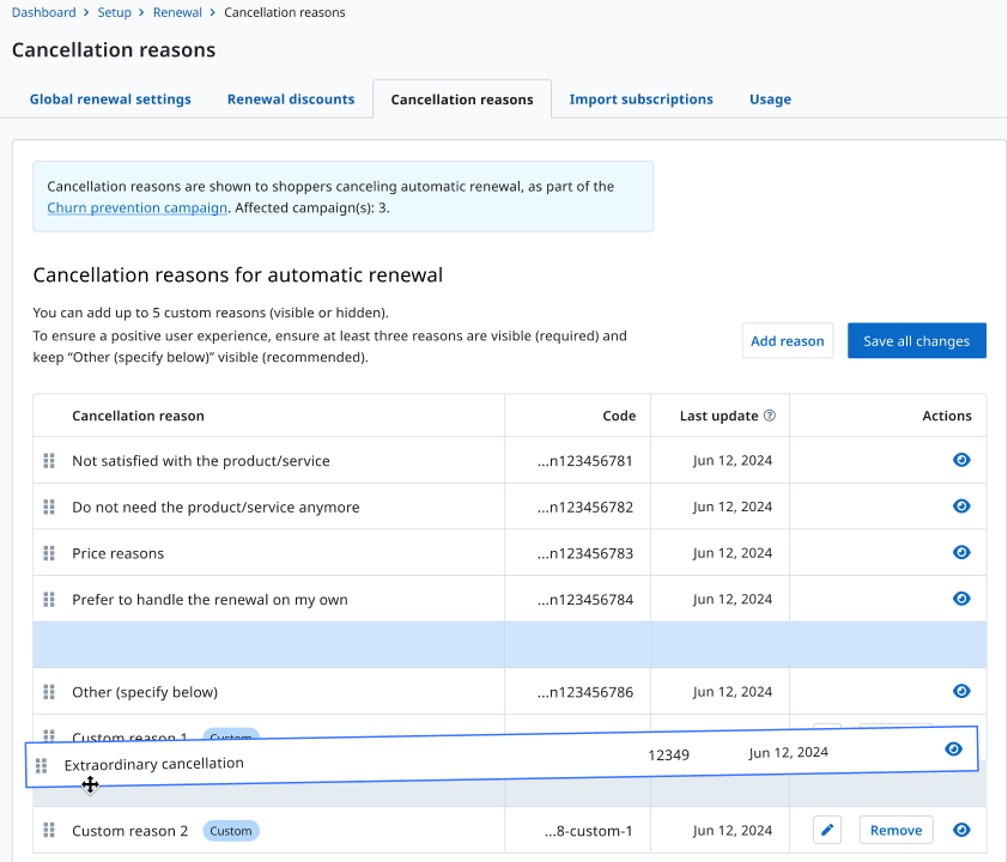
Show/hide reason
Go to Setup > Renewal > Cancellation reasons and click on the show/hide button.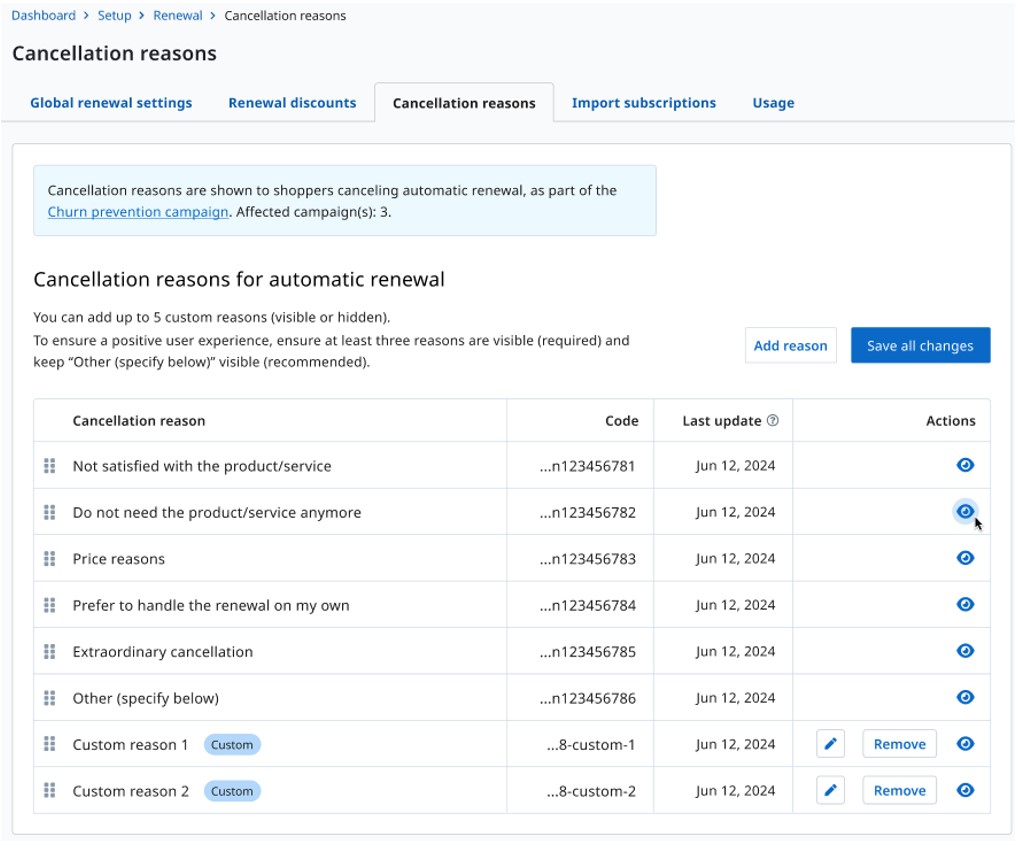
After you've finished making changes, click Save all changes. Once clicked, the selected reason(s) will no longer be visible to your shoppers.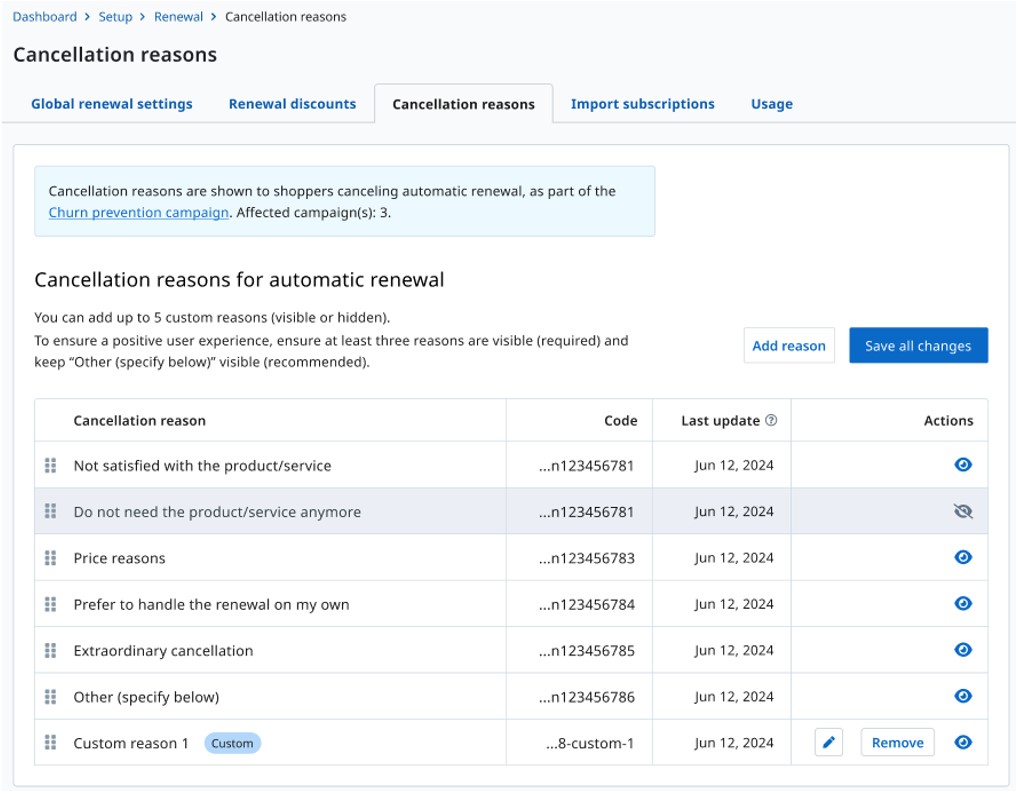
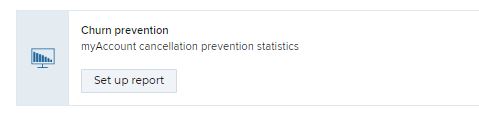
How to run churn prevention campaign reports
You can find the Cancelation statistics reports in the Main reports section of the Reports center menu.
- Open the Reports center menu and click Main reports.
- Click the Churn prevention report, under Marketing reports to access the reports page.
- Use the filters in the Report settings section to define the campaigns that you want to include in the report. Click Build report when you're done.
The report shows the top 10 churn prevention campaigns, filtered by the Orders value column, in descending order. The rest of the campaigns are aggregated under the Others entry. The data included in the report comes from campaigns that ran in the selected interval.
You can also export the full report as CSV by clicking Export as CSV. The exported report contains details about all of your campaigns.
Additionally, you can download a CSV report of the feedback collected from your customers during the cancelation prevention campaigns in the selected time interval by clicking Download feedback.